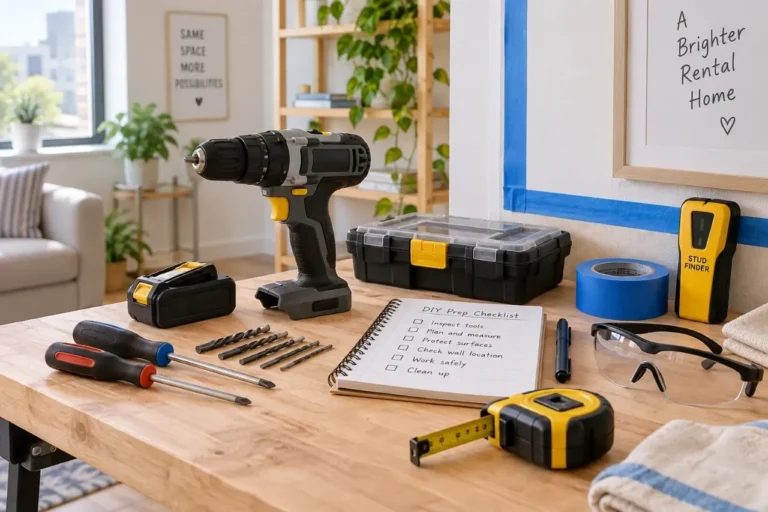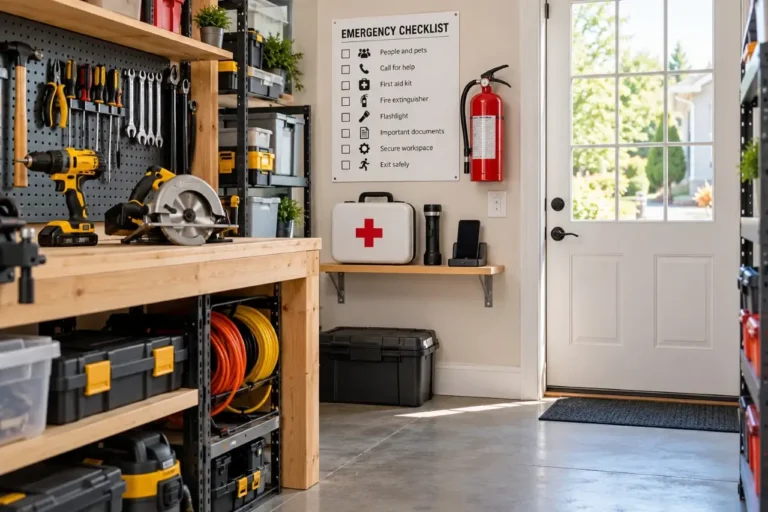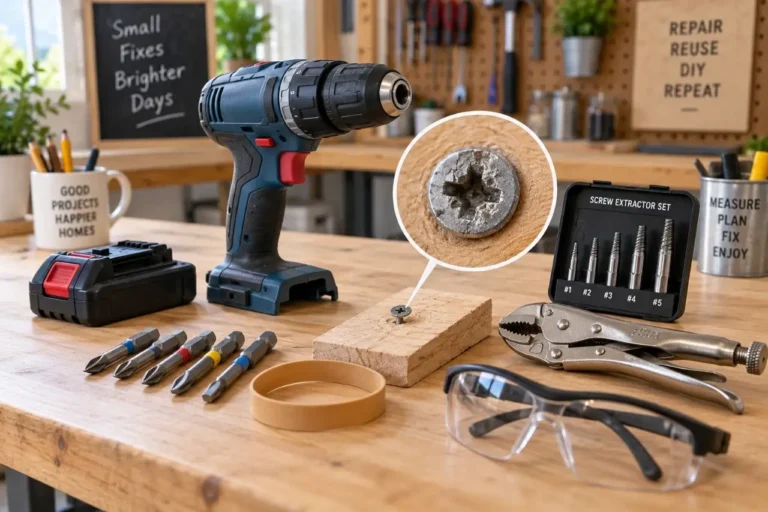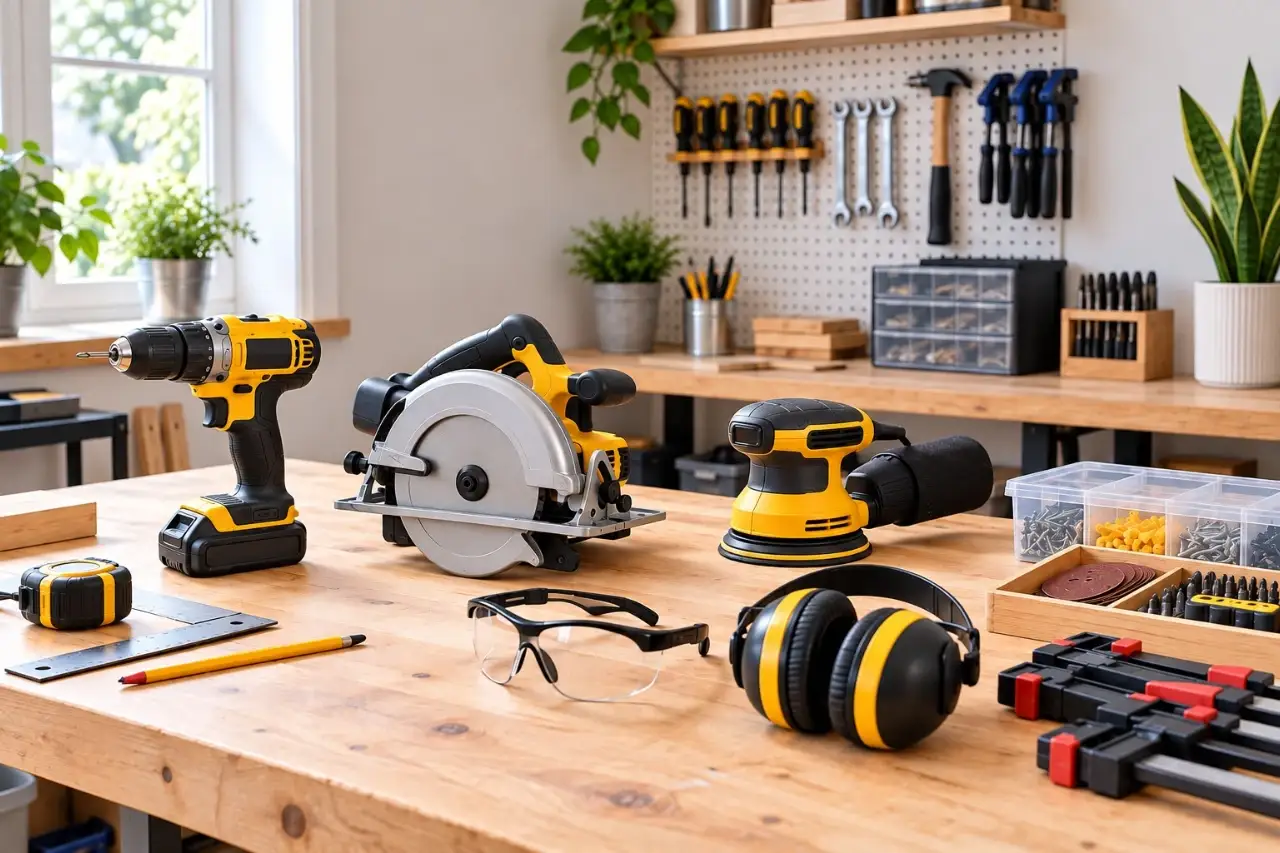
Power tool safety starts with a few repeatable habits: inspect the tool and accessory, secure the workpiece, wear protection that matches the task, keep your body away from the tool’s path, and stop when something does not look or feel right.
These simple checks help homeowners reduce common workshop risks before drilling, cutting, sanding, or fastening.
Power Tool Safety Tips to Use Before Every Job
Safety starts before the trigger is pulled. A clean, stable setup prevents many mistakes that are often blamed on the tool itself. For beginners building these habits, review our guide to power tool safety basics before starting more advanced projects.
Inspect the tool, cord, battery, and accessory
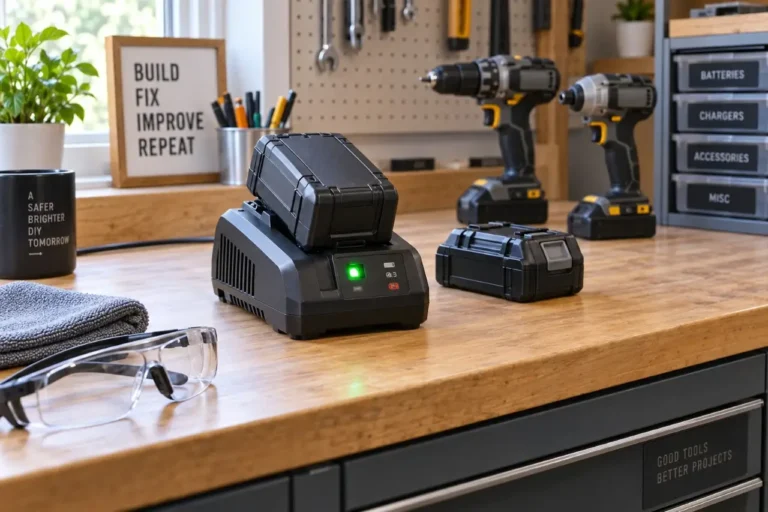
Check the housing, guard, handle, trigger, cord, plug, and battery connection for visible damage. Do not use a corded tool with a damaged cord, a loose plug, or a cracked housing. For cordless tools, use only the battery and charger specified by the manufacturer. A battery that is swollen, leaking, unusually hot, damaged, or behaving erratically should be taken out of service according to the manufacturer’s instructions.
Then inspect the working accessory. A dull drill bit requires extra force and can wander. A damaged saw blade can bind or cut unpredictably. A cracked, chipped, warped, or improperly mounted cutting or grinding accessory should not be used. Confirm that the blade, bit, disc, or sanding pad is approved for your specific tool and for the material you are working on.
Unplug a corded tool or remove its battery before changing accessories, making adjustments, clearing packed debris, or checking a jam. Never rely only on the trigger being off.
Match the tool and accessory to the work
Using the wrong setup often creates the unsafe condition. A wood-cutting blade is not appropriate for metal, and a general-purpose drill bit may not be the right choice for masonry, tile, or hardened metal. Read the accessory packaging and the tool manual for material and speed limitations.
Pay attention to accessory size and rated speed. A blade, wheel, or disc must fit the tool exactly and be rated for at least the tool’s maximum no-load speed. Do not use adapters or improvised mounting methods unless the manufacturer specifically allows them. If an accessory does not seat properly, stop rather than trying to make it fit.
Clear and light the work area
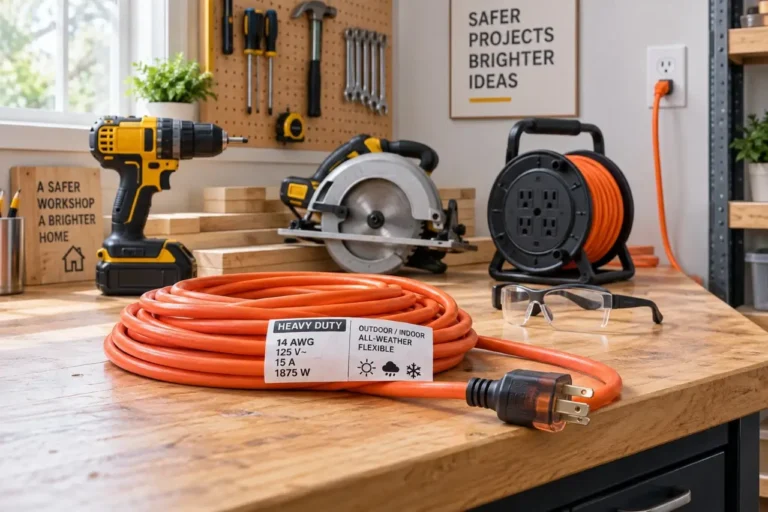
Good footing and visibility matter as much as eye protection. Keep the floor dry and free of cords, offcuts, fasteners, and sawdust piles. Route cords behind you or overhead when practical, so they cannot be cut or become a trip hazard. Avoid running a cord through standing water or using a tool in wet conditions unless the manufacturer specifically permits it.
Use bright, even lighting. A portable work light can help, but position it so it does not create hard shadows at the cut line or glare on metal. A well-planned workspace also makes safe tool handling easier; see our guide on setting up a small workshop for broader layout considerations. If you cannot clearly see the bit, blade path, fastener, or layout mark, fix the lighting before continuing.
Wear Protection That Fits the Task


Personal protective equipment is the last layer of defense, not a substitute for a stable setup. It still matters because chips, dust, and noise can be present even when the work goes as planned.
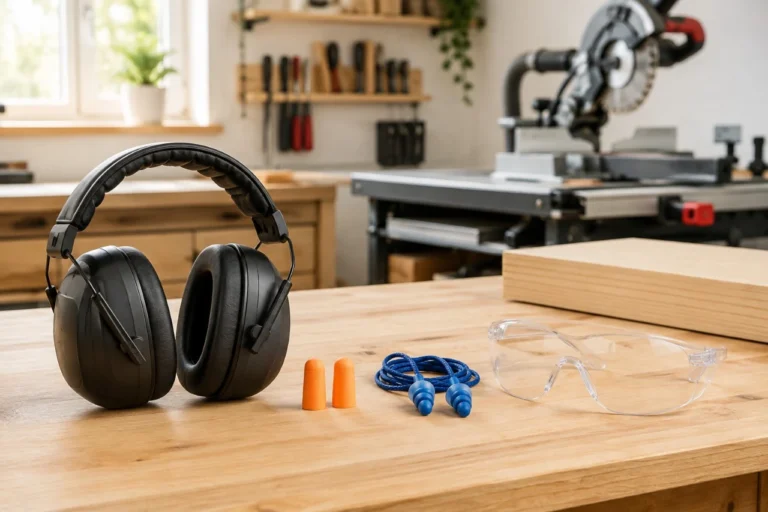
Wear safety glasses with side protection for all drilling, cutting, sanding, and fastening tasks. Add a face shield when there is a higher risk of flying fragments, but wear safety glasses underneath it. A face shield alone is not enough eye protection.
Hearing protection is sensible for loud tools, especially saws, routers, grinders, and shop vacuums used for extended periods. For sanding, cutting engineered wood, or working with materials that create fine dust, use dust collection when possible and wear respiratory protection appropriate for the hazard. The correct protection depends on the material and exposure conditions. A basic nuisance-dust mask is not the same as a properly rated respirator.
Avoid loose sleeves, dangling jewelry, hood strings, and gloves that could catch in rotating parts. Gloves can be useful when handling rough lumber or sharp sheet material, but they are generally not appropriate near a spinning drill bit, chuck, or other rotating accessory. Tie back long hair before starting.
Secure the Workpiece, Not Your Hands
One of the most common home-workshop mistakes is holding a small piece with one hand while drilling, sanding, or cutting with the other. Material can spin, shift, or pull your hand toward the accessory with little warning.
Use clamps, a vise, or a workholding system to secure the workpiece to a stable surface. Support long boards on both sides of a cut so the offcut cannot sag and pinch the blade. For sheet goods, support the panel across its width and plan where the cut piece will fall.
Do not brace material against your knee, foot, or body. Keep your hands away from the likely path of the blade or bit, not just the visible path. A jigsaw blade can bend, a drill bit can break through suddenly, and a circular saw can move if the cut binds.
Plan the cut before starting the tool
Before making a cut, check below and behind the workpiece. Look for clamps, screws, nails, wiring, pipes, or a benchtop that could be struck by the blade or bit. This is especially important when cutting into walls, floors, or existing structures. If you suspect concealed wiring, plumbing, or another utility, stop and use an appropriate detection method or contact a qualified professional.
For a circular saw, keep the base plate flat on the material and allow the blade to reach full speed before entering the cut. Maintain a stance that keeps your body to the side of the cutting line, rather than directly behind the saw. Never reach behind a saw blade to remove an offcut while the blade is moving.
Use the Tool Without Forcing It
A power tool should do most of the work. Excessive pushing, twisting, or leaning on a tool is often a sign of a dull accessory, incorrect setting, poor support, or unsuitable tool choice.
Start with a balanced stance, both feet planted, and a firm two-handed grip whenever the tool is designed for one. Keep handles dry and free of oil, dust, and finish residue. Let the tool reach operating speed before contacting the work unless its manufacturer instructs otherwise.
Apply steady, moderate pressure. If the motor slows dramatically, the bit squeals, the blade smokes, or the tool starts vibrating more than usual, release the trigger and investigate. Continuing can cause binding, kickback, accessory failure, or damage to the workpiece.
Kickback is a sudden backward or sideways movement that can occur when a blade or disc binds. The exact risk varies by tool, but the prevention is similar: use a sharp, correct accessory; support the material; maintain control; and do not twist the tool in the cut. Never disable a guard, brake, trigger lock, or other factory-installed safety feature to make a task easier.
Control Dust, Debris, and Fire Risks
Dust affects more than cleanup. Fine airborne dust can irritate the lungs, reduce visibility, and accumulate around motors, outlets, and ignition sources. Connect a compatible dust port to a vacuum or dust collector when the tool is designed for it. Empty collection containers before they become overfilled, and clean dust from the work area after the tool has stopped.
Some materials require added caution. Do not sand, saw, or drill suspected asbestos-containing material. For homes built before 1978, assume painted surfaces may contain lead until they have been evaluated or tested through an appropriate process. Avoid disturbing these materials and consult qualified local help when needed.
Keep sparks away from sawdust, finishing rags, solvents, gasoline, and other flammables. Metal cutting and grinding can throw hot particles farther than expected. Check the surrounding area, not only the immediate work surface. Disposal requirements for oily or solvent-soaked rags can vary by product and local rules, so follow the product label and local guidance.
Know When to Stop Work
Stopping is a skill, not a failure. Shut down and reassess if the tool repeatedly trips a breaker, gives off a burning smell, produces smoke, makes a new grinding sound, vibrates excessively, has a damaged guard, or will not operate normally. Do not continue just to finish one more cut.
Also stop when the material behaves differently than expected. Hidden nails, knots, fasteners, wet lumber, warped boards, and unsupported sheet goods can change how a tool cuts. Remove power before checking the cause. If a blade or bit is stuck, follow the manufacturer’s instructions rather than pulling or twisting the tool while it is energized.
For internal electrical problems, damaged battery packs, failed switches, or motor issues, contact the manufacturer, an authorized service center, or a qualified repair professional. These are not safe home repairs.
A Short Pre-Trigger Check
Before each operation, pause long enough to answer these questions:
- Is the tool, cord or battery, and accessory in good condition?
- Is the accessory correct for this tool and material?
- Is the workpiece clamped or otherwise fully supported?
- Are my eyes, ears, lungs, clothing, and hair protected for this task?
- Do I know where the blade, bit, debris, and offcut will go?
- Is my body out of the tool’s likely path if it binds or kicks back?
That brief pause creates a safer habit than any single piece of equipment can provide. As your projects become more involved, keep treating setup time as part of the job – it is where careful DIY work begins.
Ulverion is reader-supported. Your support allows us to research tools, create practical guides, and share reliable DIY advice for homeowners, makers, and workshop enthusiasts.