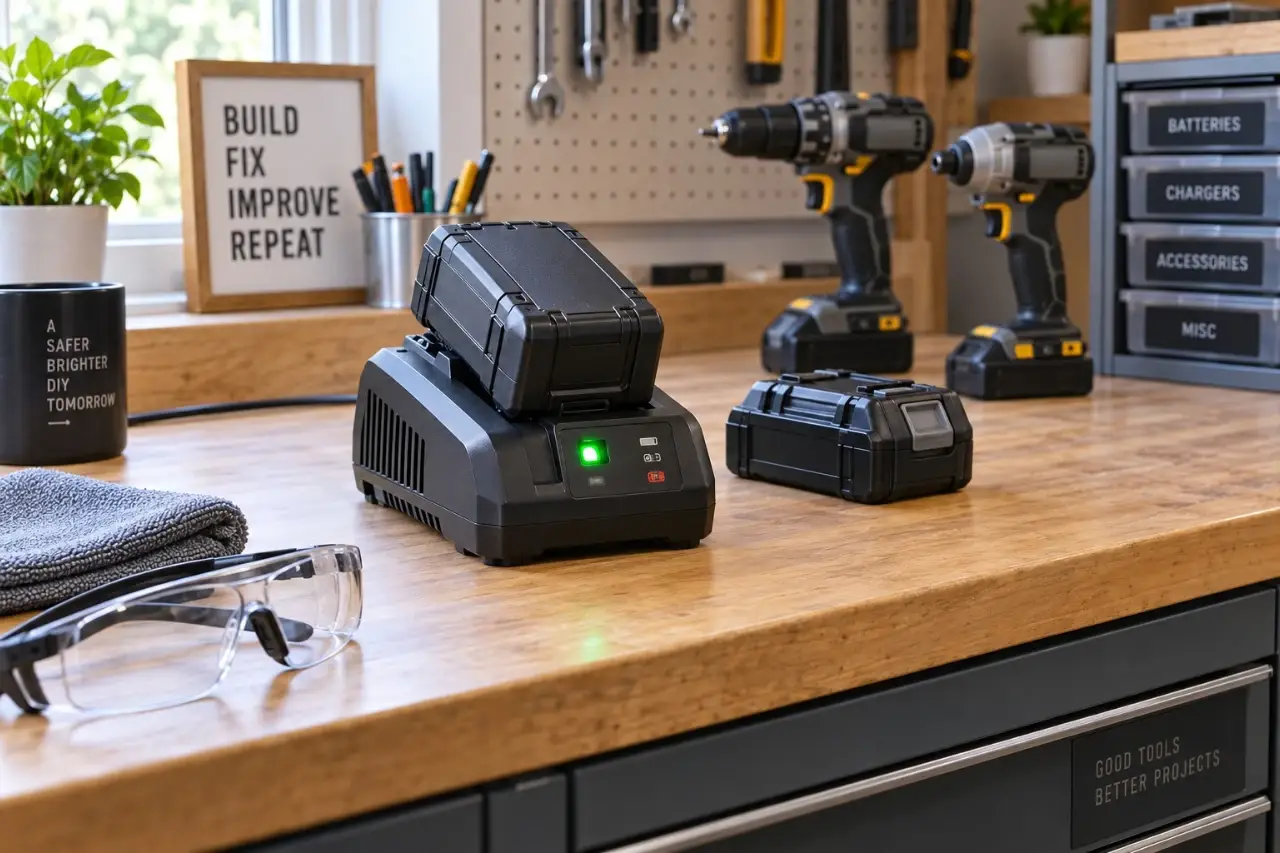
A blinking charger light usually means the charger is communicating a status, not necessarily that something is broken.
The charger blinking meaning depends on the charger and battery system: blinking may indicate normal charging, a battery that is too hot or cold, a poor connection, or a battery fault.
The charger label and tool manual always take priority because light patterns are not standardized between manufacturers.
Charger blinking meaning: start with the indicator pattern
Before assuming the battery has failed, look at three things: the light color, whether it is blinking or solid, and what happens when you remove and reinstall the battery. Green and red indicators have different meanings across charger systems. A green light may indicate charging completion or another status, while red may indicate charging, temperature delay, or a fault depending on the manufacturer. Some chargers use alternating red and green lights, while others use one light with different blink speeds.
The same color can mean different things on different systems. For example, a steadily lit light may mean “charging” on one charger and “fully charged” on another. Treat the printed diagram on the charger housing or the manual as the correct translation for that particular model.
Common indicator patterns
This table describes common patterns, but it is general guidance rather than a universal code.
| Light pattern | Often means | What to do |
|---|---|---|
| Single light blinking during charge | Battery is charging normally | Leave the battery in place until the charger indicates completion. |
| Solid green light | Battery is charged or ready | Check the charger label. Follow the charger manual for whether leaving a battery on the charger after completion is acceptable for that specific system. |
| Blinking red light | Battery is charging, too hot, too cold, or has a fault | Check the charger legend first. Let a recently used battery cool if the manual indicates a temperature delay. |
| Alternating red and green lights | Battery or charger fault on many systems | Remove the battery, inspect it, and try once more after the contacts are clean and dry. |
| No lights | No incoming power, poor battery connection, or charger problem | Check the outlet, cord, battery seating, and charger condition. |
A temperature delay is often normal
Cordless tool batteries can become warm after drilling large holes, driving long structural screws, cutting sheet goods, or working outdoors in hot weather. They can also be too cold after time in an unheated garage, shed, or vehicle. Many lithium-ion chargers pause charging outside their approved temperature range to protect the cells.
If the charger’s chart identifies a hot/cold delay, remove the battery and let it reach room temperature in a dry indoor area. Do not put it in a refrigerator, freezer, direct sun, or against a heater. Rapid heating or cooling is not a safe fix and can create condensation at the terminals.
A battery that only shows a temperature warning immediately after hard use may be operating normally. A battery that repeatedly shows the same warning after resting indoors may need manufacturer support or authorized service.
Check the simple causes first
A blinking warning light can come from a connection issue rather than a failed battery. Start with external checks only. Do not open the charger or battery pack, attempt cell repair, or clean terminals with tools that could bridge contacts.
- Confirm power to the outlet. Plug the charger directly into a known working wall outlet if practical. A tripped GFCI outlet, switched outlet, damaged extension cord, or overloaded power strip can prevent normal charger operation.
- Inspect the charger and cord. Stop using the charger if the cord is cut, the plug is loose, the plastic housing is cracked, or there is a burning smell, excessive heat, smoke, or discoloration.
- Check that the battery is fully seated. Remove it, then reinstall it squarely until it clicks or reaches its normal fully inserted position. Do not force it.
- Look at the external contacts. Dry dust or debris can interfere with the connection. With the battery removed and charger unplugged, use a clean, dry, nonmetallic brush or dry cloth around accessible contact areas. Do not use water, solvents, oil, or compressed air that could push debris into the housing.
- Allow the battery to acclimate. If it was just used heavily or stored in extreme temperatures, give it time indoors before trying again.
If the same light pattern returns, do not keep removing and reinserting the battery repeatedly. One careful retry after inspection is reasonable. Persistent fault indications call for a manual check and, when indicated, the manufacturer or an authorized service center.
When blinking points to a battery problem
A charger fault light may indicate that the battery pack cannot be charged safely. This is more likely when the pack is old, has been dropped hard, has been exposed to water, or has been stored for a long period in heat or freezing conditions.
Stop using and charging the battery if you notice swelling, cracking, leaking, melted plastic, unusual odor, corrosion, repeated overheating, or a pack that is much hotter than expected. Move away from flammable materials if it can be done safely, avoid handling a damaged or hot pack more than necessary, and follow the manufacturer’s instructions for service and disposal.
Do not put a damaged lithium-ion battery in household trash or a curbside recycling bin. Battery disposal rules and accepted locations vary by area. Your local household hazardous-waste program, retailer collection program, or manufacturer may provide direction for the type of pack you have.
Test with matching equipment only
If you own another battery and charger from the same approved tool platform, you may be able to narrow down the problem without taking anything apart. Use only batteries and chargers specifically approved by the manufacturer for that platform.
If a known-good battery charges normally in the charger but one battery always triggers a fault, the battery is the likely issue. If multiple approved batteries show the same fault in one charger, the charger may be at fault. That is useful information for service, but it is not a reason to bypass the fault indication or use a different charger that merely seems to fit.
Blinking after a battery was stored for months
Long storage can leave a battery too depleted or can reveal a pack problem that was not noticeable before. First, inspect the pack for damage and make sure it has reached room temperature. Then try the normal charger once, following its instructions.
Some chargers include a recovery or pre-charge function for certain deeply discharged batteries, while others may reject the pack as a safety precaution. Others may reject it as a safety precaution. Do not try to “jump-start” a pack, connect it to another battery, alter terminals, or use an unapproved charger. Those methods can damage the battery management system and create a fire risk.
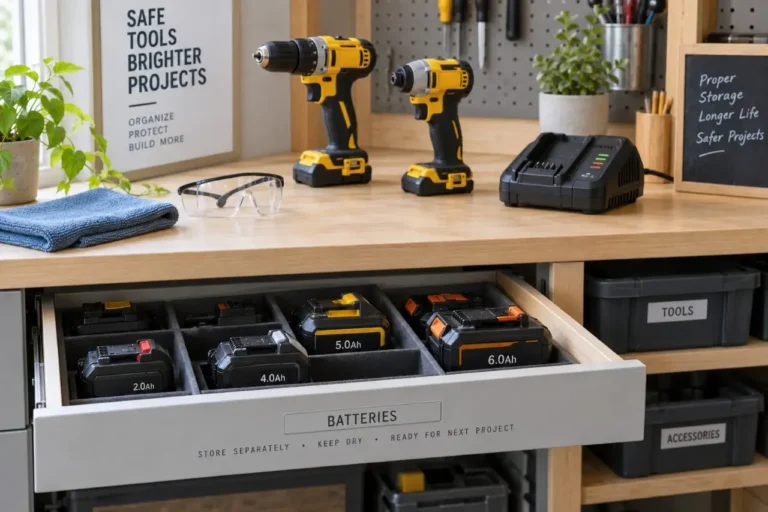
For future storage, keep batteries dry, away from direct sun, and away from metal objects such as loose screws, nails, and drill bits. Store them in the temperature range stated in the manual, rather than leaving them in a vehicle or unconditioned shed through extreme seasons.
Avoid mistakes that shorten charger and battery life
The most common mistake is treating every blinking light as an emergency. A normal charging light or temperature delay often needs only time. The opposite mistake is ignoring a repeated fault code because the tool still runs for a few minutes.
Use the charger on a stable, noncombustible surface with clear air space around it. Keep sawdust, rags, gasoline, finishes, and other flammable workshop materials away from the charging area. Do not cover the charger, charge a pack under a pile of tools, or charge a battery that is visibly damaged.
Also avoid leaving batteries in direct sunlight or on a dashboard. High heat is especially hard on lithium-ion packs and can make charging delays, shortened runtime, and fault indications more likely.
When to stop troubleshooting
A blinking light deserves professional attention when it is paired with physical damage, heat, odor, smoke, melting, or repeated fault signals from approved equipment. Stop using the battery and charger if either item appears unsafe. Contact the manufacturer, an authorized service center, or the retailer’s approved support channel for the next step.
For an ordinary blinking status light, the practical answer is usually simple: read the charger’s legend, check the battery’s temperature and connection, and give the system a safe place to work. A light that keeps returning after those checks is useful information, not something to force past.