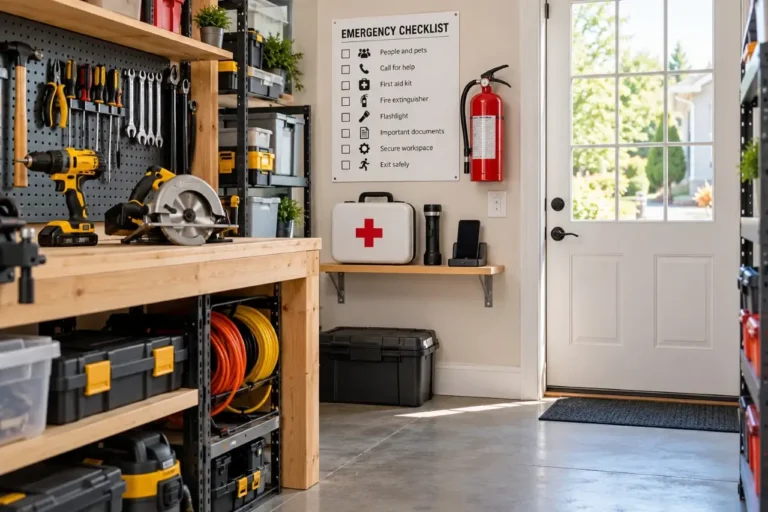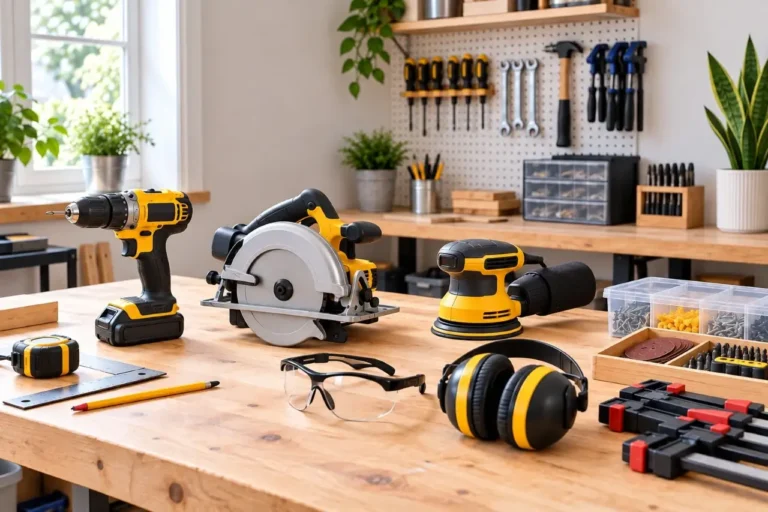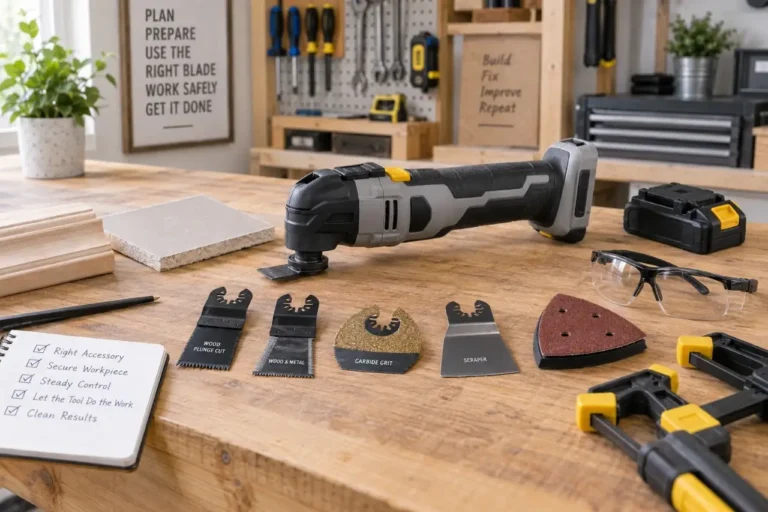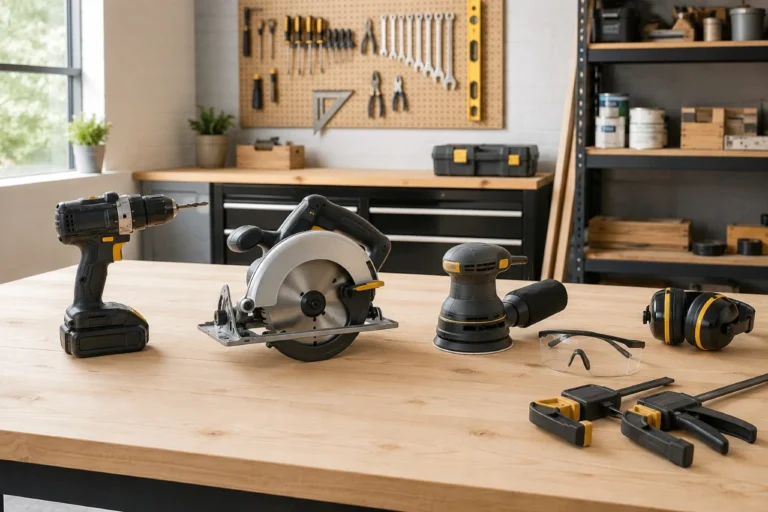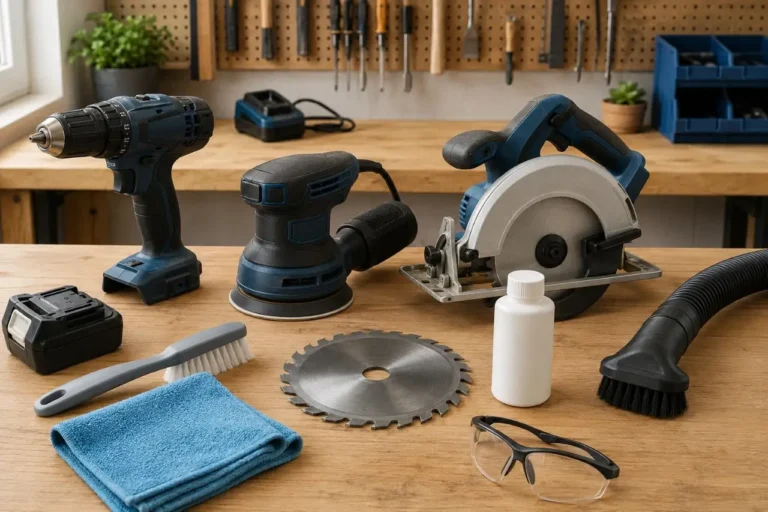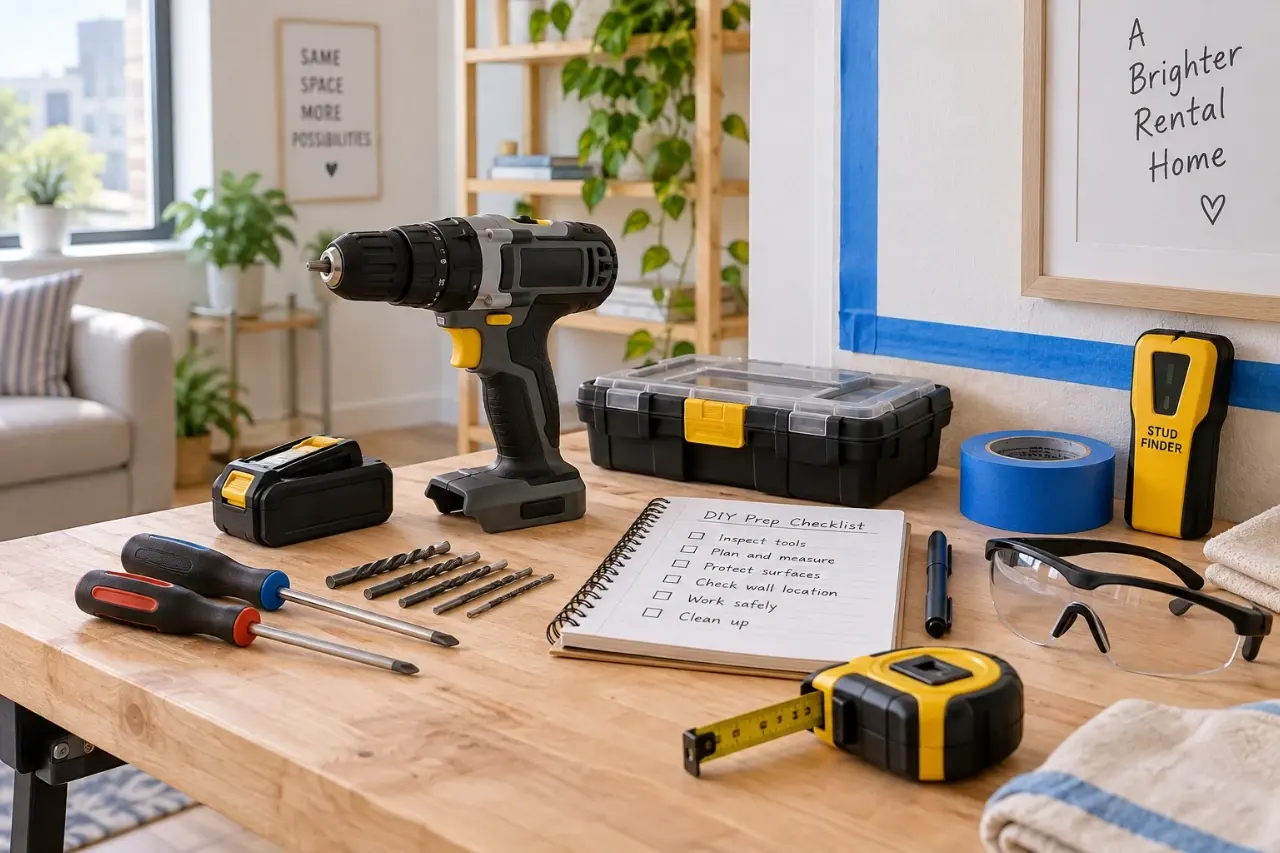
A renter can safely handle many small repairs and improvements, but the right first move is not picking up a drill. Essential renter tool safety checks mean confirming the work is permitted, inspecting the tool and accessory, protecting the unit from damage, and stopping when the repair crosses into landlord or professional territory. That short pause prevents damaged finishes, lost deposits, and avoidable injuries.
Renting changes the planning, not the basic rules of tool safety. You still need the correct blade, bit, guard, eye protection, and stable work surface. But you also need to consider hidden wiring, plumbing, lease restrictions, shared walls, and how easily the work can be reversed when you move.
Start With the Lease and the Repair Boundary
Before setting up a tool, determine whether you are making a removable improvement, performing routine tenant maintenance, or altering the property. Hanging lightweight decor is different from drilling into tile, modifying cabinetry, replacing a hardwired fixture, or cutting a countertop.
Read your lease and any building rules for limits on holes, wall-mounted items, balcony projects, noise, and work hours. If the lease is unclear, ask the property manager in writing before making holes or permanent changes. Verbal permission can be hard to verify later.
Some conditions should not become a DIY project. Stop and report water stains, active leaks, sparking outlets, repeatedly tripped breakers, gas odors, damaged structural framing, suspected asbestos-containing material, or peeling paint in an older home where lead paint may be a concern. The right tool cannot make a hazardous or landlord-controlled repair appropriate for a renter.
Essential Renter Tool Safety Checks at a Glance
| Preview | Product | Price | |
|---|---|---|---|

| BISON LIFE Clear Safety Glasses for Men & Women, ANSI Z87.1 Certified,12Pk |
$14.90
$12.66 | View on Amazon |
A quick inspection is useful only if it happens before every use, not after a problem appears. Set the tool on a clear surface with the battery removed or the cord unplugged while checking it.
- Check the tool body and controls. Look for cracked housings, loose handles, missing screws, damaged guards, and a trigger that sticks or will not return normally. Do not use a damaged power tool.
- Inspect the cord, plug, or battery. A cord should have intact insulation, a sound strain-relief area where it enters the tool, and an undamaged plug. For cordless tools, use only the battery and charger specified by the manufacturer. Do not use a battery that is cracked, leaking, swollen, damaged, or shows signs of overheating such as unusual heat or a burnt smell.
- Confirm the accessory matches the tool and task. A drill bit, driver bit, saw blade, sanding disc, or cutting wheel must be approved for that tool type and installed according to its manual. Check that the accessory is sharp enough, undamaged, and rated for the tool’s operating speed where a speed rating applies.
- Test guards and adjustment locks. Blade guards must move and return as designed. Depth stops, fences, shoe adjustments, and bit retention systems must lock securely. Never remove or defeat a safety device to make a cut easier.
- Plan the work area. Clear clutter, provide adequate light, keep pets and other people out of the immediate area, and make sure the material is supported. A workpiece that shifts can pull a tool off line or damage a wall, floor, or countertop.
These checks take only a few minutes. They are especially valuable with borrowed tools, tools stored in a damp basement, and tools that have been moved between apartments.
Protect the Rental Before You Make a Hole or Cut
A renter’s biggest tool mistake is often not an injury. It is drilling where a wire, pipe, or building system may be concealed, then discovering the damage after the tool breaks through.
Identify the wall or surface
| Preview | Product | Price | |
|---|---|---|---|

| Franklin Sensors ProSensor M210 13-Sensor Stud Finder, Live Wire Detection | $59.97 | View on Amazon |
Drywall over wood or metal studs is common, but it is not the only possibility. Apartments may have masonry walls, plaster, tile, concrete, lath, or a combination of materials. Use an anchor and drill bit designed for the material, but do not treat an anchor as proof that the location is safe to drill.
Avoid drilling directly above or below outlets, switches, plumbing fixtures, radiators, and appliances where concealed services may run. A stud finder can help locate framing, but it is not a guarantee that hidden wiring or plumbing is absent. Readings may also be affected by metal corner bead, pipes, dense plaster, or other building materials. If the area is uncertain, ask management or choose a no-drill mounting method that suits the item’s weight and the surface.
For heavy shelves, TVs, grab bars, and similar loads, lease permission and a properly engineered attachment method matter more than convenience. Adhesive products have limits, and drywall anchors are not a substitute for proper structural support when the load or consequences of failure are significant.
Shield nearby surfaces
Place a drop cloth, cardboard, or a scrap board beneath the work. It catches debris and helps protect flooring from dropped bits, screws, or tools. Cover nearby furniture, and move electronics away from drilling and sanding dust.
If you are drilling through a removable item such as a shelf board, support it on sawhorses or a stable workbench rather than on the apartment floor. Do not hold a small board with one hand while drilling or cutting with the other. Clamp it securely.
Set Up Power and Dust Control Safely
Tool setup in a rental is often constrained by limited outlets and small rooms. That is a reason to simplify the job, not overload the electrical system.
Use a grounded outlet for a grounded tool. Keep cords out of walkways, doorways, standing water, and areas where they can be pinched by a door. If an extension cord is necessary, use one intended for the tool’s power demand and length, as specified by the tool manufacturer. Do not connect multiple extension cords together or use a damaged power strip as a workaround.
For corded tools used in a garage, basement, bathroom-adjacent space, exterior area, or other damp location, follow the manual and use appropriate ground-fault protection where required. Outlet protection and local requirements vary, so contact the landlord or a qualified electrician if an outlet seems damaged, loose, hot, or unreliable.
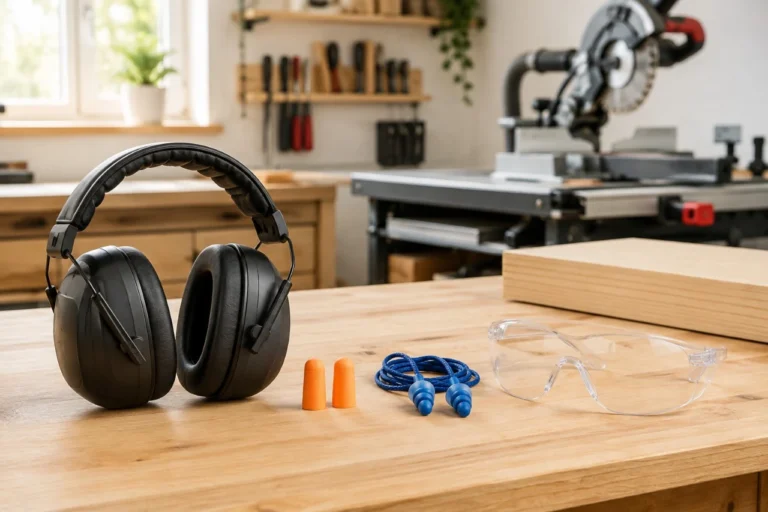
Dust is also a rental issue. Fine dust can spread through a rental home, settle in neighboring rooms, and create cleanup problems. Use dust-control methods appropriate for the tool and material. Attach a compatible dust port or use a shop vacuum when the tool and material allow it. Wear safety glasses and a suitable dust mask or respirator for the task, particularly when sanding. Ventilate when appropriate, but do not create a draft that sends dust into common areas.
Do not sand, drill, scrape, or cut materials you suspect may contain lead paint or asbestos. Buildings constructed before modern material restrictions may require testing and specialized handling. Report the concern to the property manager.
Use a Conservative Tool Plan
For renters, the safest approach is often the least invasive one that will reliably do the job. A compact drill/driver is appropriate for many small holes, hardware adjustments, and furniture assembly. It is not automatically the right choice for every wall, tile surface, or mounting project.
Match the tool setting to the task. Use a lower clutch setting for driving screws into soft wood or assembling furniture so you are less likely to strip a fastener or drive it through a panel. Drill a pilot hole when a screw manufacturer or material calls for one. For a hole near a finished surface, use a depth stop or wrap tape around the bit to mark the maximum depth, while remembering that a depth limit does not identify hidden utilities.
Cutting tools deserve extra caution in apartment spaces. A circular saw or reciprocating saw can create more risk, noise, vibration, and dust than a small indoor project justifies. If a cut cannot be made with the material fully supported, the correct blade installed, and a clear path behind the workpiece, take the material to an appropriate workspace or ask for help.
Know the Stop-Work Signs
Stop immediately if a tool binds, vibrates unusually, produces smoke, gives off a burning odor, loses a guard function, or damages a cord or battery. Disconnect power before inspecting anything. Replace a damaged accessory rather than trying to straighten, reshape, or continue using it.
Also stop when the job reveals something unexpected: a metal plate behind drywall, a pipe-like obstruction, crumbling plaster, wet framing, persistent mold, or a wall cavity that does not match your plan. Forcing a bit through an obstruction is not troubleshooting. It can turn a small improvement into an expensive repair.
When the work is complete, vacuum debris, remove any sharp offcuts, return the tool to its case or dry storage area, and keep batteries away from heat sources. Take a few photos of approved work and any existing damage you noticed before starting. Clear records and a clean work area are as useful to renters as a well-chosen drill bit.
A careful renter does not need a large workshop to work safely. They need a clear boundary, a sound tool, and the willingness to stop when the project asks for more than a rental home should demand.
Ulverion is reader-supported. Your support allows us to research tools, create practical guides, and share reliable DIY advice for homeowners, makers, and workshop enthusiasts.