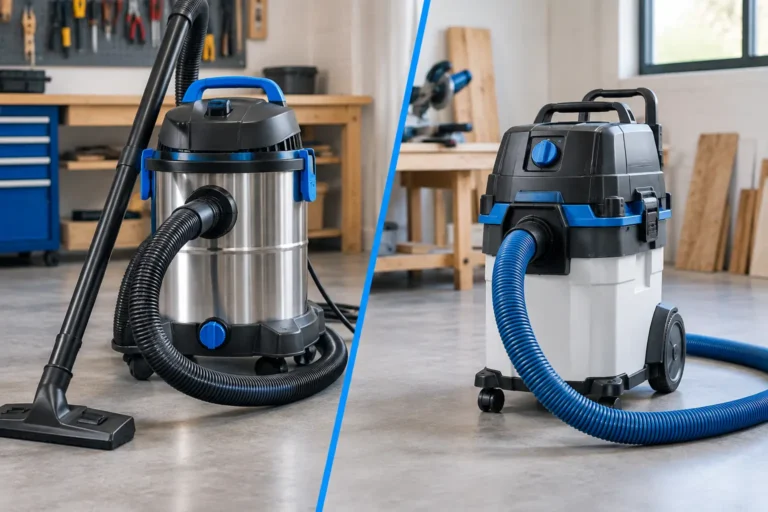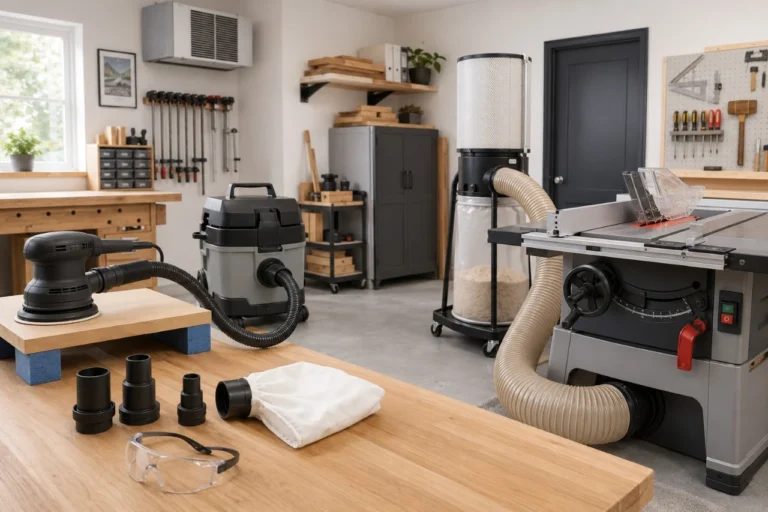
A shop vacuum collects dust effectively only when the hose, cuffs, adapters, and tool port form a secure airflow path.
To connect shop vacuum hose fittings correctly, first identify the connection style, then match the actual mating dimensions—not just the size printed on the hose.
Do not force a nearly fitting cuff onto a plastic port. A loose fit can pull room air into the system and reduce collection at the tool, while an overly tight fit can damage a cuff or dust port.
Start by identifying both hose connections
A shop vacuum hose may have a different fitting at each end. The vacuum-end cuff connects to the inlet, while the working end accepts a nozzle, wand, adapter, or compatible power-tool port. Some hoses are reversible, but many locking and proprietary systems are not.
Before measuring anything, look at how the fitting is designed to engage:
- Push-fit: slides into or over another fitting and relies on friction.
- Threaded: twists onto a mating hose end, adapter, or inlet, depending on the system.
- Locking: uses tabs, a collar, bayonet lugs, or another positive-retention feature.
- Tapered: uses a gradually changing diameter to create a friction seal before the parts bottom out.
Do not assume two parts are compatible because their labeled diameters look similar. Shop-vacuum fittings are not fully standardized across manufacturers. Diameter, taper, threads, locking features, and cuff geometry can all differ. The vacuum manual, tool manual, and manufacturer-listed adapter remain the best compatibility references.
If you are deciding whether a general-purpose vacuum is the right collector for the job in the first place, see Ulverion’s guide to shop vacuums vs. dust extractors.
Measure the cuff and dust port correctly
Measure the rigid mating surfaces rather than the flexible hose body. The hard cuff, adapter, or molded dust port is what actually determines whether the connection fits.
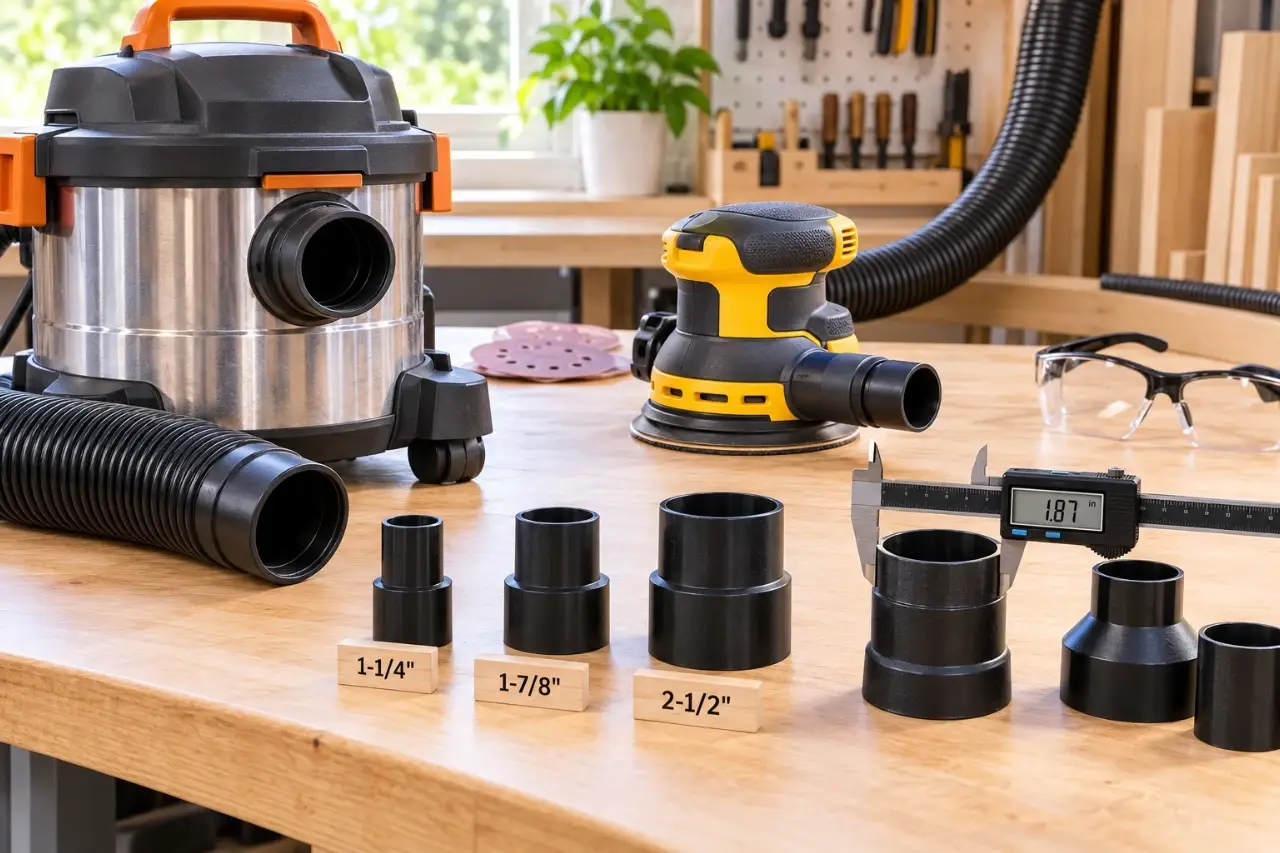
Calipers are the easiest way to compare fittings accurately, though a tape measure can work for larger round ports. Measure the surface that actually mates:
| Connection situation | Measure this surface | Matching dimension |
|---|---|---|
| Hose cuff slides over a tool port | Tool-port outside diameter | Cuff inside diameter |
| Hose cuff slides into a tool port | Tool-port inside diameter | Cuff outside diameter |
| Adapter joins two parts | Both mating surfaces | Correct adapter dimension at each end |
| Tapered port or cuff | Diameter where the parts are intended to seat | Adapter that seals securely without being forced |
Common home shop-vacuum accessory families include nominal sizes such as 1-1/4 in., 1-7/8 in., and 2-1/2 in. Treat those labels as system identifiers and starting points, not guarantees that two parts from different product families will mate directly.
A nominal 2-1/2-inch hose may still use a locking cuff, friction-fit cuff, or proprietary geometry. Also note metric dimensions when a tool port is specified in millimeters; do not round a close metric size to the nearest inch and assume it will fit.
Connect the hose before starting the tool
Inspect the dust-collection path before operating the power tool so you can correct a poor fit, kink, or blockage first.
- Disconnect power. Unplug the shop vacuum and any corded power tool before fitting or changing hoses and adapters. For a cordless tool, remove the battery when the manual calls for it during accessory or dust-port setup.
- Check the vacuum configuration. Confirm that the filter, collection bag, tank, and other user-serviceable parts are installed as required for the material you plan to collect. Fine drywall or sanding dust may require a finer filter or collection bag than ordinary workshop debris.
- Connect the hose to the vacuum inlet. Align tabs, locking features, threads, or guide marks before applying pressure. A threaded or locking fitting should engage normally without cross-threading or excessive force. If it binds immediately, stop and recheck the parts rather than forcing them together.
- Connect the working end to the tool or accessory. Seat a friction-fit or tapered connection only as far as needed for a secure fit. Do not drive a cuff farther onto a thin plastic dust port simply because more travel is available.
- Support the hose. Leave enough slack for the tool to move through its intended range without the hose hanging its full weight from the dust port. Keep the hose away from blades, bits, sanding pads, hot surfaces, and the workpiece path.
- Test the vacuum connection first. With the power tool still off, run the vacuum briefly and check that the hose remains secure, does not collapse or kink, and has no obvious leak at the connection. Then use the tool only as its manual directs and watch whether dust is being drawn toward the collection port during a short normal test operation.
For vacuums with an automatic tool-start outlet, follow the electrical limits in both manuals. The connected tool must stay within the vacuum outlet’s stated rating. Do not improvise a switched connection or substitute an ordinary power strip for an approved automatic-start arrangement.
Use an adapter only when it solves a real mismatch
Use an adapter when serviceable parts have different diameters, tapers, or connection systems. An adapter is not a repair for a cracked cuff, split hose, worn locking tab, or damaged dust port.
Start with the adapter supplied or listed by the tool or vacuum manufacturer when one is available. A system-specific adapter is more likely to match the intended geometry and avoid interfering with guards, vents, handles, or the workpiece.
A purpose-built stepped adapter can work for common round ports. If it is designed to be trimmed, confirm the correct step and follow the adapter maker’s directions before cutting.
Do not rely on layers of duct tape to turn a clearly mismatched hose and port into a permanent connection. Tape may temporarily reduce leakage around an otherwise correct friction fit, but it does not correct incompatible dimensions or damaged parts and can make the connection harder to inspect and remove.
Avoid improvised clamps or rigid couplers on handheld power tools unless the tool and adapter manufacturers specifically support that arrangement. Extra weight or stiffness at the dust port can interfere with tool control and may overload a plastic fitting.
Troubleshoot weak suction before replacing the vacuum
If collection at the tool is poor, work from the vacuum toward the tool and check the full airflow path.
Common causes include:
- a hose cuff installed on the wrong end of a directional or locking hose;
- a tapered cuff seated only on the outer edge of the port;
- an adapter that is split, cut too far, or the wrong size;
- a kinked, crushed, or internally blocked hose;
- a full collection bag or tank;
- a loaded, damaged, or incorrectly seated filter;
- an inlet, tank, latch, drain, or seal that is not closed as the manual requires; or
- a tool dust port clogged with chips or sanding debris.
Fine dust can load a filter quickly and reduce airflow even when the hose connection itself is airtight. Service filters and collection bags only as the vacuum manufacturer directs. Do not wash a filter unless it is specifically identified as washable.
If a cuff repeatedly falls off even though the nominal sizes seem correct, stop stretching it or adding more tape. Check the actual mating dimensions and use the accessory specified for that vacuum or tool.
For a broader look at airflow, filtration, hose routing, and collector selection, see Ulverion’s small shop dust collection guide.
Match the vacuum setup to the dust hazard
A close-fitting hose can improve ordinary sawdust collection, but a good mechanical fit does not make every dust-producing task safe.
Masonry cutting, grinding, and drilling can generate respirable crystalline silica. The correct control depends on the tool and task and may require a specific shroud, water-delivery method, or appropriately configured dust extractor. A general-purpose shop vacuum should not be treated as a universal silica-control system.
Lead-based paint requires separate precautions. In pre-1978 housing, EPA guidance for DIYers emphasizes containment, lead-safe work practices, and HEPA vacuuming where appropriate; covered professional renovation work has additional RRP requirements.
If you suspect asbestos-containing material, stop disturbing it. Material cannot be identified reliably by appearance alone, and EPA recommends having suspect material that may be disturbed during renovation evaluated by a properly trained and accredited asbestos professional.
A HEPA-labeled replacement filter does not automatically make a shop vacuum suitable for every hazardous dust. The complete collection system and operating method must match the hazard and applicable instructions.
Keep ignition risks separate as well. Typical wet/dry vacuums are not intended for hot ashes, smoking debris, flammable liquids, or combustible dusts such as certain metal powders unless the manufacturer specifically rates the machine for that material. Follow the exact vacuum manual rather than assuming a wet/dry label covers all liquids or dusts.
Keep hose fittings clean and easy to inspect
Dust packed into a cuff, thread, or locking tab can prevent proper seating. Disconnect the hose by gripping the cuff rather than pulling on the flexible hose body.
Brush or vacuum loose debris from user-accessible fitting surfaces, then inspect the cuff for cracks, worn locking features, or distortion. Ulverion’s guide to cleaning power tools safely covers the same principle: disconnect power first and clean only the parts the manufacturer treats as user-serviceable.
Store flexible hoses in broad loops rather than tight bends that can create permanent kinks. Keep adapters together so you can identify the correct fitting instead of forcing the closest-looking one onto a port.
For general setup habits around hoses, cords, PPE, and dust control, review Ulverion’s power tool safety tips.
A correctly matched shop-vacuum hose connection should seat securely without excessive force, repeated taping, or constant readjustment. Measure the mating surfaces, use the intended adapter, support the hose, and treat hazardous dust as a separate safety problem rather than just another fitting challenge.