A drywall anchor does not have one universal weight limit. Usable capacity depends on anchor design, drywall thickness and condition, hole quality, load direction, and how far the item projects from the wall. Use anchors only when the fixture manufacturer allows hollow-wall mounting and the anchor is approved for that wall and load. For heavy, frequently handled, person-supporting, or high-consequence items, use framing or another approved mounting system.
Package ratings are useful, but they are not blanket promises. A published number may apply only to a particular drywall thickness, anchor size, fastener, installation method, and load direction. Some manufacturers publish ultimate test loads rather than recommended working loads, so read the technical instructions instead of treating the largest number on the package as a safe target.
What actually limits a drywall anchor?
Drywall is a gypsum core faced with paper. It is an effective finish surface, but it is not structural lumber. A drywall anchor works by expanding in the panel, threading into it, clamping behind it, or spreading force across a larger area. Failure can occur when the paper face tears, the gypsum crushes, the hole enlarges, the anchor pulls through, or the hardware bends.
Load direction matters as much as total weight. A flat picture frame mainly places a downward shear load close to the wall. A shelf, cabinet bracket, or other projecting object also creates leverage that pulls the upper fasteners outward. That outward tension or pull-out load can be more demanding than the same weight hanging close to the wall.
Drywall condition matters too. Sound wallboard is more predictable than an oversized hole, patched area, softened gypsum, water-damaged board, or crumbling surface. A surface that looks like drywall may also cover wood studs, metal studs, masonry, multiple layers, or another wall assembly.
How to read a drywall-anchor weight rating
Do not compare anchors by one weight number alone. Before relying on a rating, check:
- the approved drywall or wall thickness;
- the exact anchor size and matching screw or bolt;
- whether the rating is for shear, tension, or another test condition;
- whether the published number is an ultimate test value or a recommended working load;
- the required hole diameter and installation method;
- whether the product is approved for wall, ceiling, or both;
- any limits on fixture type, spacing, edge distance, or repeated loading.
The manufacturer’s instructions should control. Ulverion’s guide to installing drywall anchors correctly covers the setup and installation sequence in more detail.
A higher laboratory test value does not make drywall equivalent to framing. The wallboard can remain the weak link, especially when the load projects outward or is repeatedly handled.
Drywall anchor limits by anchor type
Anchor design determines how force is transferred into the wall. These categories are useful for comparison, but the exact product instructions still decide what is acceptable.
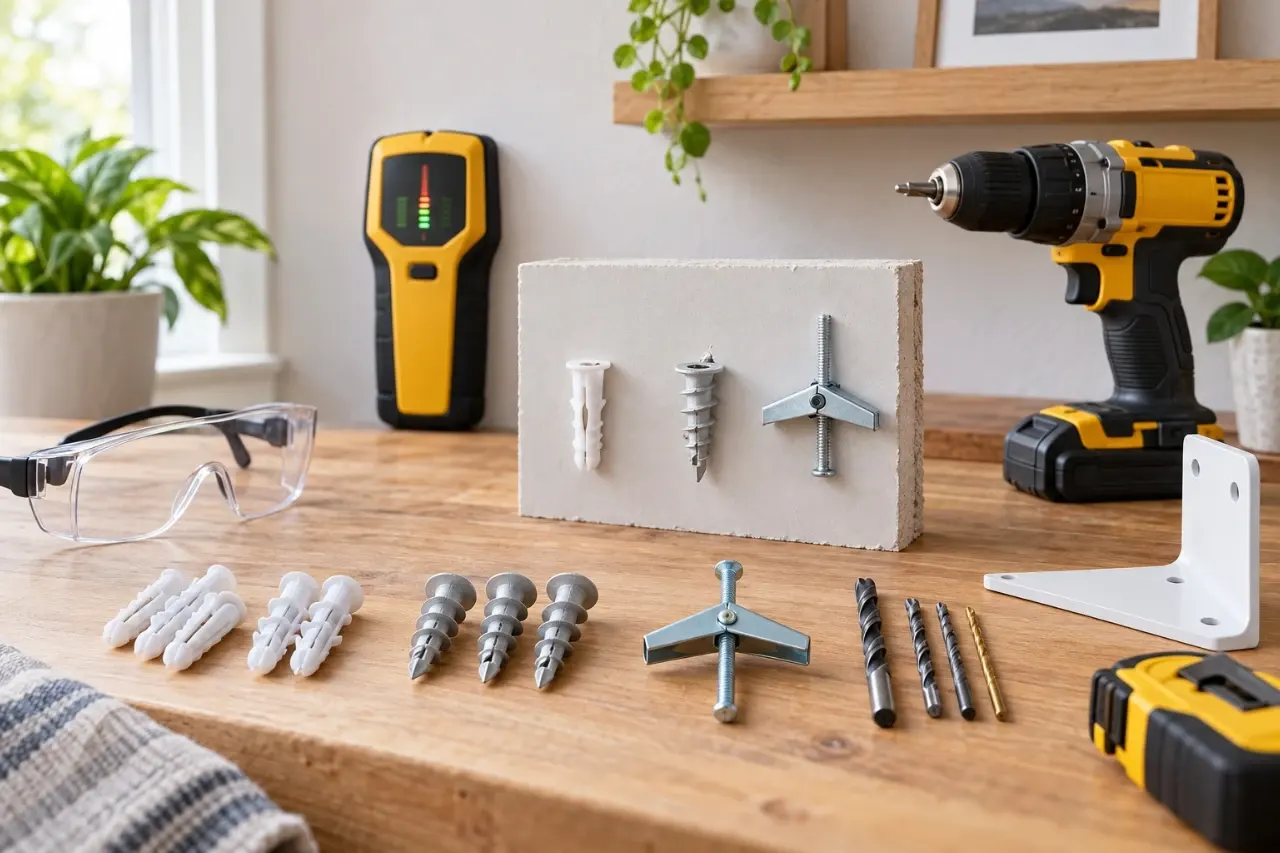
Plastic expansion anchors
Basic plastic sleeves expand as the screw enters. They are generally suited to light, stationary items when the anchor manufacturer approves drywall use. They rely heavily on intact gypsum and are not a good choice for a projecting or frequently pulled fixture.
If the anchor spins, slips forward, collapses, or fails to seat correctly, stop. Do not keep tightening in an attempt to make a damaged hole hold.
Self-drilling threaded anchors

Self-drilling anchors cut or form a grip in the drywall face. Depending on the product, they may be suitable for light to moderate nonstructural wall items in sound drywall. Their larger body can spread force better than a simple plastic sleeve, but they still depend on the wallboard.
Do not assume a threaded anchor is an automatic substitute for framing. Shelves, cabinets, folding surfaces, and frequently handled hardware can create leverage that exceeds what a flat decorative item would impose.
Toggle bolts and channel-style anchors

Traditional toggle bolts and channel-style anchors spread load across the back of the wallboard. They may be useful when a suitable stud is unavailable and the fixture instructions permit hollow-wall mounting.
Traditional spring toggles usually require a larger hole, and the wing commonly drops behind the wall if the bolt is removed. Some channel-style anchors remain captured in the wall. In either case, cavity depth, hole diameter, wall-thickness range, bolt size, and tightening method matter.
Before drilling, consider what may be behind the wall. A stud, pipe, duct, cable, protective plate, or other obstruction can prevent the anchor from opening or can make the drilling location unsafe.
Ordinary wall-anchor ratings do not apply automatically overhead
A wall rating does not automatically apply overhead. Ceiling applications can have different product approvals and more serious failure consequences.
Do not support a ceiling fan from drywall alone. Ceiling fans require a fan-rated support method, such as an approved fan-rated electrical box or direct structural support as specified by the fan manufacturer. Heavy fixtures, punching bags, hanging chairs, swings, storage racks, exercise equipment, and other dynamic or person-supporting loads also require a mounting system designed and approved for that use.
Match the mounting job to the support
Use the fixture and its loading behavior—not just its listed weight—to choose the attachment method.
| Mounting job | Practical support choice |
|---|---|
| Lightweight frame or small decor | A properly installed light-duty anchor may be suitable if the fixture and anchor instructions allow it. |
| Mirror with a manufacturer-supplied hanging rail | Use the specified hardware and all required mounting points. |
| Towel bar or coat hook | Prefer framing when practical, especially if the item will be pulled or bumped repeatedly. |
| Floating shelf or projecting bracket | Prefer studs or an approved mounting system because leverage increases pull-out load. |
| Wall cabinet or loaded tool rack | Fasten the rail or bracket to framing or verified structural backing as directed by the manufacturer. See Ulverion’s power tool storage guide for broader wall-storage considerations. |
| Grab bar | Use a mounting system specifically approved for grab-bar loads and the wall construction. Do not rely on an ordinary decorative drywall anchor. |
Adding more anchors does not automatically multiply capacity by the fastener count. Load sharing can be uneven, especially when a fixture flexes or holes are misaligned.
How to stay within drywall anchor limits
Before making holes, assess the fixture, wall, and consequences of failure.
- Read the fixture instructions first. A mirror, shelf, television mount, cabinet, rail, or other fixture may specify fastener locations and approved wall types. Follow those requirements before choosing an anchor.
- Locate framing without relying on spacing alone. A stud finder can help identify framing, but it does not prove that the cavity is clear of wiring, plumbing, or other hidden objects. Use multiple clues and stop if the wall construction is uncertain.
- Check the mounting geometry. A fixture that projects away from the wall, swings, folds, carries items near its front edge, or will be tugged creates more leverage than a flat object of the same weight.
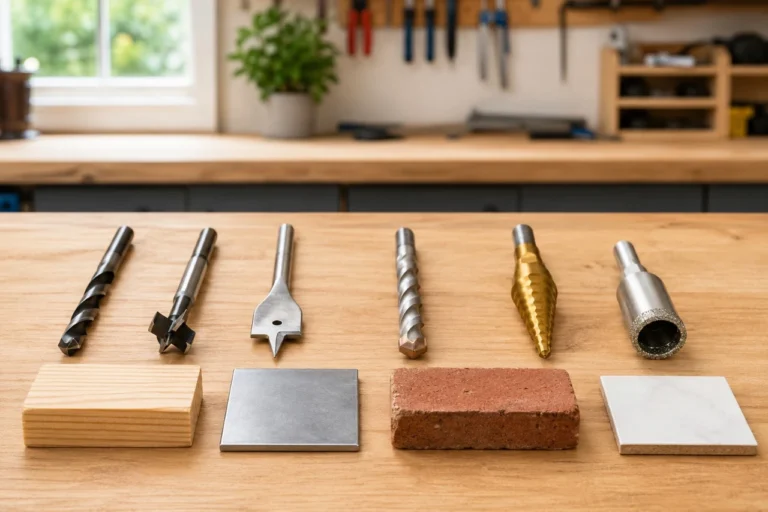
- Use the exact hole size and installation method. An undersized hole can distort an anchor; an oversized hole can reduce its grip. If drilling is required, use the specified bit and make only the hole the anchor instructions call for. Ulverion’s drill bit guide explains how to match the bit to the material and task.
- Tighten only until the fixture is secure. Overtightening can crush gypsum, strip the anchor’s grip, deform the mounting flange, or damage the paper face.
- Check the finished mount gently. Confirm that the anchor did not spin, the fasteners are seated correctly, and the fixture does not wobble. Do not perform an aggressive pull test that can overload the anchor or damage the wall.

When fastening into a wood stud, choose a fastener that provides the required embedment in solid wood after passing through the fixture and wall finish. Do not use excessive length when you do not know what is behind the wall.
Common failures and what they mean
A loose anchor is not something to tighten repeatedly. If it spins, pulls outward, cracks the paper face, or no longer sits firmly, remove the load and reassess the mounting point.
Patch compound can restore the wall surface, but it should not be treated as structural backing for a new anchor. Move the fastener to sound material, use a different approved anchoring method, or reach framing when the fixture calls for it.
Cracks around the hole, a sagging shelf, a shifting bracket, or soft drywall are stop-work signs. Remove the item if it can be done safely. Water damage, suspected mold, wall movement, or uncertainty about a safety-critical installation warrants professional evaluation.
Check for hidden hazards before drilling
Walls can conceal electrical wiring, plumbing, ducts, framing hardware, and protective plates. Be especially cautious near outlets, switches, plumbing fixtures, appliance connections, kitchens, bathrooms, laundry areas, and mechanical spaces.
If you encounter unexpected metal or firm resistance behind the drywall, stop. Do not force a drill bit or screw through an unidentified obstruction. A metal plate may be protecting wiring or plumbing.
A stud finder or live-wire indicator can provide useful information, but it cannot guarantee that a drilling path is clear. Ulverion’s renter tool safety checks explain why hidden-service risks should be considered before making holes in finished walls.
The most dependable drywall installation is the one that respects drywall’s role. For a light, stationary item, the correct anchor installed in sound wallboard can be entirely reasonable. As weight, leverage, repeated use, or the consequences of failure increase, the safer decision is to move toward framing or a mounting system specifically designed for the load.
Ulverion is reader-supported. Your support allows us to research tools, create practical guides, and share reliable DIY advice for homeowners, makers, and workshop enthusiasts.