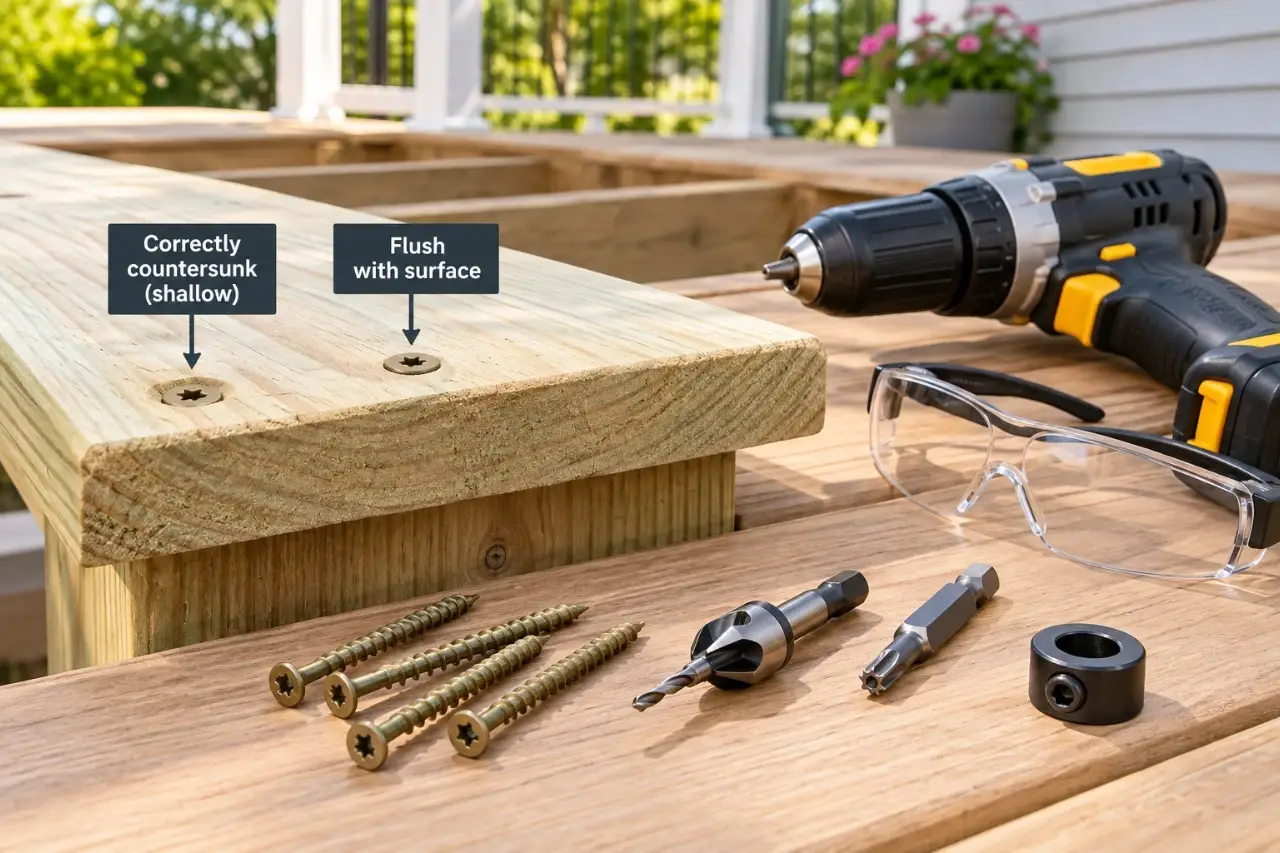
For wood decking, countersinking is mainly about depth control: use an exterior-rated screw that matches the board material, predrill when the fastener or wood calls for it, make only a shallow recess if needed, and stop at the specified finished depth.
A deck screw should not be buried simply to make it disappear. Overdriving can crush wood fibers, split boards, weaken the fastening point, or damage composite and PVC decking.
Know when countersinking is appropriate
A countersink is a shallow, tapered recess that lets a compatible flat-head screw finish flush with or slightly below the surface. On wood decking, that can create a smoother surface and reduce proud screw heads that catch footwear, furniture, or tools.
A separate countersink bit is not always required. Many deck screws for wood have under-head nibs, cutting ribs, or other features that help the head seat cleanly as the screw is driven. Some are also designed to install without predrilling in specific wood applications.
The correct approach depends on the decking and fastener system:
| Decking material | General approach | Main concern |
|---|---|---|
| Pressure-treated softwood | Use compatible exterior deck screws; predrill when required, especially near ends | Splitting, corrosion, and overdriving |
| Cedar or redwood | Use corrosion-resistant fasteners approved for the species; predrill when required | Splitting, staining, and surface damage |
| Hardwood decking | Predrilling is commonly required; use the specified pilot-hole and countersink dimensions | High driving resistance, snapped screws, and splitting |
| Composite decking | Follow the board and fastener manufacturer instructions exactly | Mushrooming, dimpling, and incorrect screw depth |
| PVC decking | Use the fastening method specified for that product line | Distortion and incorrect recess depth |
This distinction matters because some composite and PVC systems call for screws to finish flush, some use a proprietary setting tool, and others use a counterbore-and-plug system. Do not add a generic countersink step to composite or PVC decking unless the manufacturer specifies it.
Choose the screw before choosing the bit
Use a screw made for the decking material and outdoor exposure. For pressure-treated lumber, the fastener must be compatible with the wood treatment and corrosion conditions. Cedar, redwood, hardwood, coastal locations, and high-moisture environments may require a different coating or stainless-steel grade than an ordinary exterior screw.
Head design also matters. Flat-head deck screws are intended to seat into the surface, while trim-head, plug-system, and proprietary composite screws may require a different installation method. If the screw manufacturer supplies a matching bit, pilot-hole chart, countersink tool, or depth setter, use that system rather than substituting a generic size.
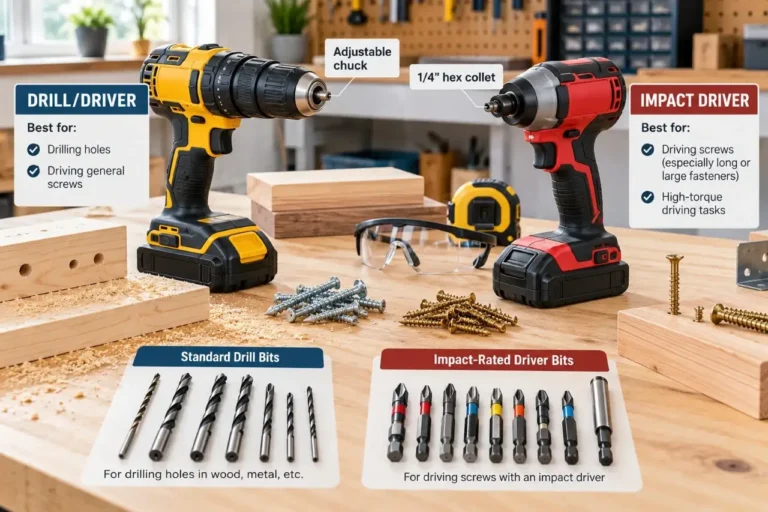
For controlled screw driving, a drill/driver is often easier to manage because its clutch can limit torque. An impact driver is efficient for long or resistant fasteners, but it can bury a screw quickly in soft decking if you stay on the trigger too long.

Tools and materials to set up first
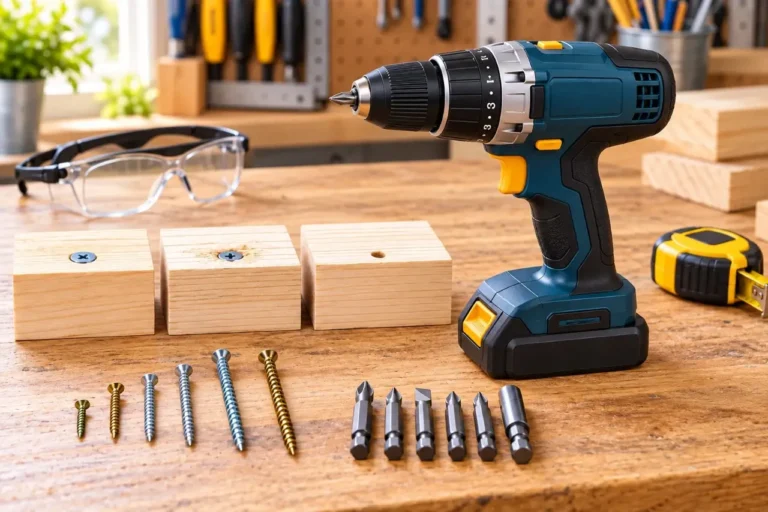
For a typical wood-decking installation, you may need exterior-rated deck screws, a variable-speed drill/driver, the exact driver bit for the screw recess, a pilot bit sized according to the fastener instructions, and a countersink or combined pilot-and-countersink bit when the system calls for one. A depth stop or manufacturer-specific setting tool can improve consistency.
Do not rely on a universal rule such as “use a bit slightly smaller than the screw.” Pilot-hole size depends on screw geometry, wood density, board thickness, and the fastener manufacturer’s requirements. Ulverion’s guide to preventing wood from splitting while drilling explains why the correct size varies.
Match the driver bit exactly to the screw recess. A worn, undersized, or poorly seated bit can cam out and damage the screw head. If you use an impact driver, use driver bits and holders rated for impact use.


How to countersink deck screws step by step
1. Confirm the decking and fastener requirements
Identify the board material and exact fastener first. Check the current decking and fastener instructions for screw type, length, corrosion rating, spacing, end distance, edge distance, pilot-hole requirements, and finished head depth.
This is especially important with composite and PVC decking. Do not assume that a technique that works in pressure-treated lumber is acceptable for a manufactured board.
2. Seat and support the board correctly
Make sure the board is properly supported and positioned on the framing. Maintain the spacing or expansion gap required for the material. Correct a badly bowed, cupped, or unsupported board before fastening instead of trying to pull it flat with excessive screw force.
Keep fasteners at the end and edge distances specified by the decking or fastener manufacturer. Locations too close to an end or edge increase splitting risk in wood and may violate the installation requirements for manufactured decking.
3. Drill the pilot hole when required
Predrilling is commonly useful in dense hardwood, dry or brittle wood, and locations near a board end or edge. Some screws designed for softwood decking can be installed without a pilot hole in normal field locations, but the fastener manufacturer’s directions take priority.
Use the specified pilot diameter and depth. An oversized hole can reduce thread engagement, while an undersized hole can increase driving torque and splitting risk. If wood repeatedly splits, review the pilot-hole size and fastener choice rather than simply increasing tool power.
4. Cut only the recess the screw needs
If the fastener system calls for a separate countersink, center it in the pilot hole and cut slowly. The recess should match the screw-head geometry and be only deep enough to reach the specified finished position.
A depth stop or matched countersink tool is useful for repeated holes, especially in hardwood. Test the setup on an offcut or inconspicuous location when possible. If the screw has self-countersinking features, a separate countersink may be unnecessary.

5. Drive the screw square and slow down near the surface
Hold the driver in line with the screw so the fastener enters perpendicular to the board unless the system specifically requires another angle. A tilted screw can enlarge one side of the recess and leave an uneven finish.
Start at a controlled speed. As the head approaches the board, reduce speed and watch the fastener depth. With a drill/driver, use a conservative clutch setting and increase it only as needed. See how to set a drill clutch for screws for a repeatable adjustment method. With an impact driver, use a lower speed mode if available and brief trigger pulls near the final depth.
6. Stop at the specified finished depth
For many wood deck screws, the goal is a head that finishes flush or only slightly recessed, depending on the fastener instructions. It should not create a deep crater around the head.
Composite and PVC fasteners are more system-specific. A screw that looks “nicely buried” may actually be too deep. If the manufacturer supplies a depth setter, plug tool, or proprietary installation bit, use it as directed.
7. Inspect the first screw before repeating the process
Before installing a full row, check the first fastener. The head should be at the correct depth, the material around it should be intact, and the board should remain seated on the framing. Stop and adjust the setup if you see a split, raised ring, severe dimple, crushed surface, or damaged screw recess.
Common problems and practical fixes
The screw head is proud
A proud screw may be caused by a worn driver bit, an incorrect pilot hole, dense material, a knot, or the wrong screw. Stop and identify the resistance instead of forcing the fastener deeper.
Replace a worn bit and confirm that it seats fully. If the instructions allow it, remove the screw and correct the pilot hole before reinstalling. If the recess is already damaged, do not keep driving it; use an appropriate method for a stripped screw.
The board splits near the screw
Stop driving as soon as a split develops. Check the specified end and edge distances, pilot-hole requirement, screw diameter, and board condition. A correctly sized pilot hole can reduce the wedging force that starts a split.
Do not assume that moving the screw slightly will solve the problem. Any replacement location still has to meet the required fastening pattern. Replace a badly split or structurally compromised board rather than relying on the screw to hold damaged fibers together.
The screw head sinks too deep
Overdriving is common in soft lumber and when an impact driver is used at high speed. Lower the drill clutch setting, reduce speed near the surface, or use the fastener system’s depth-control tool.
If the screw is deeply buried, the surrounding material is crushed, or the fastener no longer clamps the board properly, remove it and follow the decking manufacturer’s repair or replacement guidance.
Composite decking forms a raised ring or dimple
A raised ring, sometimes called mushrooming, means the fastener is displacing the surface instead of producing the intended finish. The correction depends on the board and fastener system. Some installations require a specified pilot hole, a different screw, a proprietary tool, or another drive method.
Do not aggressively shave, sand, or countersink the area unless the decking manufacturer permits that repair. Manufactured boards can have capped surfaces that are easily damaged.
Safety and stop-work checks
Wear eye protection when drilling and driving because wood chips, broken bit fragments, and metal debris can become flying particles. Keep your free hand away from the bit, screw point, and underside of the fastening path.
Before driving long screws, make sure the path is clear of hidden utilities, metal hardware, or other components that should not be penetrated. Use the screw length required by the approved fastening method rather than substituting a longer fastener “for extra hold.”
Stop if you find significant rot, loose framing, failed connections, widespread board failure, or visible movement in the deck structure. Surface screws cannot correct a structural deck problem; damaged framing or connections should be evaluated and repaired appropriately.

The key is controlled depth, not a hidden screw
A good deck-screw installation is about matching the fastener to the decking, drilling only when required, keeping the screw square, and stopping at the specified depth.
On wood decking, that may include a shallow countersink. On composite or PVC decking, the manufacturer’s fastening system should determine whether any countersink, counterbore, setting tool, or plug system is appropriate.
Ulverion is reader-supported. Your support allows us to research tools, create practical guides, and share reliable DIY advice for homeowners, makers, and workshop enthusiasts.