A workshop extension cord should deliver power without becoming the weakest part of your tool setup. The most common workshop extension cord mistakes are using a cord that is too light or too long for the load, connecting cords together, continuing to use damaged cords, and ignoring heat or poor tool performance.
An extension cord is more than extra reach. Its conductor size, length, electrical rating, jacket, plugs, and condition all affect how safely it can supply a corded tool.
For most DIY workshop use, the safest approach is simple: follow the tool manual, use the shortest properly rated cord that reaches the job, keep connections dry and protected, and stop whenever the cord, plug, outlet, or tool behaves abnormally.
1. Using a Light-Duty Cord for a High-Demand Tool


Extension cords are not interchangeable. A cord that works for a lamp or other light load may be unsuitable for a circular saw, shop vacuum, compressor, miter saw, or another motor-driven tool.
Start with the tool manual and the markings on the cord.
The tool manufacturer may specify:
- a minimum conductor size;
- a maximum extension-cord length;
- an extension-cord chart based on tool amperage; or
- other electrical requirements for that model.
Follow those instructions when they are provided.
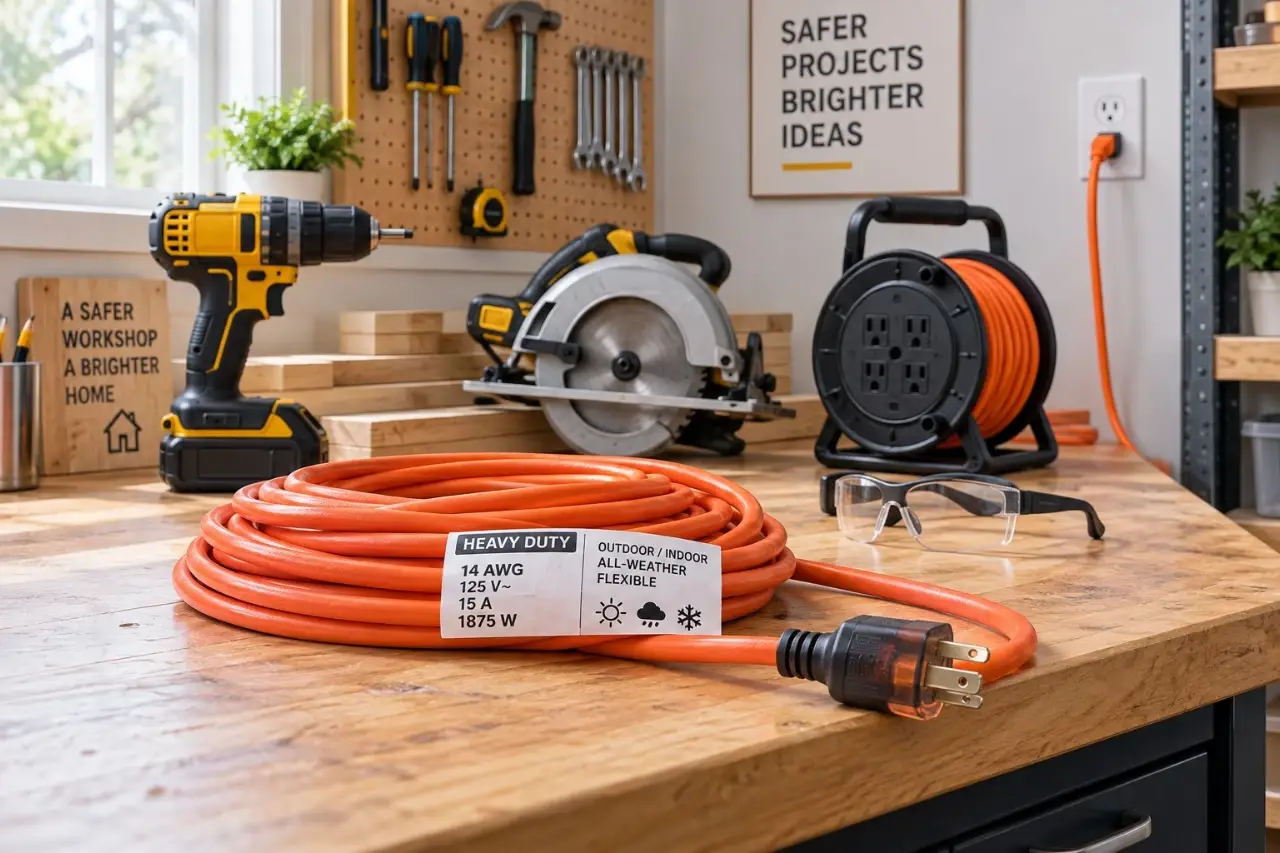
The cord jacket or tag should identify information such as conductor size, voltage, current or wattage rating, and whether the cord is intended for outdoor use.
What AWG Means
AWG stands for American Wire Gauge. The numbering works in the opposite direction from what many beginners expect: a lower AWG number means a larger conductor.
For example:
| Cord gauge | General comparison | Practical limitation |
|---|---|---|
| 16 AWG | Smaller conductor, suitable for some lighter loads and short runs | May be inadequate for demanding tools or longer distances |
| 14 AWG | Larger conductor commonly used for general workshop loads | May still be inadequate for long runs or higher-current equipment |
| 12 AWG | Larger conductor with lower resistance than 14 or 16 AWG at the same length | Heavier and less flexible |
This table is not a universal extension-cord sizing chart. Gauge alone does not tell you whether a cord is suitable.
You also need to consider:
- tool current draw;
- cord length;
- marked cord rating;
- plug and receptacle configuration;
- indoor or outdoor use; and
- the tool manufacturer’s instructions.
A cord’s marked amp or watt rating is a limit, not a target to exceed.
For broader pre-use checks involving cords, guards, accessories, and other tool components, see our power tool safety tips for home workshops.
2. Assuming Any Long Extension Cord Works the Same
Cord length matters.
Electrical conductors have resistance, and resistance increases as the total length of the conductor increases. A longer extension cord can therefore create more voltage drop than a shorter cord of the same conductor size.
Voltage drop means the tool receives less voltage than it would through a shorter, lower-resistance connection.
With some motor-driven tools, excessive voltage drop may contribute to symptoms such as:
- slow or difficult starting;
- reduced torque;
- a motor that labors under an ordinary load;
- unusual heating; or
- poor performance that disappears when the tool is connected through a shorter, properly rated setup.
Do not solve every distance problem by reaching for the longest cord in the workshop.
Use the shortest cord that reaches the work area safely. If a longer run is necessary, check the manufacturer’s extension-cord guidance and choose a cord rated for both the tool and the distance.
Also remember that a heavier cord does not increase the capacity of the wall circuit. A 12 AWG extension cord connected to a branch circuit does not allow you to draw more current than the circuit, receptacle, and connected equipment are designed to handle.
If a corded tool consistently seems underpowered, do not immediately assume the tool itself is defective. Our guide to corded vs. cordless power tools explains other setup factors that can affect tool performance.
3. Daisy-Chaining Extension Cords and Using Outlet Shortcuts
Connecting one extension cord to another adds another plug-and-connector junction and increases the total length of the electrical path.
It also makes the setup harder to evaluate because you now have to account for:
- the rating of each cord;
- the condition of each connector;
- the total cord length; and
- every connection point between the receptacle and the tool.
For workshop use, choose one correctly rated cord of sufficient length whenever practical.
Do not use another extension cord, a multi-plug adapter, or a power strip simply as a workaround for an inadequate workshop power layout.
If your workshop regularly requires several high-demand corded tools in an area without enough suitable receptacles, the better long-term solution may be to have a qualified electrician evaluate the electrical setup.
Extension cords should not become permanent substitutes for fixed building wiring.
Avoid routing cords:
- through holes in walls, floors, or ceilings;
- beneath rugs or other coverings;
- where doors can crush them;
- across vehicle paths;
- around sharp sheet material;
- against hot surfaces; or
- where the tool itself can cut or abrade the cord.
A properly rated cord can still become unsafe when it is routed poorly.
4. Leaving a Cord Tightly Coiled While It Is Under Load

A cord wound tightly on a reel or left in a dense bundle can retain more heat than the same cord laid out for normal use.
This matters most when a cord is carrying a substantial load for an extended period.
If you use an extension-cord reel, read the reel label and instructions before connecting a demanding tool. Some reels specify different maximum loads depending on whether the cord is fully wound or fully extended.
Follow the manufacturer’s rating.
Do not assume that a reel rated for a particular load when fully extended can carry that same load while most of the cord remains wound.
Also avoid covering an energized extension cord or reel with:
- rugs;
- drop cloths;
- cardboard;
- boxes;
- sawdust; or
- other material that can trap heat or conceal damage.
When the tool or reel instructions require the cord to be fully extended, unwind it before starting work.
5. Ignoring Damage at the Plug, Connector, or Cord Jacket
Inspect an extension cord before plugging it in.
A quick inspection should cover the full length of the cord, both ends, and the areas where the cable enters the plug and connector.
Remove the cord from service if you find:
- cuts or cracks in the jacket;
- crushed or flattened sections;
- exposed conductor;
- a bent or loose plug blade;
- a missing grounding pin;
- a damaged connector body;
- darkened or melted plastic;
- a burnt smell;
- tape covering damaged insulation; or
- abnormal heat during ordinary use.
Electrical tape is not a permanent repair for damaged extension-cord insulation. It does not restore the cord’s original insulation system, strain relief, or environmental protection.
For an ordinary household extension cord, replacement is usually the safer response to significant damage rather than a DIY electrical repair.
Do not open or modify an extension cord’s internal wiring unless the product is specifically designed for qualified servicing and the work is being performed appropriately.
Never Remove the Grounding Pin
If a tool or extension cord uses a three-prong grounded plug, do not remove the round grounding pin to make it fit an older two-slot receptacle.
That grounding connection is a safety feature.
If the plug does not fit the available receptacle, use an appropriate properly installed receptacle or have the outlet evaluated by a qualified electrician.
The same inspection habit should apply to the tool itself. Ulverion’s guide on cleaning and inspecting power tools covers additional signs that should take a tool out of service.
6. Using an Indoor Cord Outdoors or Around Moisture
A cord used outdoors should be marked for outdoor use.
Outdoor-rated extension cords use cord jackets intended for environmental conditions that ordinary indoor cords may not be designed to tolerate.
However, outdoor-rated does not mean waterproof.
The cord may be suitable for outdoor use while the plug-and-connector junction still needs protection from water.
Keep connections:
- off wet ground;
- out of puddles and standing water;
- away from sprinklers;
- away from areas where runoff can reach them; and
- protected from unnecessary weather exposure.
If rain begins or a plug or connector becomes wet, stop work and disconnect power from a safe, dry location.
Do not resume work simply because the outside of the connector appears dry. If water may have entered the connection or equipment, follow the manufacturer’s guidance before putting it back into service.
Understand What GFCI Protection Does
A ground-fault circuit interrupter, or GFCI, is an important layer of shock protection in locations where it is required or appropriate.
It monitors the electrical circuit and can interrupt power when it detects certain current leakage along an unintended path.
But GFCI protection does not make an unsafe setup acceptable.
A GFCI does not make these conditions safe:
- damaged insulation;
- an overloaded cord;
- a wet plug connection;
- an improperly rated extension cord;
- a missing grounding connection where grounding is required; or
- a damaged power tool.
Use GFCI protection according to applicable requirements and the instructions for the receptacle, portable GFCI device, and connected equipment.
7. Treating Heat, Breaker Trips, and Poor Tool Performance as Normal
A hot plug, repeated breaker trip, flickering power, or tool that suddenly struggles under an ordinary load should not be treated as normal workshop behavior.
Stop using the setup if you notice:
- a cord, plug, connector, or receptacle becoming unusually hot;
- hot or melting-plastic odors;
- discoloration around a connection;
- arcing or visible sparking at a connection;
- intermittent or flickering power;
- repeated breaker or GFCI trips; or
- a tool that repeatedly loses power or labors during work it normally handles.
Turn the tool off and unplug the setup before investigating visible, user-accessible components.
If something is hot, allow it to cool.
Then check:
- whether the extension cord matches the tool manufacturer’s requirements;
- whether the cord is unnecessarily long;
- whether the cord or plug is damaged;
- whether other high-demand equipment is running on the same circuit; and
- whether the tool itself is showing signs of a problem.
An extension cord is only one possible cause.
A loose receptacle, failing tool, overloaded branch circuit, damaged cord, or other electrical problem may produce similar symptoms.
Do Not Keep Resetting a Breaker
A tripped breaker is a warning that the cause needs attention.
Do not repeatedly reset the breaker so you can continue working.
Do not replace it with a larger breaker as a DIY solution to nuisance tripping. The breaker is part of the electrical system’s protection, and changing its rating without the correct wiring and electrical design can create a serious hazard.
If the breaker continues to trip with an appropriate load and a known-good cord, stop using that setup.
For suspected tool problems, follow the manufacturer’s service guidance or contact an authorized service provider.
For a loose, scorched, overheating, or otherwise suspect wall receptacle or branch circuit, contact a qualified electrician.
A Quick Extension Cord Safety Check Before Using a Power Tool
Before starting a corded workshop tool, run through this short check:
- Read the tool instructions.
Confirm any required extension-cord gauge or maximum length. - Read the cord label.
Check conductor size, electrical rating, and indoor/outdoor designation. - Inspect the entire cord.
Look for cuts, crushing, exposed conductor, plug damage, heat damage, and missing grounding components. - Use the shortest practical cord.
Avoid unnecessary length and extra connections. - Check the work environment.
Keep cords and connectors dry, protected, and away from traffic, blades, abrasive surfaces, and heat. - Unwind the cord as required.
Follow cord-reel ratings and do not trap heat under coverings or debris. - Consider the total electrical load.
Remember that other equipment on the same circuit contributes to the load. - Stop when something changes.
Heat, odor, power loss, loose connections, or repeated trips are signals to stop and find the cause.
Extension cord safety is mostly about matching the entire setup to the job. The tool, cord gauge, cord length, environment, receptacle, circuit load, and physical condition of the equipment all matter.
When those pieces are right, the extension cord should be one of the least noticeable parts of the job: the tool starts normally, performs as expected, and the cord and connections remain cool, dry, secure, and protected from damage.
If they do not, stop and correct the setup before making the next cut, hole, or sanding pass.
Ulverion is reader-supported. Your support allows us to research tools, create practical guides, and share reliable DIY advice for homeowners, makers, and workshop enthusiasts.