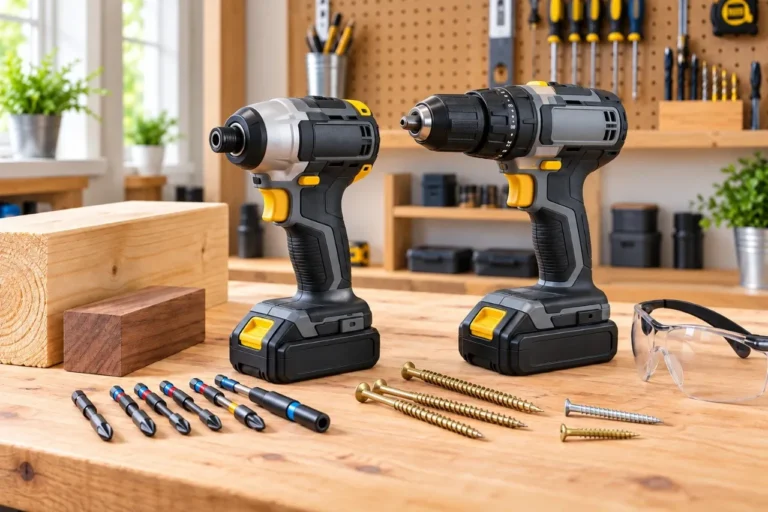
A drill clutch helps control how much torque a drill/driver applies while driving screws.
To set a drill clutch correctly, start with a lower setting, test a screw in similar material, and increase the setting only until the fastener seats properly.
The correct setting depends on the screw type, driver bit, material, tool, and whether a pilot hole is used.
What the drill clutch actually does
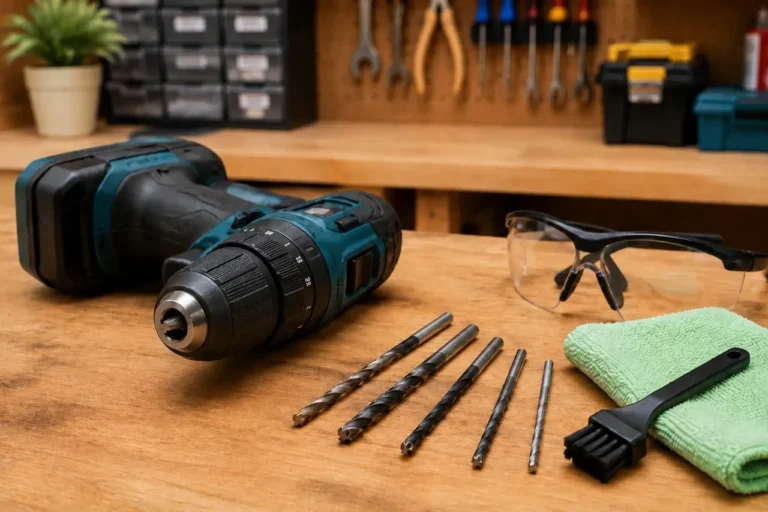
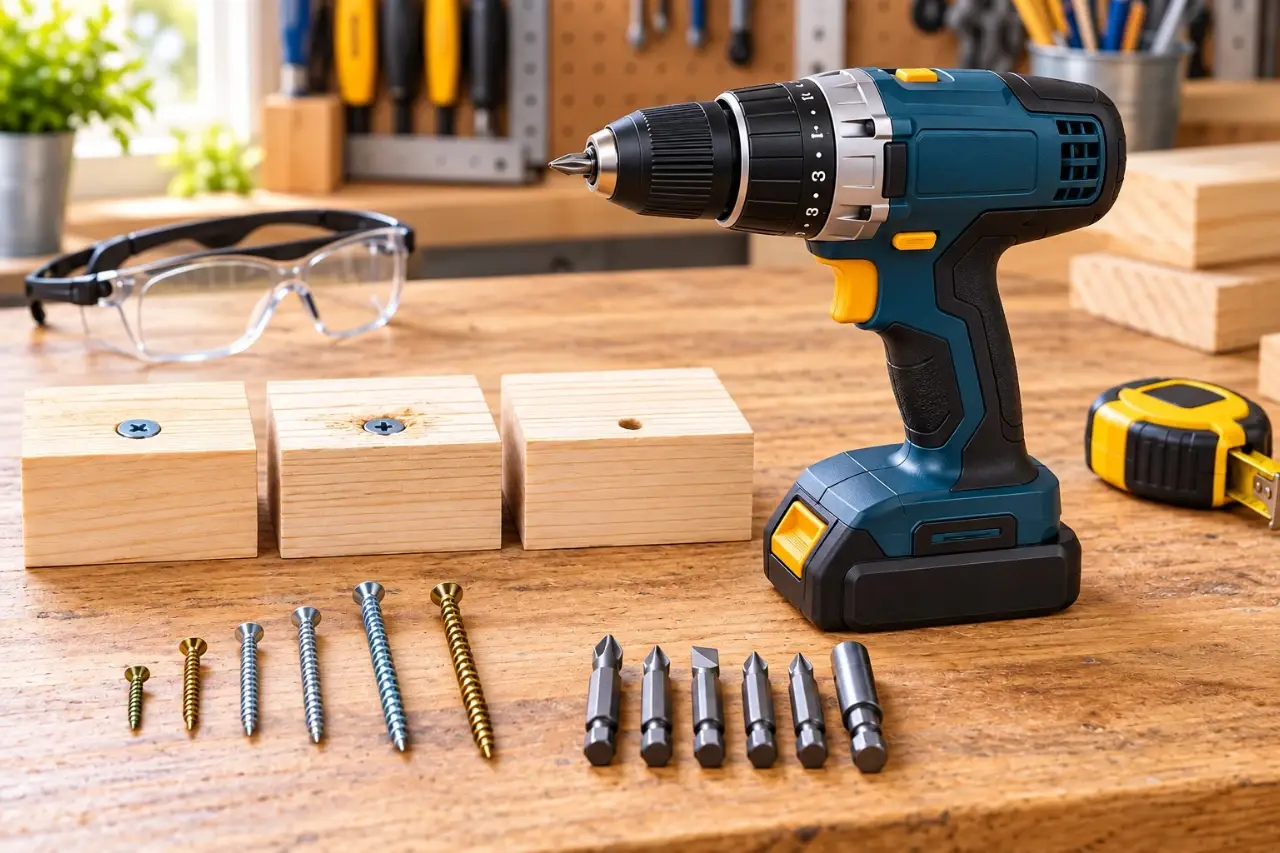
The adjustable collar behind the chuck is the clutch. On most drill/drivers, it has numbered positions and a drill-bit symbol. The numbered positions limit the amount of torque the tool applies before the clutch slips.
When the resistance reaches the selected limit, the clutch slips with a clicking or ratcheting sound. The motor may continue running, but the bit stops delivering full turning force. This helps reduce common fastening problems such as stripped screw heads, overdriven screws, and damaged work surfaces.
A higher number allows more torque before the clutch slips. A lower number slips sooner. The drill-bit symbol usually bypasses the clutch limit so the tool can deliver its available torque for drilling. Some tools also include a hammer symbol for masonry drilling. Do not use hammer mode for driving screws unless the manufacturer specifically allows it.
The numbered settings are not a universal torque scale. A setting of 10 on one drill may not match a setting of 10 on another drill. Treat the numbers as relative adjustments for your own tool.
How to set drill clutch for a fastening job
Use a scrap piece of the same material whenever possible. A 2×4 offcut is useful for framing lumber, but it may not represent fastening into drywall, pine trim, plywood, hardwood, or cabinet material.
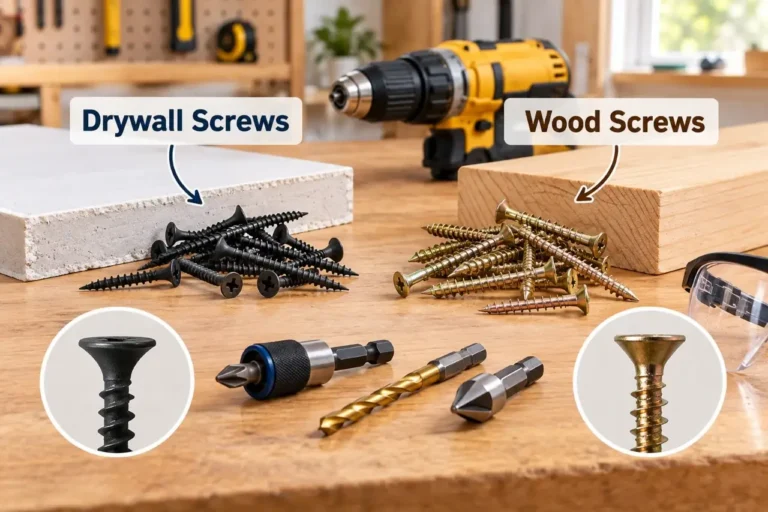
- Install the correct driver bit. Use a bit that fully matches the screw recess. A worn or incorrect bit can slip in the screw head before the clutch setting becomes the limiting factor. Keep the bit aligned with the screw.
- Set the drill to low speed. Most drill/drivers have a two-speed selector. Use low speed, often marked 1, for driving screws because it provides better control. High speed is generally intended for drilling smaller holes.
- Start with a low-to-middle clutch number. For small screws in softwood, begin near the low end. For longer screws, hardwood, or screws entering a pilot hole, begin around the middle. Starting too low is safer because the clutch will simply slip before the screw is fully seated.
- Drive one test screw. Apply steady forward pressure and keep the drill square to the work surface. Stop if the bit begins slipping in the screw head. Do not continue pulling the trigger while the clutch repeatedly clicks.
- Adjust one or two numbers at a time. If the screw stops above the surface and the clutch clicks, increase the setting slightly. If the screw sinks too far, damages the material, or strips, reduce the setting.
- Use the lowest setting that completes the job. This provides a useful margin against accidental overdriving.


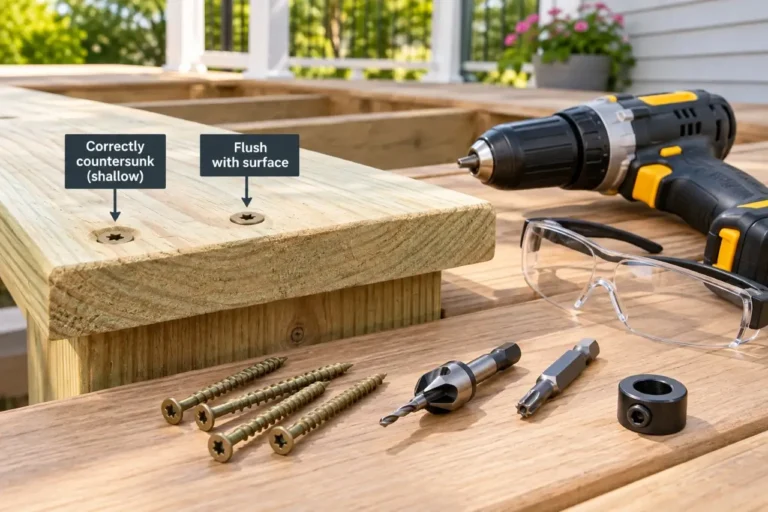
For finish work, it may be better to leave a screw head slightly proud and make final adjustments carefully by hand when needed. This can help protect trim, hardware, and visible surfaces.
Starting points by material and screw type
These are starting ranges, not fixed rules. Always test first because tool torque, screw design, material density, and pilot holes affect the result.
| Task | Sensible starting point | What to watch for |
|---|---|---|
| Small screws in drywall anchors or thin hardware | Low setting | Avoid crushing drywall or stripping small screw heads |
| Short screws in softwood or pine trim | Low to medium | Stop before the screw head damages the surface |
| Cabinet hinges and drawer hardware | Low setting | Make final adjustments carefully if needed |
| Deck screws or long screws in framing lumber | Medium to high | Drill a pilot hole near board ends to reduce splitting |
| Screws in hardwood | Medium to high | Use a properly sized pilot hole; more torque is not always the solution |
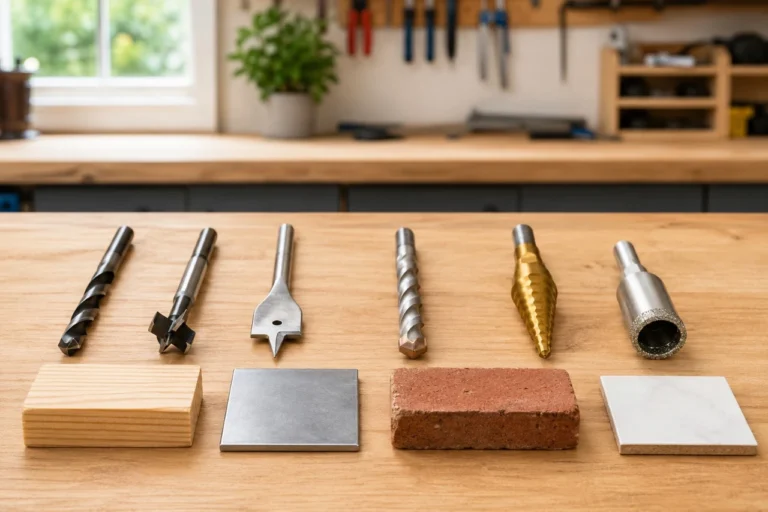
| Drilling holes with a twist bit | Drill-bit symbol | Use the correct bit and speed for the material |
A pilot hole changes the fastening process because it removes material before the screw enters. This reduces the torque needed and can lower the chance of splitting wood. After drilling a pilot hole, start with a lower clutch setting and adjust as needed.
When to use the drill-bit symbol instead
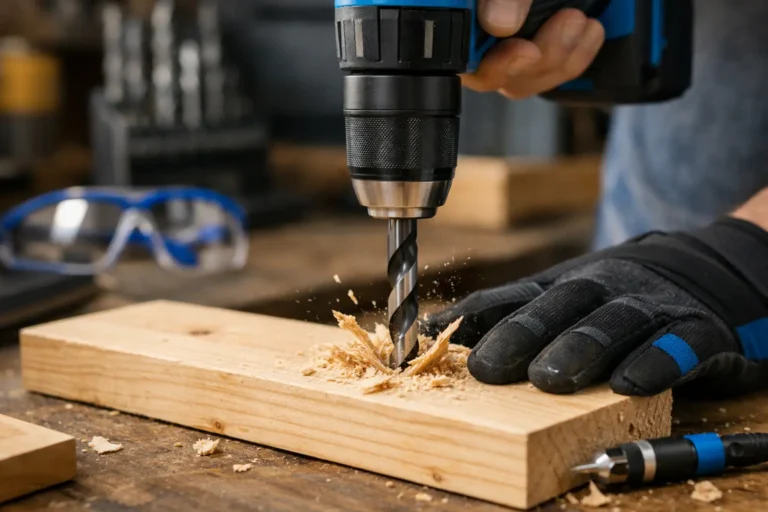
Use the drill-bit symbol when drilling holes, not when driving ordinary screws. In this position, the clutch generally does not limit torque in the same way. If a bit binds, the drill can twist suddenly, especially with larger bits.
For larger drilling tasks, use any included auxiliary handle and follow the tool manufacturer’s instructions. Keep loose clothing, hair, and gloves away from rotating parts.
Some drill/drivers use electronic clutch systems or automatic modes instead of a traditional numbered collar. The same approach applies: begin conservatively, test the result, and use the lowest setting that completes the fastening task.
Common clutch-setting problems
The clutch clicks, but the screw will not go in
Increase the clutch setting gradually. If the problem continues, check other causes. The screw may be too large for the task, the material may be hard, or the screw may have encountered a knot, hidden metal, or another obstruction.
Do not keep forcing a screw with maximum torque. If appropriate for the material, use a properly sized pilot hole. If fastening into a wall and you encounter unexpected resistance, stop rather than forcing the tool through the obstruction.
The screw head strips before it seats
A stripped screw head is often caused by an incorrect, worn, or poorly seated bit rather than the clutch setting alone. Replace worn bits and confirm the screw drive type, such as Phillips, Torx, square-drive, or another compatible design.
Maintain straight pressure and start at a controlled speed. If the screw binds, remove it and correct the cause instead of increasing force.
The screw sinks too far
Lower the clutch number and reduce speed. Soft pine, particleboard, drywall, and some composite materials can suddenly offer less resistance after the screw breaks through the surface.
For drywall screws, avoid tearing the paper surface because damaged drywall paper can reduce holding strength and may require repair before finishing.
The drill clicks immediately on every screw
The clutch may simply be set too low, or the collar may not be fully aligned with a numbered position. If the clutch slips at every setting, makes unusual noises, or the collar does not operate normally, stop using the tool and consult the manufacturer or an authorized service center.
Safe habits that improve results
Clamp small workpieces instead of holding them by hand. Keep your free hand away from the screw tip and the opposite side of the material where a long screw may emerge. Wear eye protection, especially when fastening into older materials, metal hardware, or masonry.
Before fastening into a wall, confirm what the fastener is intended to support and use an appropriate anchor or stud connection. A clutch setting cannot compensate for an unsuitable fastener or mounting method.
The clutch is a control feature, not a replacement for the correct bit, pilot hole, or fastener choice. Testing the setting before a full project helps prevent damaged screws and cleaner-looking results.


Ulverion is reader-supported. Your support allows us to research tools, create practical guides, and share reliable DIY advice for homeowners, makers, and workshop enthusiasts.