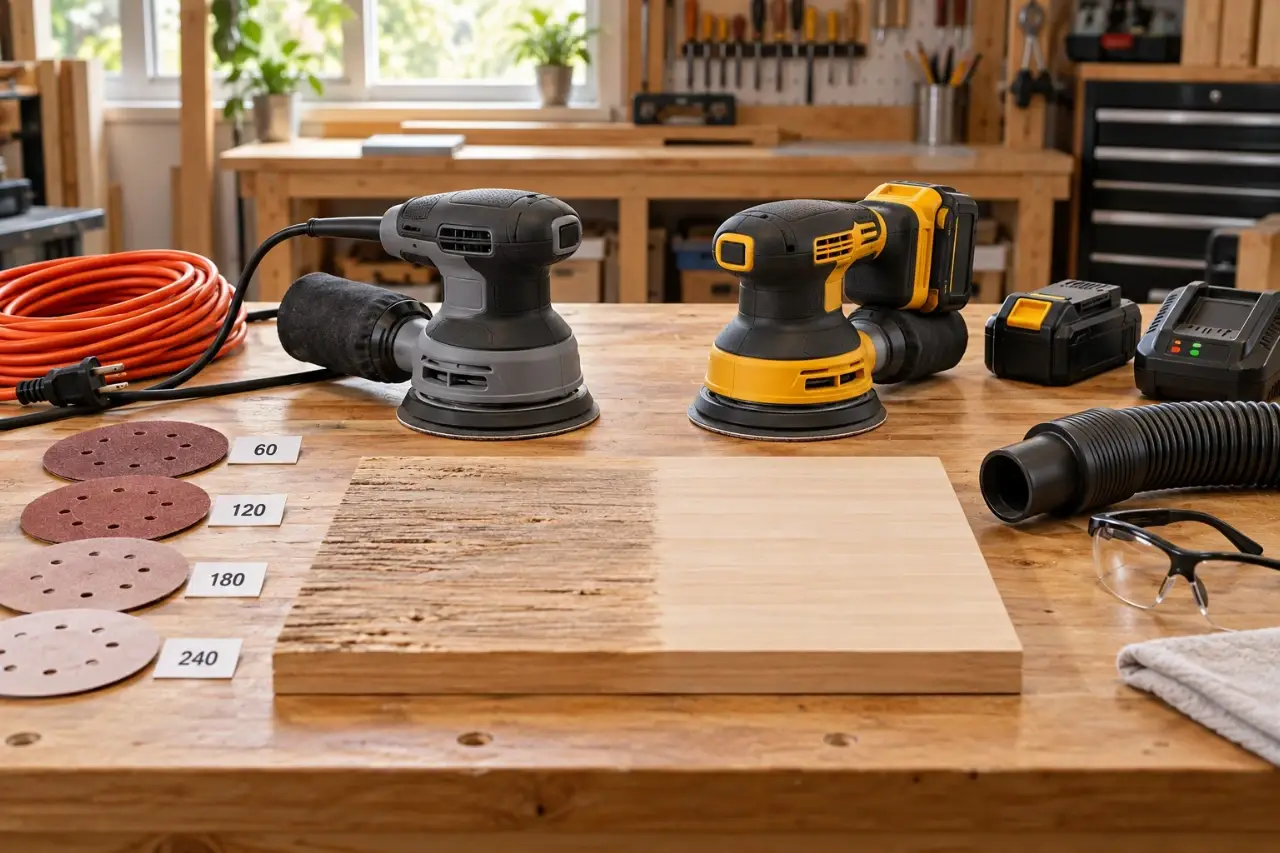
A sander that dies halfway through stripping a tabletop is frustrating. So is dragging an extension cord around a porch railing or a small repair in a tight closet. In the corded vs cordless sanders decision, corded models generally make more sense for long, heavy sanding sessions, while cordless models are more convenient for short jobs and places without easy outlet access. The right choice depends less on the tool itself than on the work you expect it to do.
For most home workshops, either type can handle common tasks such as smoothing patching compound, preparing trim for paint, refinishing a chair, or easing rough wood edges. The differences show up in runtime, sustained power, workspace setup, dust collection, and how much material you need to remove.
The practical difference between corded and cordless sanders
A corded sander receives continuous power from a standard household outlet. As long as the tool is connected to a suitable extension cord and the circuit is not overloaded, it can run without a battery change. That makes it useful for extended sanding, particularly on tabletops, doors, cabinets, flooring repairs, and paint-prep work.
A cordless sander runs on a removable rechargeable battery. It eliminates the power cord, which makes the tool easier to carry outdoors, up a ladder for limited low-risk work, or into an unfinished space. Battery-powered sanders are especially handy for small touch-ups, punch-list work, and quick repairs where setting up a cord would take longer than the sanding itself.
Neither type automatically produces a better finish. Surface quality depends more on the sander style, abrasive condition, grit progression, pressure, dust control, and technique. An orbital sander with clogged or worn sandpaper can leave swirl marks whether it has a cord or a battery. The sander type mainly affects power delivery, mobility, and workflow rather than the final finish by itself.
When a corded sander is the better fit
Choose a corded sander when you expect to work continuously or remove a substantial amount of material. Continuous power helps maintain a steady pace while sanding a large surface, especially when using a random orbital sander for finish removal or leveling wood.
Corded tools also reduce interruptions. You do not need to pause when a battery runs down, wait for charging, or keep track of battery temperature. That matters when sanding through several grit stages, since stopping partway through can make it harder to maintain a consistent scratch pattern across a broad surface.


Good corded-sander jobs
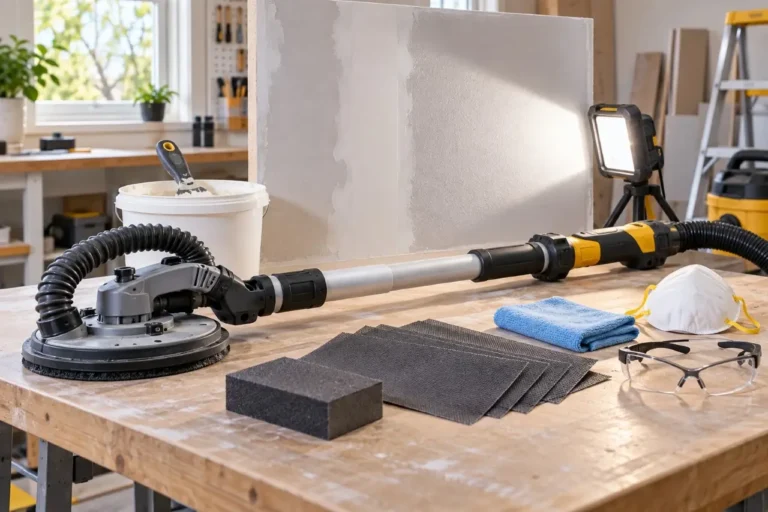
A corded sander is usually the simpler choice for refinishing a dining table, sanding multiple cabinet doors, preparing drywall patches across several rooms, or smoothing a large plywood project. It is also practical when your shop already has accessible outlets and a dust extractor or shop vacuum nearby.
The trade-off is cord management. A cord can catch on a workpiece edge, brush against fresh finish, snag on a sawhorse, or pull at the tool as you work. Keep it behind your shoulder when possible, inspect it before use, and unplug the tool before changing sandpaper or clearing a jam.
If an extension cord is necessary, use one rated for the tool and the distance involved. A long, undersized extension cord can create excessive voltage drop, increase heating risk, and may reduce tool performance. Follow the sander manual for cord requirements, and do not use a damaged cord, loose outlet, or improvised connection.
When a cordless sander is the better fit
A cordless sander is often the more practical option for brief, scattered tasks. If you need to feather a filled nail hole, smooth a cut edge before assembly, prepare a small section of peeling paint for repair, or clean up a furniture touch-up, you can get to work without running a cord through the house or yard.
It also helps in locations where a cord would become a nuisance or trip hazard. That includes a detached shed, a deck with limited outlet access, a closet, or a project set up in a driveway. Convenience can encourage better preparation: a quick sanding step is less likely to be skipped when the tool is ready to use.
Understand runtime realistically
Runtime is not fixed. It changes with battery capacity, battery age, temperature, sanding pressure, sandpaper grit, tool speed, wood species, and the condition of the abrasive. Coarse grit and heavy pressure require more energy than light finish sanding with a fine grit.
For a short task, one charged battery may be plenty. For a large refinishing project, plan for interruptions unless you have manufacturer-approved batteries and chargers available. Do not use incompatible battery packs or attempt to modify a battery, charger, or tool connection.
A battery that becomes unusually hot, will not charge normally, is cracked, leaks, smells unusual, or shows other damage should be removed from service. Follow the manufacturer’s instructions for storage and disposal, and contact an authorized service center when needed.
Corded vs cordless sanders at a glance
| Work factor | Corded sander | Cordless sander |
|---|---|---|
| Long sanding sessions | Better suited | Requires battery planning |
| Small repairs and touch-ups | Works well, but setup takes longer | Very convenient |
| Large surface preparation | Usually more practical | Possible, but less efficient for extended work |
| Outlet access | Required | Not required while operating |
| Mobility around a project | Limited by cord | Easier to move and reposition |
| Dust-collection setup | Often easy near a shop vacuum | Depends on the tool and work location |
| Tool weight in use | Often steadier without a battery | May feel heavier at the rear with a battery installed |
Choose based on the sanding job, not the tool category
Before choosing between corded and cordless, identify the surface and the goal. Removing old finish from a dresser is different from smoothing bare wood before paint. Sanding drywall compound calls for a light touch and good dust control, while shaping a rough cut edge may call for a coarser grit and only a few minutes of work.
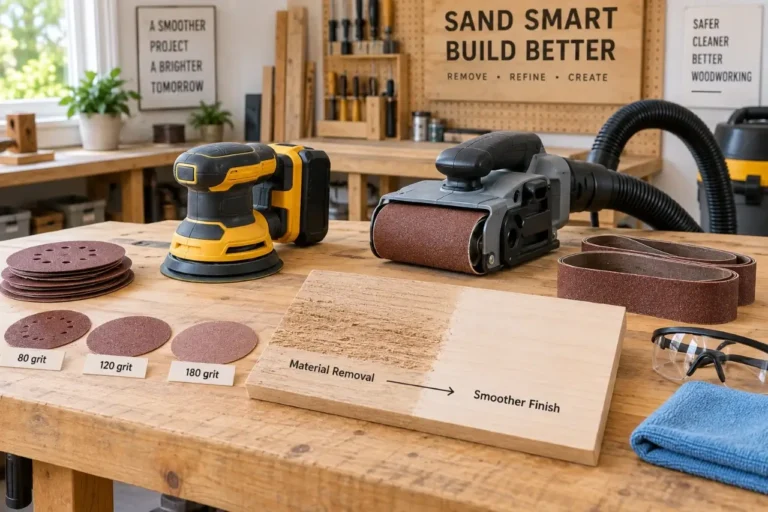
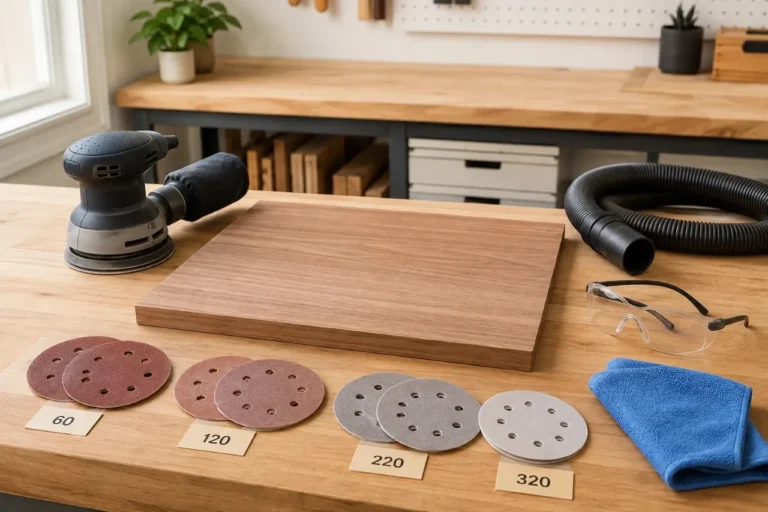
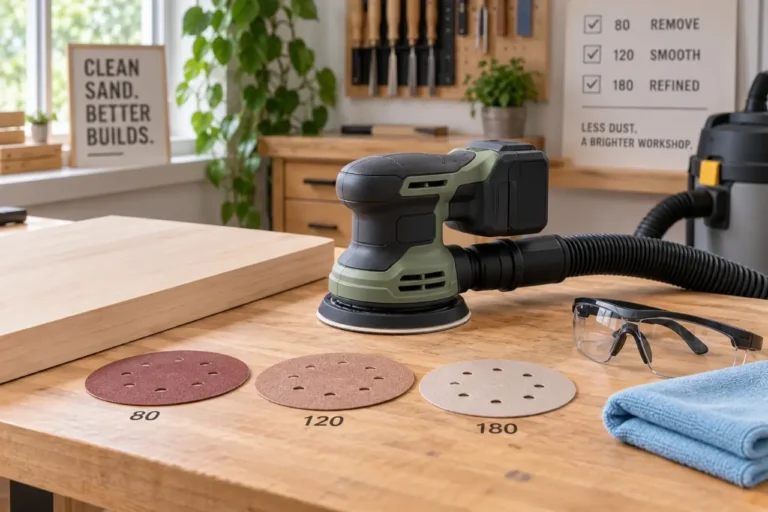
Start with the least aggressive abrasive that can do the job efficiently. For many wood projects, 80-grit paper handles rough leveling or old finish removal, 120-grit refines the surface, and 150- to 180-grit prepares many painted wood surfaces. Exact grit choices vary with the material and coating. Very coarse paper can leave deep scratches that remain visible after stain or paint.
Let the sander move at its intended speed. Pressing hard does not usually make a random orbital sander work faster. It can slow the pad, create uneven areas, heat the surface, clog the abrasive, and shorten battery runtime. Use gentle, even pressure and overlap passes across the workpiece.
Dust collection is part of the decision
Sanding dust affects both the finish and the workspace. Dust trapped beneath the sanding pad can scratch a surface, while airborne dust can irritate eyes and lungs and settle throughout the home. Whether you choose corded or cordless, use the tool’s dust bag, dust port, or a compatible manufacturer-approved collection connection when the manual permits it.
A corded sander may be easier to use alongside a shop vacuum because both are already near an outlet. A cordless sander can still collect dust effectively, but the work location may limit where you can place a vacuum and hose. For small jobs, the tool’s onboard collection bag may be adequate; for longer sanding sessions, it may need frequent emptying.
Wear eye protection. Use appropriate respiratory protection for the dust you are creating, especially during extended sanding or when working with coatings of uncertain age. Stop work if you suspect lead-based paint, asbestos-containing material, or another hazardous coating or building material. Do not dry-sand suspected lead paint. Contact a qualified professional or follow applicable local and federal guidance for evaluation and safe handling.
Common mistakes that make either type perform poorly
The first mistake is using a worn sanding disc too long. If the abrasive looks smooth, is packed with dust, has torn edges, or stops cutting evenly, replace it. A fresh disc usually works better than extra pressure.
The second is skipping grit steps. Jumping from a very coarse abrasive directly to a fine one may leave coarse scratches behind. Work through sensible grit changes and inspect the surface under angled light before moving on.
The third is sanding without securing the workpiece. Clamp small boards or furniture parts when practical. A vibrating sander can move a loose piece unexpectedly, and trying to hold it by hand can lead to uneven sanding or injury.
Finally, do not sand into edges or corners with a tool not designed for them. A random orbital sander can round over crisp edges quickly. For detailed areas, use an appropriate detail sander, sanding block, or hand-sanding method instead.

A simple way to decide
If the project is large, repetitive, or likely to last longer than one battery cycle, a corded sander is usually the more dependable choice. If the work is short, mobile, or far from a convenient outlet, cordless convenience may outweigh its runtime limits.
Keep the decision focused on your next several projects, not just one afternoon. A sander you can set up safely, control comfortably, and keep supplied with clean abrasives will do more for your results than choosing based on corded or cordless power alone.
For many DIYers, a corded sander and a cordless sander can serve different roles: one for longer shop sessions and one for quick repairs. Choosing based on your typical projects will usually lead to a more useful tool setup.
Ulverion is reader-supported. Your support allows us to research tools, create practical guides, and share reliable DIY advice for homeowners, makers, and workshop enthusiasts.