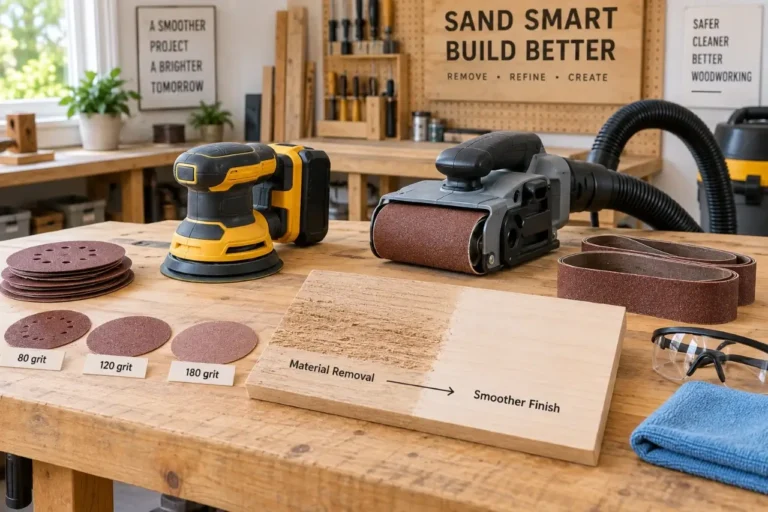
A smooth drywall finish comes from removing high spots without digging into the paper face or sanding every inch of the wall. This guide to sanding drywall uses a controlled approach: let joint compound dry fully, start with the right grit, use broad overlapping strokes, and check the surface with light before primer makes flaws more obvious.
Sanding is the final shaping step after taping and applying joint compound. It should refine the surface, not rescue thick ridges, loose tape, cracked compound, or poorly finished repairs. If a seam has a heavy hump, scrape it carefully with a drywall knife first. Sanding a large buildup wastes time, fills the room with dust, and can leave a wavy wall.
What You Need Before Sanding Drywall
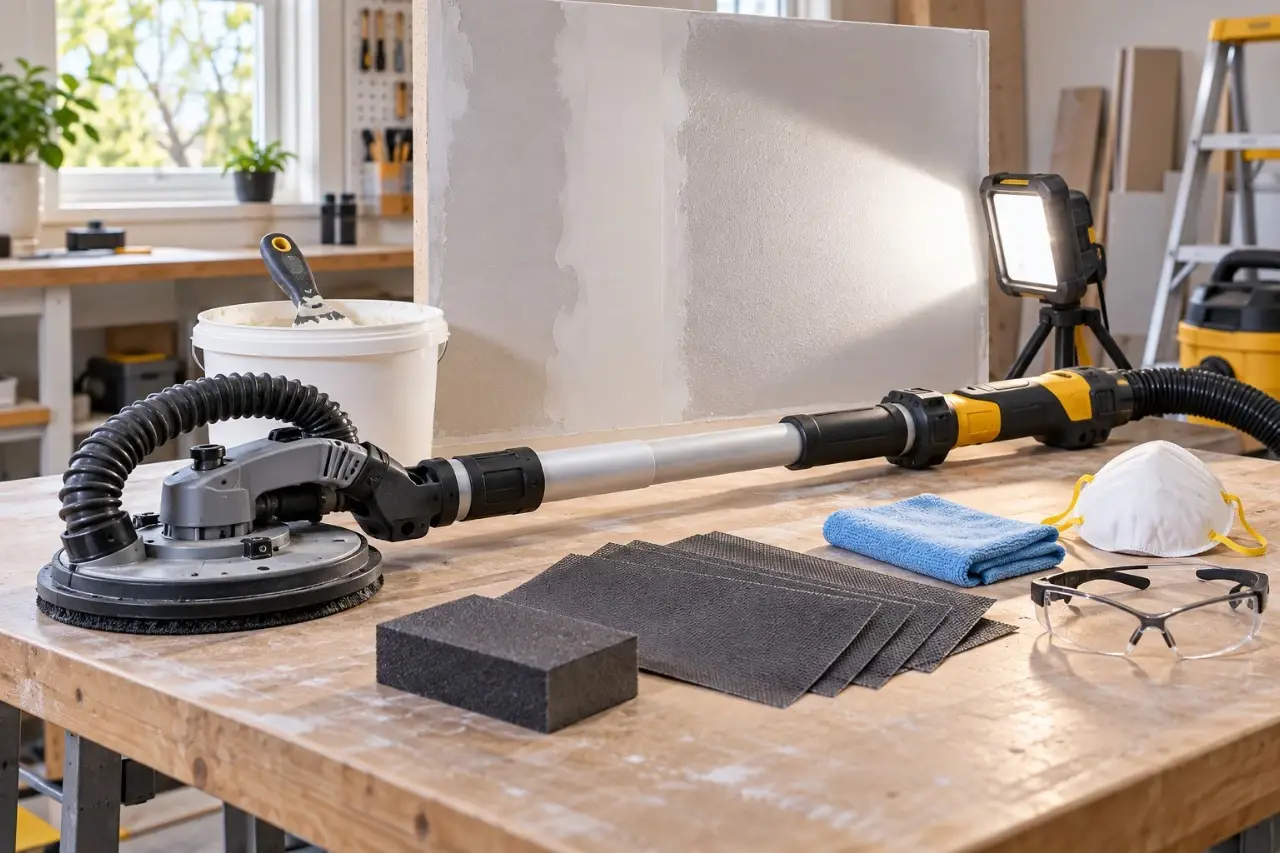
For a typical repair or small room, use a sanding sponge or hand sander with a pole handle, drywall sanding screens or paper, a bright work light, eye protection, and a NIOSH-approved N95 or better particulate respirator. Wear clothing you can wash afterward. Drywall dust settles far beyond the work area, so remove or cover furniture and seal nearby door openings when practical.
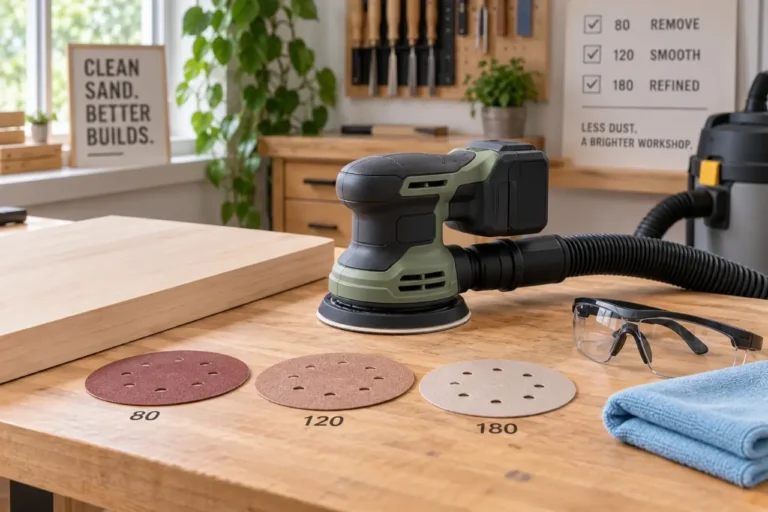
A shop vacuum can help with cleanup and with a compatible vacuum-assisted sander. Use only the hose, filter, and dust-control setup specified by the tool manufacturer. Fine drywall dust can quickly clog ordinary filters, reduce suction, and send dust back into the room.
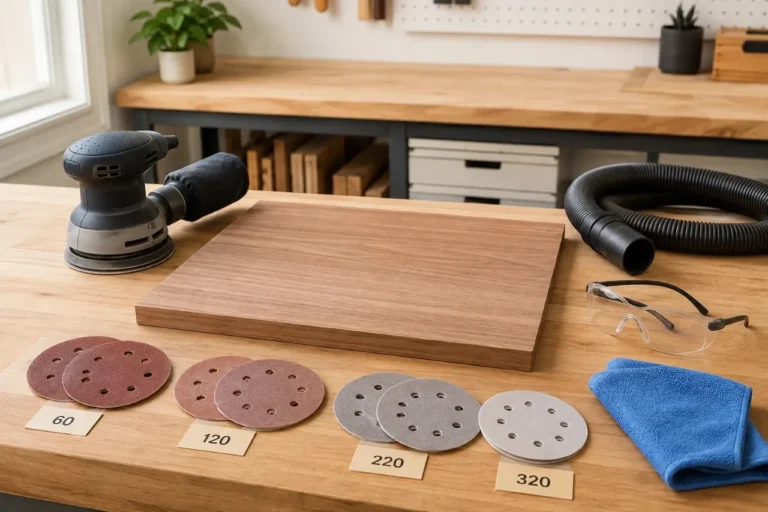
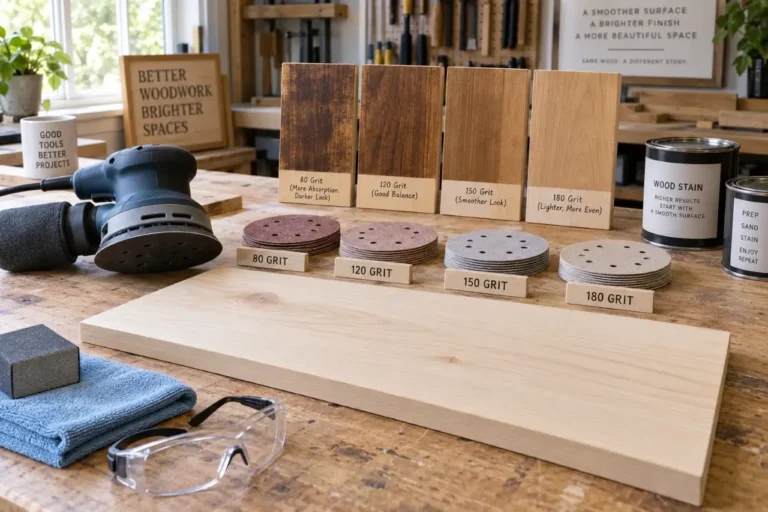
Most DIY drywall sanding jobs call for 120- or 150-grit abrasive. A coarser 80- or 100-grit screen can flatten a stubborn ridge, but it removes compound quickly and is easy to overuse. Move to 150 or 180 grit for a light final pass when preparing walls for satin or semi-gloss paint, which reveals small scratches and uneven areas more readily than flat paint.
| Surface condition | Start with | Use it for |
|---|---|---|
| Heavy dried ridge or knife line | 100-120 grit | Knocking down a localized high spot |
| Normal taped seams and patches | 120-150 grit | General smoothing and feathering |
| Final touch-up before primer | 150-180 grit | Removing light scratches and blending edges |
Never use aggressive sanding to grind through a broad seam. Add a thin skim coat instead if the transition remains visible after reasonable sanding.


Guide to sanding drywall step by step
1. Confirm that the compound is dry
Joint compound must be dry all the way through, not merely dry-looking on the surface. Damp compound can clog abrasive, tear at the edge of a patch, and create gouges. Drying time depends on product type, coat thickness, temperature, humidity, and airflow. Follow the compound container instructions, especially for setting-type compounds.
Look for an even, light color with no darker damp areas. Thick inside corners, butt joints, and patch edges often need more drying time than thin feathered edges.
2. Scrape before you sand
Run a 6-inch drywall knife gently across seams, screw repairs, and patch edges. The blade will catch on hardened ridges, crumbs, and lap marks. Hold the knife nearly flat and scrape off these small high points without pressing into the surrounding finish.
This is the step many beginners skip. A minute of scraping may eliminate several minutes of dusty sanding and helps the abrasive last longer.
3. Sand broad areas with light pressure
Attach the abrasive flat to the hand sander or pole sander. On wall seams, use overlapping strokes along the length of the joint, then make a few light passes across it to blend the edges. Keep the sanding head moving. Stopping in one spot creates a hollow that can show after painting.
Let the abrasive do the cutting. Heavy pressure does not produce a smoother wall. It tends to cut through the compound at the seam edge or expose the drywall paper beneath it.
For screw or nail patches, sand just enough to flatten the filled spot and soften its perimeter. Do not concentrate only on the center. The goal is a gradual transition from patch to wall.
4. Treat corners and edges gently
Inside corners are easy to damage because the paper tape sits near the surface. Fold a sanding sponge lightly and make a few controlled passes along each side of the corner. Avoid pressing directly into the crease.
For outside corners with metal, vinyl, or paper-faced corner bead, sand the compound beside the bead rather than the bead itself. If metal becomes exposed, the compound coat is too thin. Add compound, let it dry, and sand again rather than trying to blend the area by removing more material.
5. Check with raking light, then correct selectively
Turn off broad overhead lighting if possible and hold a bright light near the wall, aimed across the surface. This is called raking light. It makes ridges, divots, scratches, and raised patch edges cast visible shadows.
Circle or mark flaws lightly with a pencil. Then decide whether each flaw is high or low. Sand high spots. Fill low spots with a thin coat of compound. Trying to sand a low spot away only makes the surrounding wall lower.
6. Remove dust before primer
Vacuum walls, trim, floors, and ledges using a soft brush attachment if appropriate. Then wipe the wall with a clean, barely damp microfiber cloth or use a tack method recommended by the primer manufacturer. Do not soak the drywall paper or leave wet streaks on fresh compound.
Primer is not a substitute for cleaning. Dust left on the wall can interfere with adhesion and make the first coat harder to evaluate.
Hand sanding, pole sanding, and wet sanding
Hand sanding gives the most control around repairs, electrical box openings, corners, and narrow areas. A sanding sponge is particularly useful because it conforms slightly to curved or uneven patches. Its trade-off is speed: it is inefficient on a full room of seams.
A pole sander reaches ceilings and high walls with less ladder use and keeps larger areas flatter. It can also magnify mistakes. A loose sanding head, torn screen, or excessive pressure can leave arcs and gouges. Use a stable step stool or ladder as needed rather than overreaching, and keep the pole away from ceiling fixtures and fans.
Wet sanding uses a damp sponge to soften and smooth joint compound with less airborne dust. It works best for small touch-ups, especially near occupied spaces. It is slower, can leave a slightly uneven texture if overworked, and is not ideal for flattening substantial ridges. Let the wall dry fully before primer.
Power drywall sanders can speed up large projects, but they remove material fast and require careful dust collection. For a small repair, manual sanding is usually easier to control. If you use a powered sander, follow the manufacturer’s instructions for abrasive size, vacuum connection, respiratory protection, and work posture.
Common Drywall Sanding Problems and What They Mean
If you see fuzzy brown paper, stop sanding. The drywall face paper has been damaged. Seal the area with a suitable drywall sealer or primer recommended for torn paper, then skim coat if needed. Applying ordinary joint compound directly over badly torn paper can cause bubbling or poor adhesion.
Visible seam edges after sanding usually mean the compound was not feathered wide enough. Add a thin, wider coat rather than continuing to sand the edge. On flat walls, seams often need a broad transition to disappear under normal lighting.
If abrasive clogs almost immediately, the compound may still be damp, the coating may be unusually thick, or you may be pressing too hard. Pause, allow more drying time, and scrape obvious ridges before resuming.
Swirl marks and scratches typically come from using too coarse a grit for the final pass, sanding with a damaged screen, or using a power sander too aggressively. Use fresh 150- or 180-grit abrasive for a gentle finishing pass, then inspect under raking light again.
Drywall Sanding Safety and Stop-Work Conditions

Keep children, pets, and anyone with dust sensitivities away from the work area until cleanup is complete. Avoid dry sanding suspect old coatings that may contain lead. Homes built before 1978 can have lead-based paint beneath later finishes; disturbance of painted surfaces may require lead-safe practices and qualified help.
Stop and seek professional guidance if drywall is soft from an active leak, has extensive staining or mold growth, shows large cracks that keep returning, or appears to be part of a fire-rated assembly with damage beyond a small surface repair. Fixing the visible finish without addressing the cause will not create a lasting repair.
A good sanding job should feel unremarkable under your hand and look quiet under side lighting. Take the extra few minutes to inspect, fill, and recheck before primer. That patience is what keeps a freshly painted wall from revealing every shortcut.
Ulverion is reader-supported. Your support allows us to research tools, create practical guides, and share reliable DIY advice for homeowners, makers, and workshop enthusiasts.