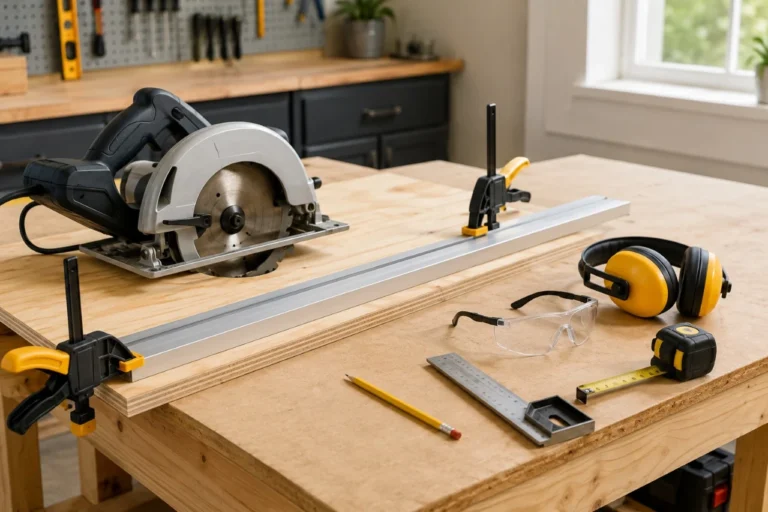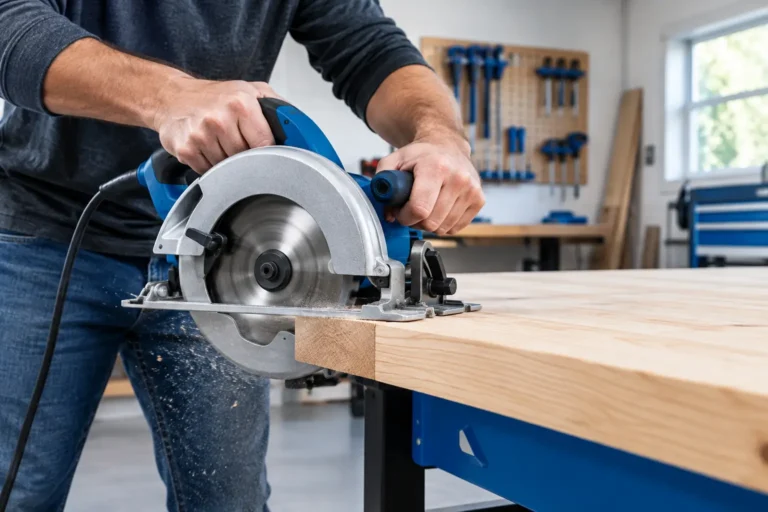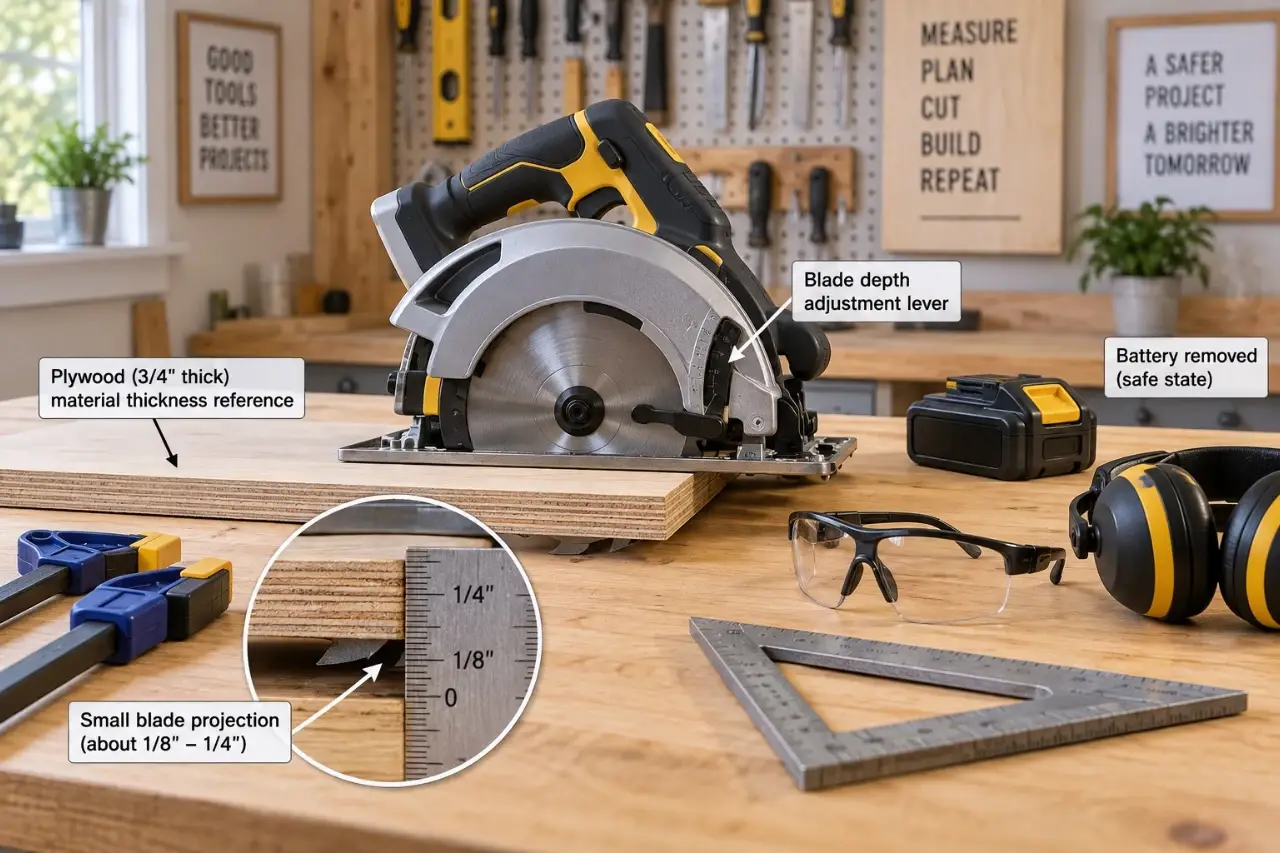
Set a circular saw blade so the lowest point of the teeth extends roughly 1/8 to 1/4 inch below the material you are cutting for most standard through-cuts. That is the practical answer for most plywood, dimensional lumber, and sheet-goods cuts. To adjust circular saw depth, unplug a corded saw or remove its battery, release the depth-lock lever, set the shoe against the material, lower or raise the blade, then lock the lever securely before cutting.
A blade set too deep exposes more teeth than necessary, increases the chance of damaging a work surface below, and can make a saw less controlled. A blade set too shallow may leave an uncut strip on the underside of the board. The right setting is simple, but it deserves a quick check before every new material thickness.
Why circular saw depth matters
The saw’s shoe, sometimes called the base plate, rides on the top face of the workpiece. Depth adjustment changes how far the blade hangs below that shoe. The goal is not to bury as much blade as possible in the material. It is to use enough blade to complete the cut while limiting exposed teeth beneath the work.
A modest amount of blade projection helps produce a clean through-cut and reduces the chance of cutting deeply into sawhorses, a bench, or the floor. It also makes setup safer when cutting sheet goods supported by rigid foam insulation.
Depth is only one part of safe cutting. A dull or damaged blade, unsupported offcut, twisted board, improper stance, or a binding kerf can still cause kickback. Kickback is the sudden backward movement of a saw when the blade catches or becomes pinched. Correct depth helps, but it does not replace good support and cutting technique.
Set the blade depth in five steps
Before changing any setting, read the saw’s manual. The location and operation of the depth lock vary between sidewinder and worm-drive-style saws, and some saws have markings that are more useful than others. Manufacturer instructions take priority if they specify a different adjustment procedure or limitation.
- Disconnect the power source. Unplug a corded circular saw. For a cordless saw, remove the battery pack. Do not adjust the shoe with the tool connected to power.
- Place the saw on the material. Set the shoe flat on a piece of the same thickness you will cut. Keep the blade guard closed and allow the blade to hang naturally below the shoe.
- Release the depth lock. Open the depth-adjustment lever or loosen the knob, depending on the saw. Support the saw so the shoe and blade do not shift suddenly.
- Set the blade projection. Adjust the shoe until the lowest blade teeth extend about 1/8 to 1/4 inch below the material. For a 3/4-inch plywood sheet, the exposed portion below the sheet should be roughly that amount, not an inch or more.
- Lock and verify the setting. Tighten or close the lock fully. Lift the saw and check that the shoe cannot slide. Confirm the lower guard moves freely and returns fully when released. If it drags, sticks, or fails to close, stop using the saw until the issue is corrected according to the manufacturer or by an authorized service center.
| Preview | Product | Price | |
|---|---|---|---|

| Digital Caliper, Adoric Calipers 0-6 Inch, Inch/mm Conversion, Large LCD | $8.99 | View on Amazon |
A tape measure can help when learning, but it is usually faster to use a scrap of the actual material as a reference. Material labeled as 3/4 inch or 2 by 4 may not match its nominal size exactly, so setting against the real workpiece is more dependable.
Recommended depth for common materials
Use the material itself as the reference whenever possible. These examples show the intended blade projection, not a universal depth-mark setting on the saw.
| Material | Typical actual thickness | Blade below material |
|---|---|---|
| 1/4-inch plywood | About 1/4 inch | About 1/8 inch |
| 1/2-inch plywood or OSB | About 1/2 inch | 1/8 to 1/4 inch |
| 3/4-inch plywood | About 3/4 inch | 1/8 to 1/4 inch |
| 1x lumber | About 3/4 inch | 1/8 to 1/4 inch |
| 2x lumber | About 1-1/2 inches | 1/8 to 1/4 inch |
When cutting a stack of materials, set depth for the full stack plus the same small projection. For example, if you are trimming two stacked pieces of 3/4-inch plywood, the blade must clear about 1-1/2 inches of material. Stacking can save time, but only if the pieces are firmly clamped and the saw has sufficient cutting capacity at the selected bevel angle.
Account for bevel cuts
A bevel cut tilts the blade relative to the shoe. Because the blade travels through the workpiece at an angle, it needs more depth than it does for a 90-degree cut.
Set the bevel angle first, then adjust the depth with the saw resting on a scrap piece of the same material. Do not rely only on the depth setting you used for a square cut. At a 45-degree bevel, the blade travels farther through the board, and a setting that worked at 90 degrees can leave the cut incomplete.
Check your saw’s maximum depth-of-cut specifications when beveling thick lumber. A 7-1/4-inch circular saw, for example, may cut substantially less deeply at 45 degrees than at 90 degrees. If the blade cannot complete the cut safely in one pass, do not force it. Consider a different tool or cutting method appropriate for the work.
Support the work before you cut
| Preview | Product | Price | |
|---|---|---|---|

| HORUSDY 8-Pack Bar Clamps for Woodworking, 12″ and 6″ Bar Clamps, Wood Working Clamp Sets, Quick… |
$33.99
$28.88 | View on Amazon |
Correct depth will not prevent a bad cut setup. Support the workpiece on both sides of the intended cut while leaving room for the blade to pass through without hitting your support.
For plywood, many DIYers place the sheet on a sacrificial foam board or another suitable cutting surface laid on a stable, flat area. Set the blade only deep enough to enter the foam slightly. This supports both the main panel and the offcut along their full length.
For boards on sawhorses, position the horses so both sides of the cut remain supported. Keep the blade path clear of the horses. Do not hold a short offcut with your hand near the blade, and do not try to catch a falling piece while the saw is running.
Clamp the work when it can move, vibrate, or shift. Clamps should be outside the saw’s travel path and positioned so the motor housing and cord or battery do not strike them during the cut.
Common depth-setting mistakes
The most common mistake is setting the blade to its maximum depth and leaving it there for every job. Maximum depth is useful only when the material and cut require it. On thin sheet goods, it leaves a large section of spinning blade exposed beneath the work and can tear up whatever supports the panel.
Another mistake is adjusting depth from a ruler without placing the shoe on the workpiece. The relevant measurement is from the bottom of the shoe to the lowest tooth, compared with the actual material thickness. Blade teeth vary slightly in shape, and the shoe may not sit where you expect when the saw is resting on an uneven board.
Also avoid setting depth with the saw tipped, perched on a board edge, or resting on debris. Sawdust, a warped sheet, or a bowed board can change the effective depth once the shoe is fully supported. Brush away loose debris and make the final check on a stable section of material.
If the saw will not cut through
If a cut leaves fibers attached on the underside, first stop the saw and disconnect power before inspecting the setting. The blade may be too shallow, especially after a bevel-angle change. Raise it slightly, lock the shoe, and test on scrap.
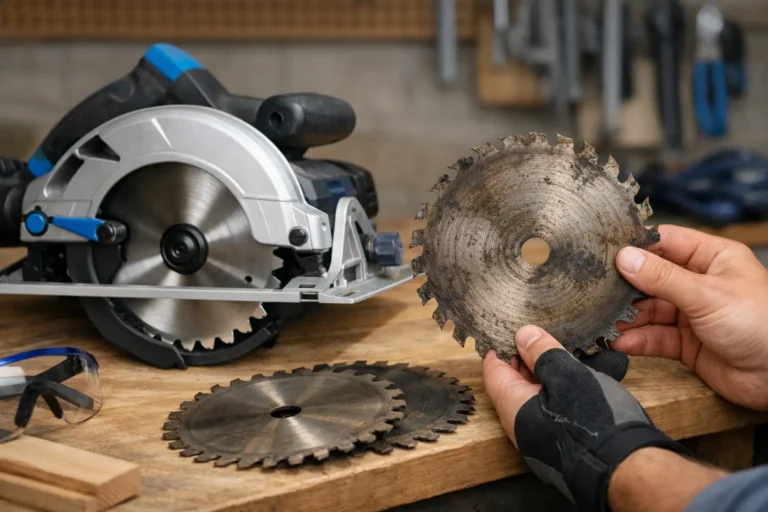
A blade that is dull, dirty with pitch, installed backward, or intended for a different material can also cut poorly. So can a warped workpiece that closes on the blade. Never force the saw forward to compensate. If the motor strains, the blade slows noticeably, smoke appears, or the cut begins to bind, release the trigger while maintaining a firm grip and allow the blade to stop. Then reassess the blade, support, and material condition.
Do not make repeated deep passes into a board that may contain hidden fasteners, plumbing, electrical wiring, or other concealed hazards. For existing walls, floors, or other assemblies where you cannot verify what is behind the surface, stop and use an appropriate detection method or contact a qualified professional.
A quick pre-cut check
Before squeezing the trigger, confirm the blade depth is appropriate, the bevel lock and depth lock are tight, and the lower guard closes freely. Check that the blade is suitable for the material, the work is supported, and the planned blade path will not contact a bench, sawhorse, clamp, or hidden object.
Wear eye protection and hearing protection, keep the cord clear of the cutting path on corded tools, and maintain two-handed control where your saw’s design allows. Start the saw before the blade contacts the work, let it reach full speed, and guide it steadily without twisting the saw in the kerf.
A circular saw becomes easier to control when its setup matches the job. Take the extra minute to reset the shoe whenever material thickness or bevel angle changes, and the cut will usually be cleaner, safer, and easier on both the blade and the workpiece.
Ulverion is reader-supported. Your support allows us to research tools, create practical guides, and share reliable DIY advice for homeowners, makers, and workshop enthusiasts.