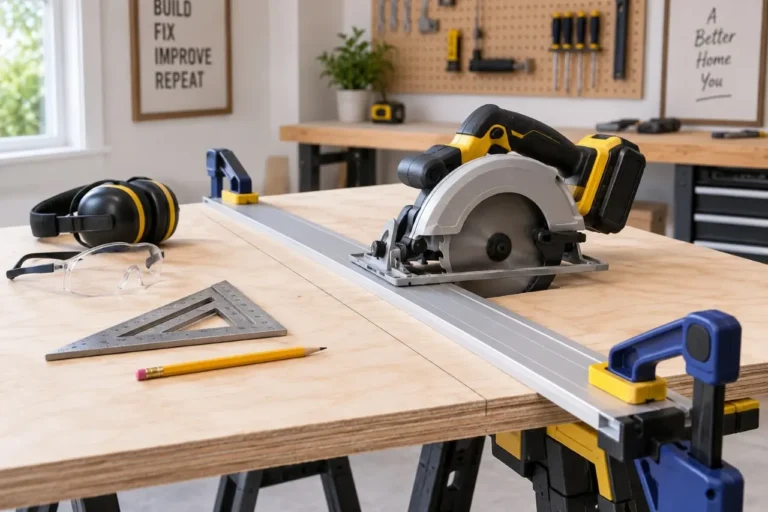
A saw can kick back when the blade binds, catches the material, or stops cutting freely and forces the tool or workpiece in an unexpected direction. Most kickback risks come from preventable setup problems, including a pinched kerf, unsuitable blade, unstable material support, incorrect saw settings, or unsafe body position. If kickback begins, stop the saw, disconnect power or remove its battery before inspecting the setup, and correct the cause before restarting.
Kickback does not look exactly the same with every saw. A table saw may throw the workpiece back toward the operator. A circular saw may jump backward or climb out of the cut. A miter saw can pull or lift stock, while a reciprocating saw may buck violently when the blade catches. The details differ, but the underlying problem is similar: the blade is no longer cutting freely and predictably.
What causes saw kickback?
1. The blade is pinched in the cut
The kerf is the slot left by the blade. If that slot closes as you cut, it squeezes the blade. This commonly happens when cutting lumber that is warped, wet, twisted, or internally stressed. It can also happen when an offcut drops, sags, or shifts before the cut is complete.
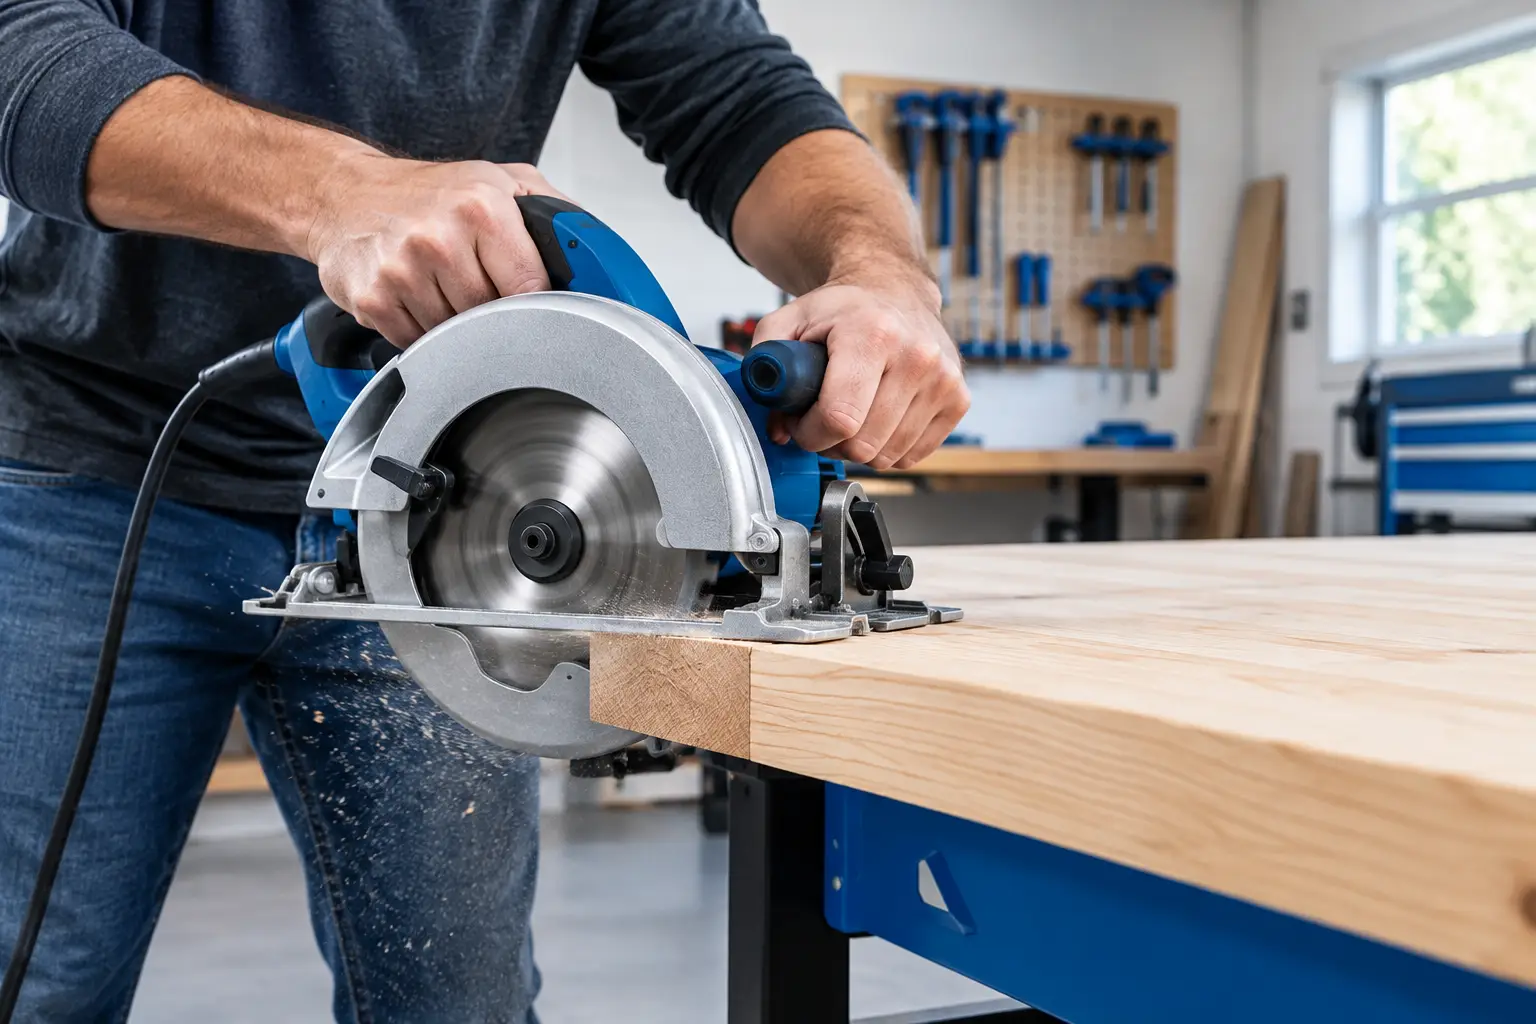
Support the material on both sides of the intended cut, but do not trap the offcut so tightly that it cannot fall away. With a handheld circular saw, support the board near the cut while leaving clearance beneath it for the blade. Never place a hand or leg under the workpiece.
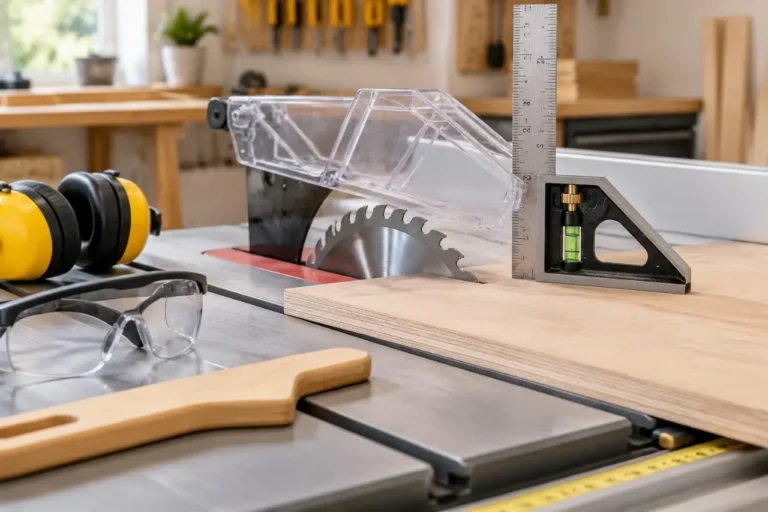
For a rip cut on a table saw, a riving knife helps keep the kerf from closing behind the blade. Use it whenever the saw and cut allow it. If your saw has a riving knife or splitter, follow the manual for the correct setup rather than removing it to make an inconvenient cut.
2. A dull, damaged, or incorrect blade
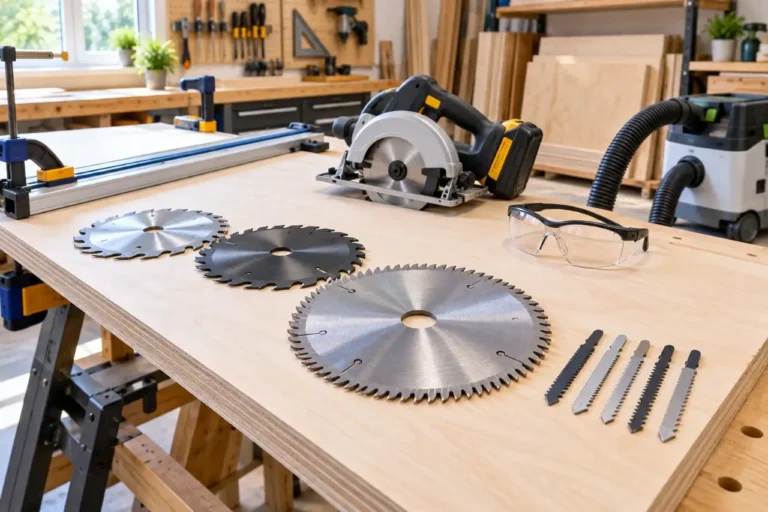
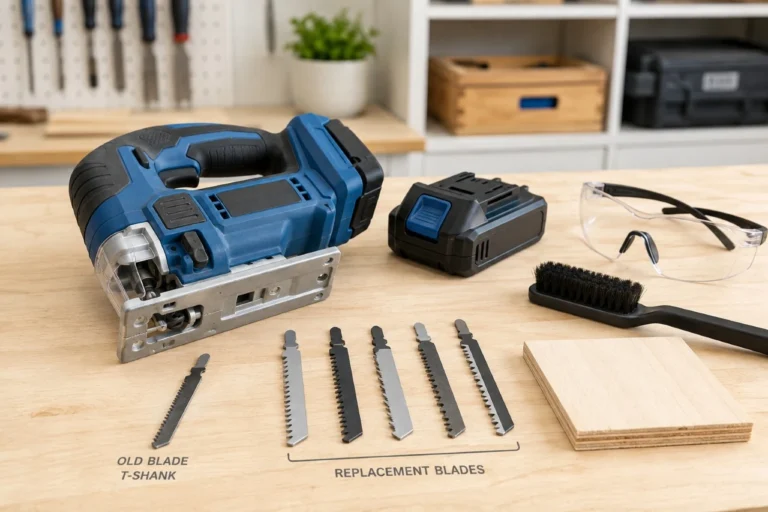
A sharp blade removes material efficiently. A dull blade rubs, heats up, and requires more pushing force. That extra force makes it easier for the blade to wander or bind. Missing teeth, cracked blade plates, excessive pitch buildup, and a blade that is not rated for the saw can create the same problem.
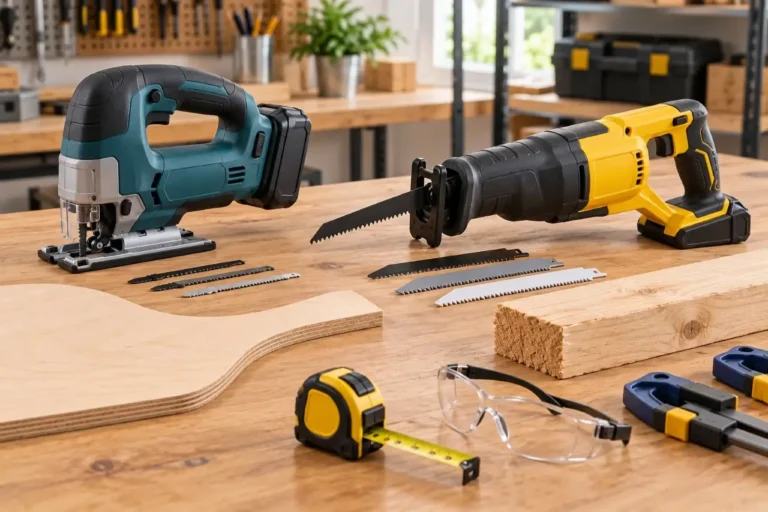
Match the blade to both the saw and the material. A general-purpose wood blade may be reasonable for ordinary framing lumber, while plywood, laminate, nonferrous metal, masonry, and fiber-cement products require blades specifically intended for those materials. Check the blade diameter, arbor opening, rotation direction, and maximum RPM rating against the saw manual.


Do not keep cutting if the saw starts burning the wood, cutting unusually slowly, vibrating, or leaving a rougher edge than normal. These are signals to inspect the blade, saw setup, and material—not reasons to push harder.
3. The workpiece is unsupported or moving
A board that rocks on sawhorses or slides across a bench can twist into the blade. Short pieces are particularly difficult because there is less material to control safely. Long boards can also become unstable when their far end hangs unsupported.
Before starting, press the workpiece lightly to confirm it does not rock. Clamp it when practical, especially for crosscuts with a circular saw, jigsaw, or reciprocating saw. Position supports so the material stays stable through the entire cut, including the final inch.
With a miter saw, hold the workpiece firmly against both the fence and the saw base. Use an appropriate stop or clamp for short pieces when the manufacturer permits it. Never hold a piece so close to the blade that your hand could enter the danger area.


4. The cut is forced off line
A blade wants to travel straight in the kerf it created. Steering a circular saw sideways, twisting a jigsaw blade through a tight turn, or forcing a table-saw workpiece away from the fence makes the blade rub against the kerf walls. Friction rises quickly, and a bind can follow.
Let the blade set the pace. Maintain a steady feed rate without forcing it. If a cut begins to wander, release the trigger, wait until the blade stops, and assess why it wandered. A guide, a straighter layout line, better clamping, or a suitable blade may solve the issue.
On a table saw, use the fence only for rip cuts, where the workpiece travels parallel to the blade. Do not use the rip fence as a length stop for a crosscut unless your setup keeps the cut piece from being trapped between the fence and blade. A miter gauge, crosscut sled, or manufacturer-approved stop arrangement is generally the safer approach.
5. The saw is started with the blade touching material
Starting a saw when its teeth are already touching the workpiece can make the tool jerk before you have full control. This is especially common with circular saws, reciprocating saws, and jigsaws.
Set the saw in position with the blade clear of the material. Start it, allow it to reach operating speed, then begin the cut with controlled forward motion. For a circular saw, confirm the lower guard moves freely and returns properly before use. If a guard sticks, is damaged, or fails to return, stop using the saw and have it serviced according to the manufacturer’s instructions.
6. The blade depth or saw setting is wrong
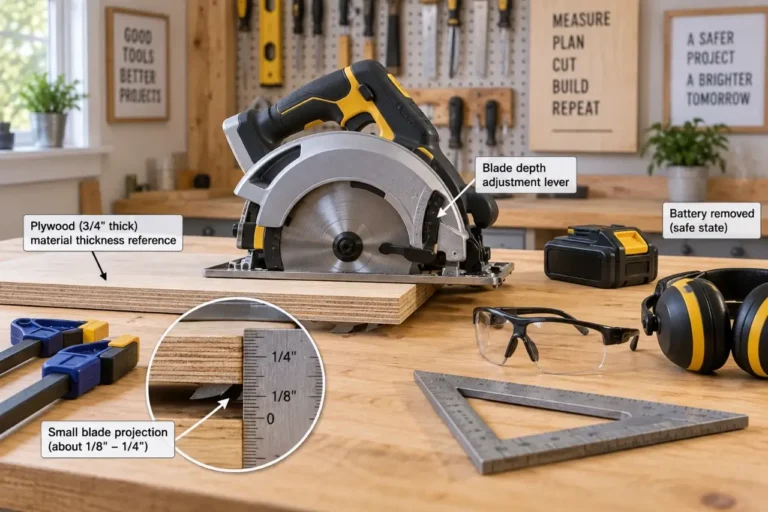
On a circular saw, excessive blade depth exposes more teeth below the workpiece and can make the cut less controlled. Set the depth so the teeth extend only slightly below the material, following your saw manufacturer’s guidance. This also reduces the chance of striking a sawhorse, bench, or hidden object beneath the board.
Bevel cuts deserve extra care. The blade guard may behave differently, the saw base has less contact with the material, and the offcut can shift in unexpected ways. Make sure the bevel lock is secure and use stable support. If the blade guard cannot move freely through the planned cut, choose a safer method rather than holding the guard open.
7. The operator is in the kickback path
Good setup limits kickback. Good body position gives you room to react if it still occurs. Stand to one side of the potential travel path, not directly behind a table-saw workpiece or directly in line with a circular saw’s rear handle. Keep balanced footing, avoid overreaching, and route the cord or hose so it cannot snag during the cut.
Maintain a firm two-handed grip on handheld saws when the tool is designed for it. Keep bystanders away from the work area, particularly behind a table saw where a kicked-back board may travel. Eye protection is essential. Hearing protection and suitable respiratory protection may also be appropriate depending on the saw, material, and dust produced.

A quick setup check before each cut
Use this short check every time a cut deserves more than a casual glance:
- Confirm the blade is sharp, undamaged, correctly installed, and appropriate for the material.
- Check the board for nails, screws, staples, knots, severe warp, or signs that the kerf may close.
- Stabilize and support the workpiece and offcut without pinching the blade path.
- Set blade depth, bevel angle, fence, guide, or miter gauge before turning the saw on.
- Plan where the tool, workpiece, and offcut can move, then stand outside that path.
When to stop instead of continuing the cut
Stop immediately if the blade stalls, the motor sound changes sharply, smoke appears, the wood begins to burn, or the workpiece shifts. Release the trigger while keeping control of the saw, wait for the blade to stop completely, then disconnect power before touching the blade or material.
Do not restart in the same kerf until you identify why the blade bound. The fix may be as simple as adding support or replacing a worn blade. But repeated binding, blade wobble, damaged guards, a loose arbor, unusual vibration, or a saw that will not hold its adjustment calls for manufacturer support or a qualified service center.
Kickback is a sign that the cutting conditions need attention. The safest response is to stop, identify what caused the blade to bind or lose control, and reset the cut before continuing.
Ulverion is reader-supported. Your support allows us to research tools, create practical guides, and share reliable DIY advice for homeowners, makers, and workshop enthusiasts.