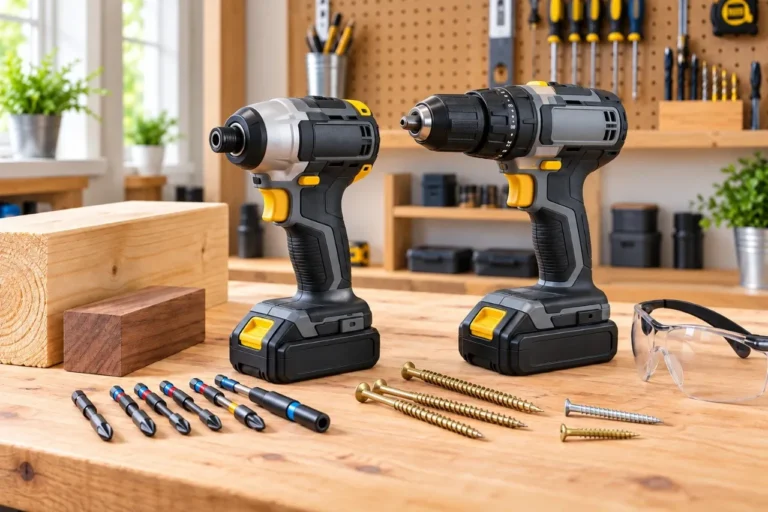
A drill makes holes, while a driver is designed to turn fasteners, especially screws. The difference can be confusing because many cordless drills are actually drill/drivers that handle both drilling and basic screwdriving.
The practical distinction is simple: use a drill or drill/driver when accuracy, hole quality, and controlled fastening matter; use an impact driver when you need more driving force for long or stubborn fasteners.
Drill, drill/driver, and impact driver: what is the difference?
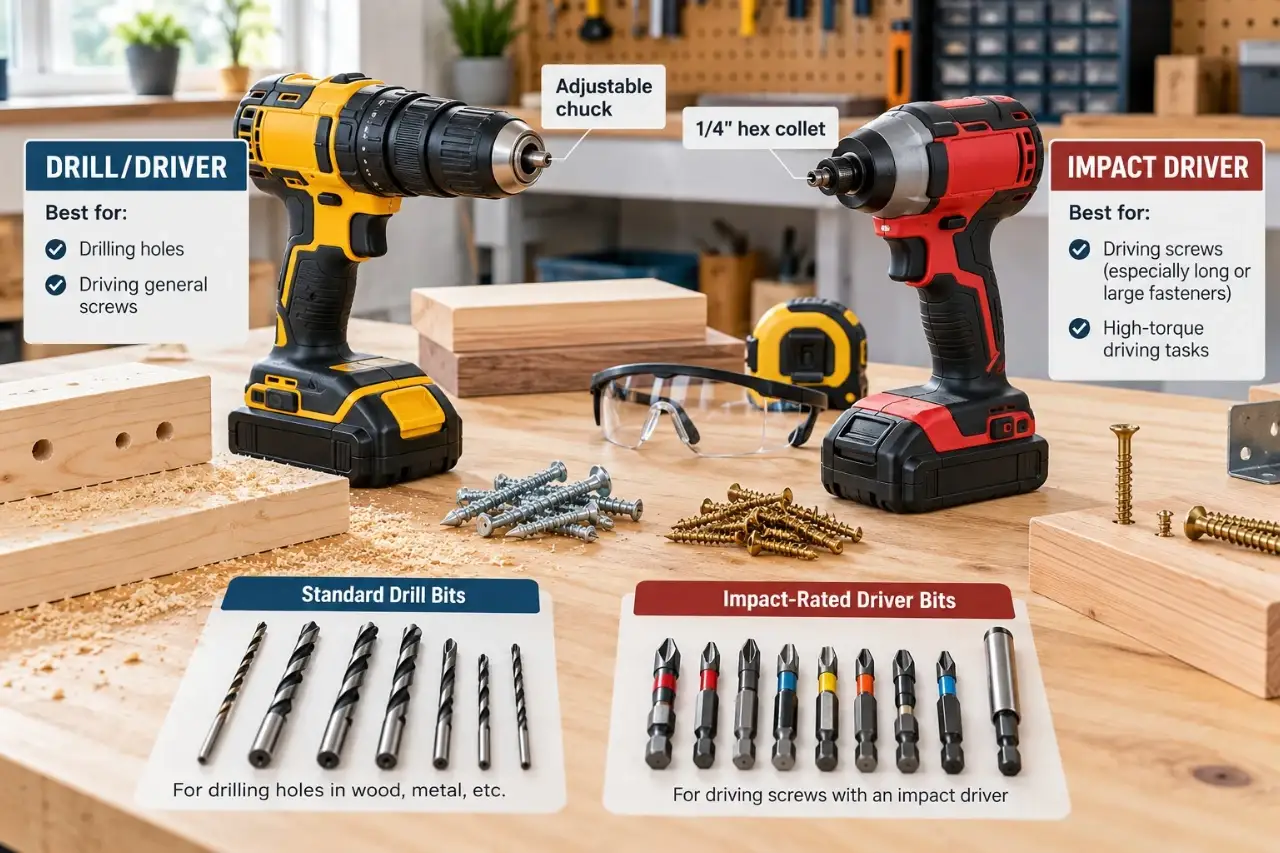
A basic drill spins a bit in a chuck, the three-jaw clamp at the front of the tool. It is designed primarily to drill holes in wood, plastic, metal, and other materials when paired with the correct bit and speed.
A cordless drill/driver adds a clutch and usually a two-speed gearbox. The clutch lets you limit the turning force, called torque, while driving screws. That helps prevent stripped screw heads, snapped small screws, and fasteners driven too deeply into drywall or soft wood. This is the tool many homeowners mean when they say “drill.”
An impact driver is built mainly for driving screws, lag screws, and other fasteners. Instead of a standard adjustable chuck, it usually has a 1/4-inch quick-change hex collet that accepts impact-rated driver bits and hex-shank accessories. As resistance increases, an internal impact mechanism delivers short rotational blows. You feel this as a pulsing or hammering action in the tool.
That extra force makes an impact driver useful, but it does not make it the right tool for every screw or every hole.
Drill vs. driver: the practical differences
| Feature | Drill or drill/driver | Impact driver |
|---|---|---|
| Main job | Drilling holes and controlled screwdriving | Driving fasteners with high resistance |
| Bit holder | Adjustable chuck | Usually 1/4-inch hex collet |
| Torque control | Adjustable clutch on most drill/drivers | Usually no adjustable clutch |
| Control on small fasteners | Very good | Can be too aggressive |
| Noise and vibration | Lower | Higher under load |
| Hole drilling | Better for most standard round holes | Limited to compatible hex-shank bits |
The chuck is one of the biggest everyday differences. A drill accepts round-shank twist bits, brad-point bits, spade bits, and many other common drilling accessories within its stated chuck capacity. An impact driver only accepts bits with the matching hex shank, so a standard round-shank drill bit will not fit.
A drill/driver also gives you more speed control for drilling. Its lower gear is intended for slower, higher-torque work, while its higher gear is better for faster drilling in smaller holes. Check your manual because control layouts and rated capacities vary by tool.
When a drill/driver is the better choice
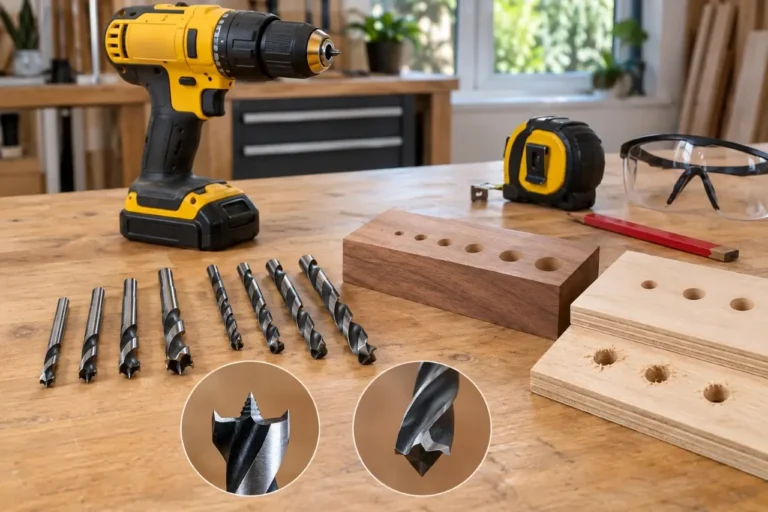
Choose a drill/driver when the hole itself is the priority. For example, use it to drill a pilot hole before driving a wood screw, make a clean hole for a cabinet knob, or drill into metal with an appropriate metal-cutting bit. The tool’s adjustable chuck, variable trigger, and clutch provide control that matters when alignment and finish quality count.
It is also usually the safer choice for delicate fastening. Assembling furniture, installing switch-plate screws, hanging lightweight hardware, or working with small brass screws calls for restraint. Set the clutch low, test on scrap material if possible, and increase the setting only until the screw seats properly.
A drill/driver is not weak simply because it has a clutch. With the clutch set to its drill setting, often marked with a drill-bit symbol, it can apply its available torque without clutch slip. Still, it may struggle with long structural screws or large fasteners in dense lumber where an impact driver is more efficient.
| Preview | Product | Price | |
|---|---|---|---|

| DEWALT 20V MAX Cordless Drill and Impact Driver, Power Tool Combo Kit , Includes 2 Batteries… |
$239.00
$149.00 | View on Amazon |
Use the clutch to protect the work
For a screwdriving task, start with a lower clutch number. Drive one screw, then inspect it. If it stops before seating, raise the setting gradually. If the screw sinks below the surface or the bit slips out of the screw head, lower the setting and check that the bit fits correctly.
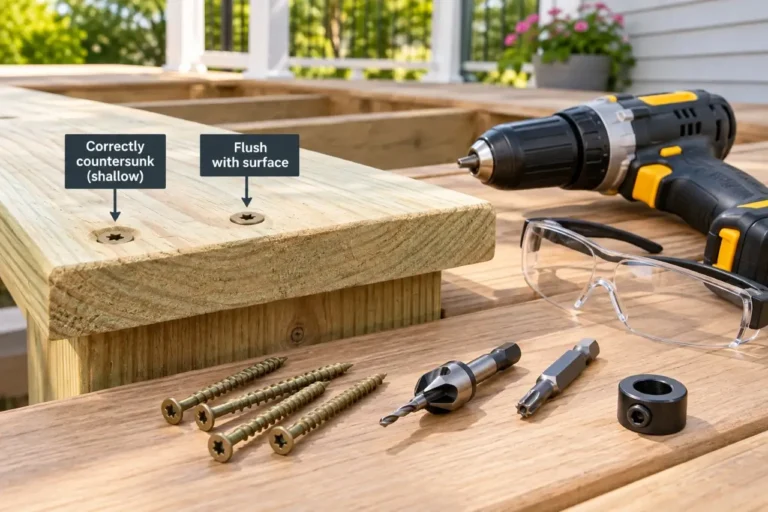
The clutch does not replace careful trigger control. Stop as soon as the screw head is flush unless the project specifically calls for a countersunk fastener.
When an impact driver makes more sense
Use an impact driver when you are driving repeated or demanding fasteners into wood, such as deck screws, long cabinet-installation screws, ledger-rated structural screws specified for a project, or lag screws within the tool and fastener manufacturer’s guidance. It can maintain rotation when a drill/driver starts to bog down or twist your wrist.
The impact mechanism also reduces the steady reaction force you feel compared with forcing a drill through the same resistant fastening job. That does not mean the tool cannot kick, bind, or break a fastener. Keep a balanced stance, hold it firmly, and avoid working from an unstable ladder or position.
An impact driver is less suited to small, finish-sensitive screws. Its rapid impacts can strip a screw head, snap a thin fastener, or drive a screw too far before you release the trigger. Some impact drivers offer speed modes, but they still do not provide the same torque-limiting control as a drill/driver clutch.


Do you need to predrill holes for screws?
Often, yes. A pilot hole is a small hole drilled before the screw goes in. It guides the screw, reduces splitting, and lowers the force needed to drive it. Predrilling is especially helpful near the end or edge of a board, in hardwood, with large screws, and when appearance matters.
For a typical wood screw, choose a pilot bit close to the screw’s solid center shaft, not the outside diameter of its threads. The correct size varies with wood density and screw design, so test on an offcut when the workpiece is visible or expensive.
An impact driver can drive many self-drilling or coarse-threaded screws without a pilot hole in softwood. That convenience has limits. If the wood begins to split, the screw wanders off line, or the driver requires excessive force, stop and drill a pilot hole.
A simple way to choose the right tool for the job
Start by identifying the task, not the tool you already have in hand.
- Making a clean, accurately placed hole? Use a drill or drill/driver with the correct bit.
- Driving small screws, hardware screws, or furniture fasteners? Use a drill/driver and set the clutch conservatively.
- Driving many long screws into framing lumber or dense wood? Use an impact driver with an impact-rated bit, after drilling pilot holes where needed.
- Drilling into masonry? A standard drill/driver may be slow or unsuitable. A hammer drill and masonry-rated bit are commonly needed, depending on the material and hole size.
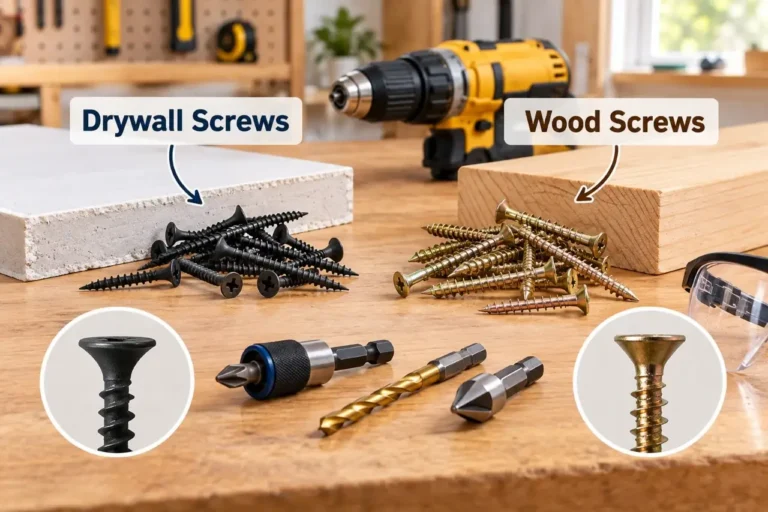
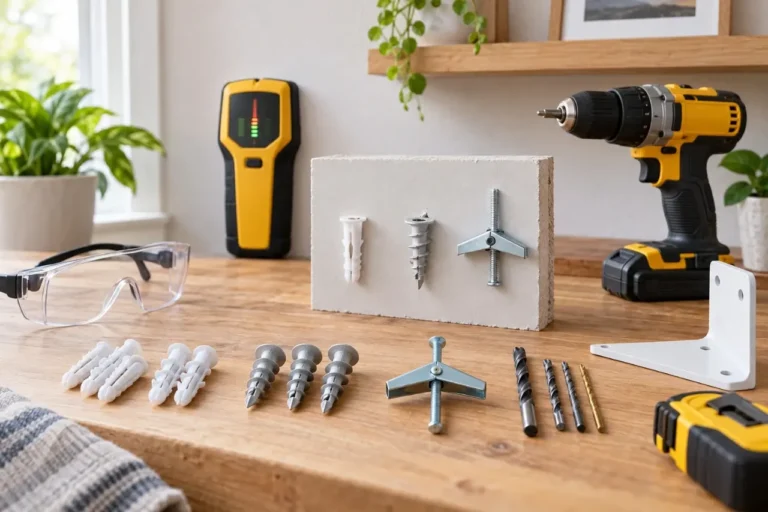
- Fastening into drywall? Select the anchor first. The anchor manufacturer determines the required hole size, screw type, and weight limit.
Common mistakes that cause trouble
Using the wrong bit is a frequent problem. A Phillips bit that is slightly too small can cam out, meaning it slips and damages the screw recess. Match the bit style and size to the screw, press straight into the fastener, and replace worn bits.
Another mistake is treating an impact driver like a universal drill. Hex-shank drill bits exist, but an impact driver may be harder to control for precision holes. It can also be unsuitable for accessories not specifically rated for impact use. Check the accessory packaging and both tool manuals before use.
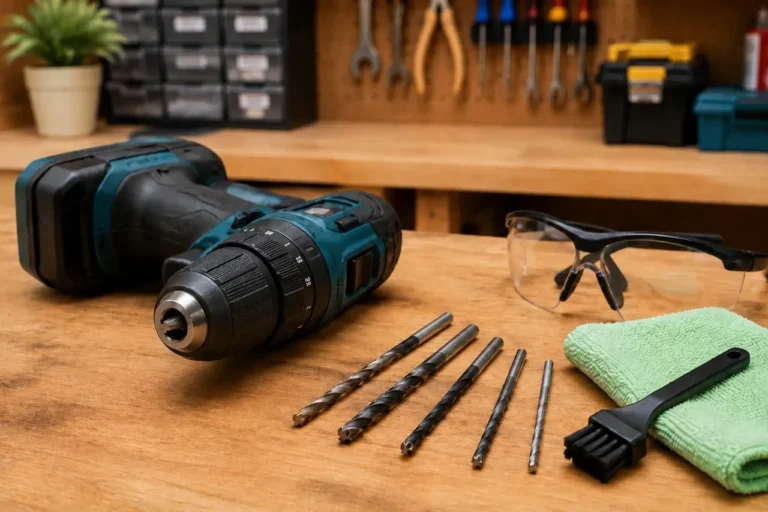
Forcing a dull bit is equally frustrating. If a drill bit squeals, smokes, stalls repeatedly, or leaves a ragged hole, stop. Verify that the bit matches the material, is sharp, and is turning at an appropriate speed. When drilling metal, use controlled pressure and cutting lubricant only when appropriate for the material and manufacturer instructions.
Safe setup before drilling or driving
Secure the workpiece with clamps whenever practical. Holding a small board by hand can let it spin, shift, or pull the bit off line. Remove loose jewelry, tie back long hair, and wear safety glasses because chips and broken bit fragments can travel unexpectedly.
Before drilling into a wall, identify what may be behind the surface. Avoid blindly drilling where electrical wiring, plumbing, ductwork, or other concealed systems may be present. Use an appropriate detection method, follow local requirements where applicable, and contact a qualified professional when the location is uncertain.
Disconnect the battery or unplug a corded tool before changing bits. Confirm the bit is fully seated and the chuck is tightened before starting. With an impact driver, pull lightly on the installed bit to confirm the collet has retained it.
If a tool smells hot, emits smoke, has a damaged cord or housing, repeatedly stalls, or behaves differently after a drop, stop using it. Follow the manufacturer’s inspection and service guidance rather than trying to work through the problem.
A drill/driver and an impact driver work well as a pair, but neither needs to replace the other for every project. Let the material, fastener size, required control, and correct accessory determine the tool. That habit produces cleaner work and gives you time to build skill one well-driven screw at a time.
Ulverion is reader-supported. Your support allows us to research tools, create practical guides, and share reliable DIY advice for homeowners, makers, and workshop enthusiasts.