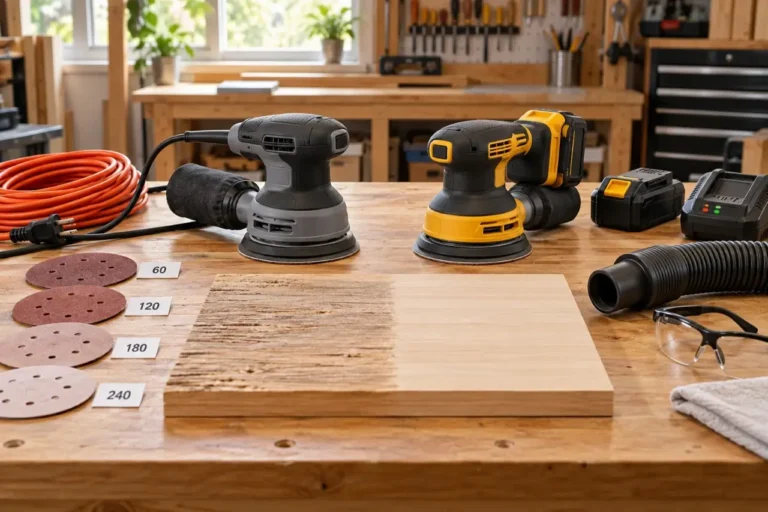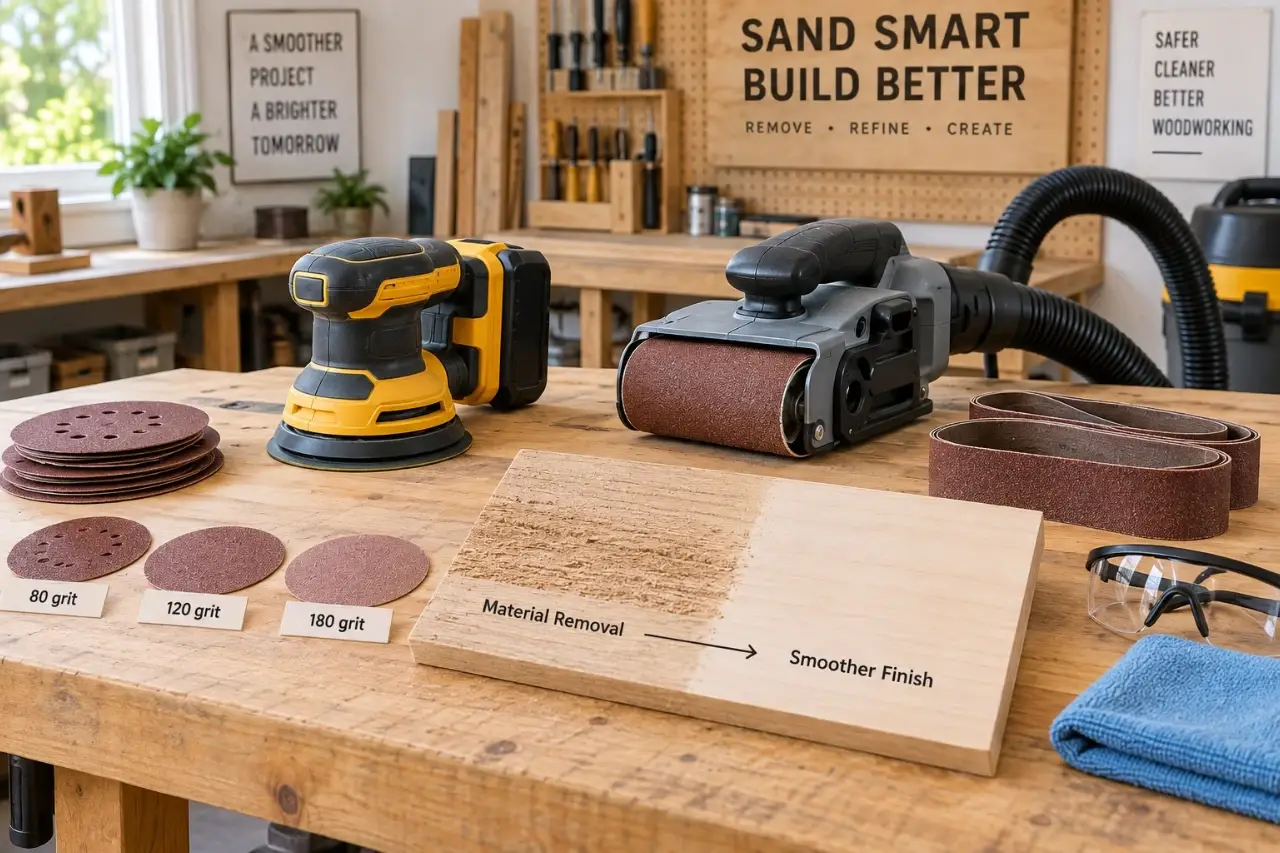
A belt sander removes material quickly; an orbital sander is for controlled smoothing and finishing. In an orbital sander vs belt sander decision, choose the belt sander when a board needs to be flattened, shortened, or stripped aggressively. Choose an orbital sander when the surface is already close to shape and you need controlled smoothing before paint, stain, or clear coat.
The practical difference is not just speed. A belt sander can ruin a face frame, round an edge, or leave a low spot in seconds if it is held in one place. An orbital sander works more slowly, but that slower cut gives most DIYers more control on furniture, trim, cabinet parts, and painted surfaces.
Quick Answer: Which Sander Should DIYers Choose?
Most DIY projects should start with the least aggressive tool that can complete the task. Use a belt sander when significant material removal or leveling is needed on solid wood. Use a random orbital sander for surface preparation, smoothing, and finish work where control matters more than speed.
Orbital Sander vs Belt Sander: The Working Difference
A belt sander drives a continuous abrasive belt around two rollers. The belt moves in one direction at high speed, which gives the tool substantial cutting power. It is designed for leveling and rapid stock removal, not delicate final finishing.
An orbital sander moves its sanding pad in very small circles. The term can describe a traditional finishing sander with a rectangular or square pad, or a random orbital sander with a round pad. A random orbital sander also spins the pad, so its scratch pattern is less noticeable than the uniform marks left by a standard orbital sander. For most home workshop tasks, a random orbital sander is the more common and versatile version.
Neither tool replaces the other completely. The useful question is: how much material needs to come off, and how much damage can the workpiece tolerate?
| Task | Better starting tool | Why |
|---|---|---|
| Leveling a slightly uneven solid-wood board | Belt sander | Removes high spots efficiently when used carefully |
| Removing thick paint or old finish from a broad, stable surface | Belt sander or orbital sander | Belt is faster; orbital offers more control near edges and veneers |
| Smoothing plywood before paint | Random orbital sander | Less likely to sand through the thin face veneer |
| Preparing trim, cabinet doors, or furniture for finish | Random orbital or finishing sander | Produces a more controlled surface |
| Refining a belt-sanded board before stain | Orbital sander | Removes the coarser belt-sander scratches |
| Sanding a narrow edge or a small inside corner | Hand sanding or a detail tool | Both larger sanders can damage adjacent surfaces |
When a Belt Sander Makes Sense
Use a belt sander on solid wood that is securely supported and genuinely needs material removed. Common examples include easing a proud edge between glued boards, taking a little material off the bottom of a sticking solid-wood door, removing mill marks from rough lumber, or leveling a repaired area before finer sanding.
It is not a precision planer. A belt sander can make a board flatter only when you keep the tool moving, use a light touch, and check progress often with a straightedge. If a board is badly cupped, twisted, or bowed, sanding may waste time and remove too much material. That is usually a job for proper milling equipment or a woodworking professional.
Belt sanders are a poor first choice for veneered plywood, thin laminate, delicate trim, and most curved furniture parts. Veneer can be only a thin surface layer. Once you sand through it, the repair is rarely invisible. Keep the belt sander away from loose clothing, cords, and the edge of the workbench, where the moving belt can catch an object.
A controlled belt-sanding method
- Clamp or otherwise secure the workpiece. Never try to hold a small board by hand while sanding it.
- Start with the sander lifted off the wood. Let it reach operating speed, then set it down gently while already moving in the direction of the grain.
- Use overlapping passes and keep the base moving. Do not press down to make it cut faster.
- Stop frequently, remove dust, and inspect from a low angle under good light. A straightedge helps reveal low spots.
- Switch to an orbital sander for the finer grits and final surface preparation.
The tool’s own weight generally supplies enough pressure. Heavy pressure can slow the belt, create heat, and cut grooves. If the belt repeatedly tracks off-center, the sander needs adjustment according to its manual. Stop using it if the belt is damaged, frayed, or cannot be kept properly aligned.
When an Orbital Sander Is the Better Choice
An orbital sander is often the better default for many finishing tasks because it removes material gradually and gives DIY users more control. It is well suited to sanding wood before primer, smoothing dried wood filler, blending small finish repairs, and preparing painted furniture for a new coat.
Use a traditional rectangular finishing sander when working along edges, in corners, or on narrow pieces where a rectangular pad is helpful. Use a random orbital sander for broad flat surfaces, such as table tops, cabinet panels, and plywood, where its round pad and random motion can leave a more uniform finish.
| Preview | Product | Price | |
|---|---|---|---|

| DEWALT Random Orbit Sander, Variable Speed, 5-Inch (DWE6423), Power Source Corded Electric |
$79.00 | View on Amazon |
Even an orbital sander can cause damage. Staying in one area too long can create shallow depressions, especially on soft pine or patched areas. Tilting a random orbital sander onto its edge can leave circular gouges known as pigtails. Keep the pad flat, move at a slow steady pace, and let the abrasive do the work.
Match the grit to the job
Grit numbers describe abrasive particle size. Lower numbers cut more aggressively; higher numbers leave finer scratches. The correct starting grit depends on the surface, not a fixed rule.
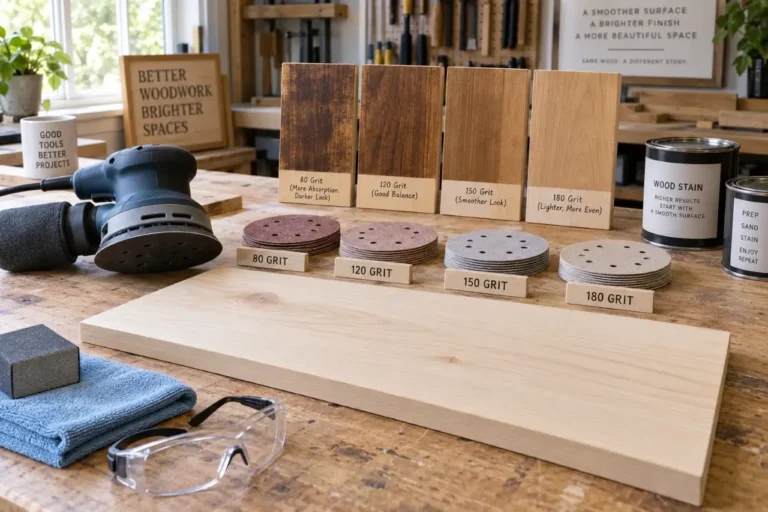
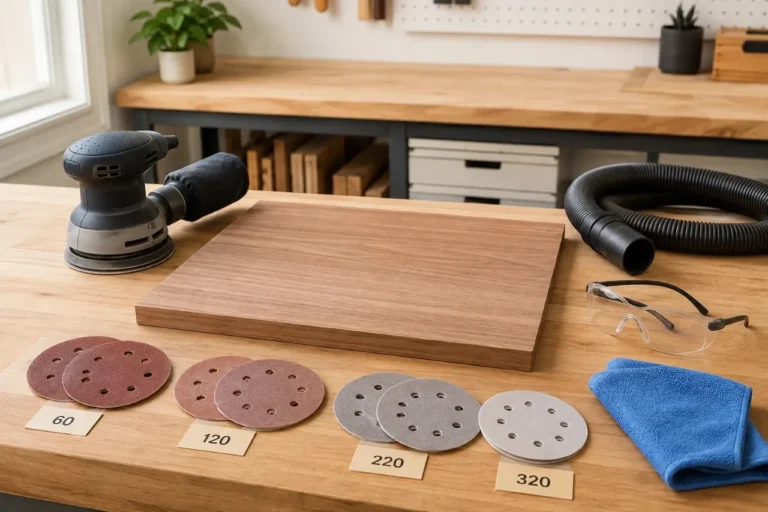
For a rough solid-wood surface, begin around 80 grit if it needs real leveling, then move through 120 and 150 or 180 grit. For paint-ready wood, 120 to 150 grit is often sufficient unless the coating manufacturer calls for something different. For many stain projects, stop around 150 or 180 grit on most common woods. Sanding too finely can reduce how evenly some stains absorb.
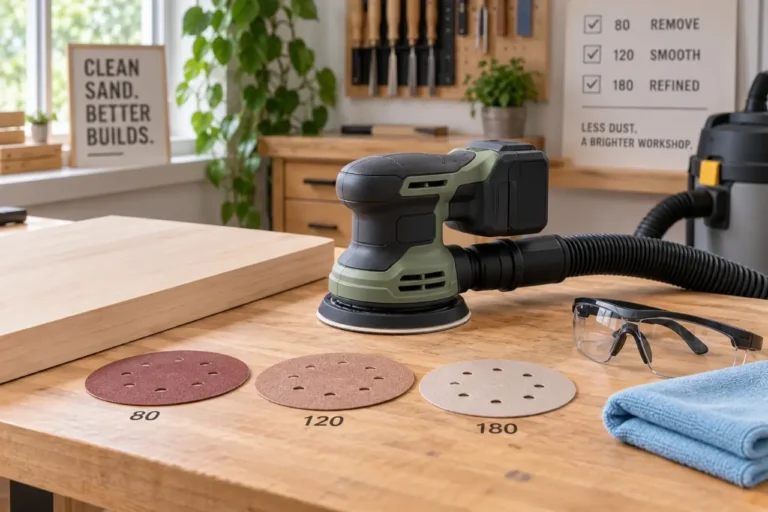
Do not jump from very coarse paper directly to fine paper. The finer abrasive may polish the tops of coarse scratches without removing them. Move through one or two sensible grit steps, such as 80, 120, and 180. Wipe away dust between grits so loose particles do not add scratches.
| Preview | Product | Rating | Price | |
|---|---|---|---|---|

| POTUINOM 165 PCS 5 Inch Sanding Discs Random Orbital Sander Sandpaper | 2,340 Reviews | $19.99 | View on Amazon |
What Each Sander Cannot Do Well
A belt sander is not the right tool for removing a tiny amount of material from a fitted cabinet door, restoring a sharp profile, or sanding close to glass and hardware. Remove hardware when practical and protect areas that cannot be removed. For a door that rubs because of hinge, frame, or seasonal movement issues, identify the cause before sanding away wood.
An orbital sander is not efficient for correcting major unevenness, thick coatings across a large area, or severely rough lumber. Forcing it with coarse paper and heavy pressure often overheats the abrasive, clogs the disc, and strains the tool without solving the underlying problem.
Neither sander is a good answer for peeling paint of unknown age. Homes built before 1978 may contain lead-based paint. Stop dry sanding if lead is a possibility and use lead-safe assessment and work practices, or contact a qualified professional. Also stop if you suspect asbestos-containing material in old flooring, adhesive, siding, or other building products. Ordinary shop-vac filtration is not a substitute for appropriate hazardous-material controls.
Dust Control and Safe Setup
Sanding dust affects the finish and your breathing. Connect the sander to a compatible dust extractor, shop vacuum, or collection system when the tool manufacturer allows it, and empty the collection container before airflow is reduced. A dust port is useful, but it does not capture all airborne dust.
Wear safety glasses and a properly fitted particulate respirator appropriate for sanding dust. Hearing protection is sensible during longer sessions. Work in a well-ventilated area, but do not rely on an open garage door alone to control fine dust. Follow the finish manufacturer’s warnings when sanding coated surfaces, and keep the workspace clean to reduce dust buildup.
| Preview | Product | Price | |
|---|---|---|---|

| Dustopper PRO Dust Collector – 99.9% Efficiency Cyclone Dust Separator Kit | $59.98 | View on Amazon |
Before starting, inspect the cord, plug, pad, belt, and dust bag or hose. Unplug a corded tool, or remove its battery where the manufacturer permits, before changing abrasive or clearing a jam. Use only the abrasive size and attachment method specified for that sander. A loose disc or incorrectly sized belt can come apart during use.
A Simple Choice for Common DIY Jobs
If you are refinishing a table top that is structurally sound, start with a random orbital sander unless the old finish is exceptionally thick and the top is solid wood. If you are building a utility shelf from rough boards, a belt sander can quickly remove roughness and level minor proud joints, followed by orbital sanding before finish.
For baseboards, window trim, cabinet face frames, and plywood projects, begin with an orbital sander or hand sanding. The extra speed of a belt sander is rarely worth the risk of rounded edges, cross-grain scratches, or sand-through.
A useful habit is to begin with the least aggressive method that can do the job. You can always move to a coarser grit or more powerful sander after inspecting the surface. You cannot put wood back after a belt sander cuts a hollow into it. Good lighting, clean abrasive, and frequent checks will improve the result more than rushing to the fastest tool.
Ulverion is reader-supported. Your support allows us to research tools, create practical guides, and share reliable DIY advice for homeowners, makers, and workshop enthusiasts.