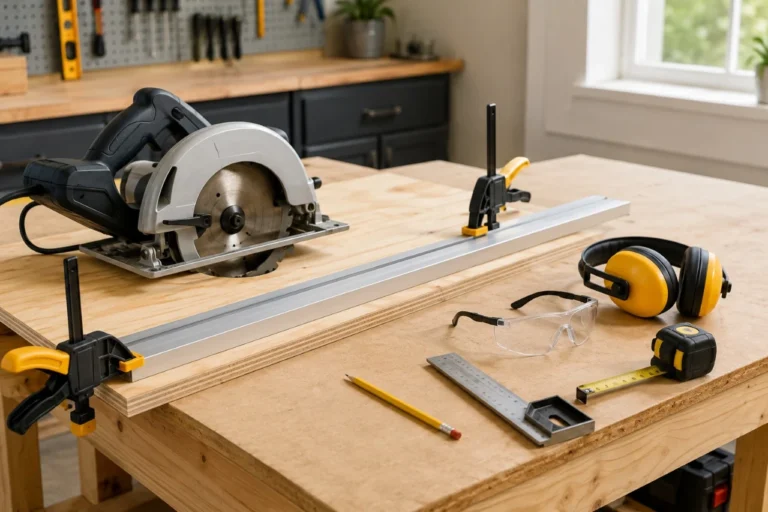
A clean plywood cut starts with the right blade, not more force. For most home projects, choose a sharp carbide-tipped blade intended for finish cuts, plywood, or veneered panels, then match its diameter, arbor, and maximum RPM to your saw. Tooth count matters, but tooth geometry, blade condition, feed rate, and panel support matter just as much.
Plywood is not one uniform material. Thin face veneers can chip easily, while glue lines and alternating plies are hard on a cutting edge. Construction sheathing, cabinet-grade hardwood plywood, birch plywood, and melamine-faced panels may need different blade choices and different expectations for edge quality.
What makes a blade suitable for plywood?
Compared with a coarse framing blade, a plywood or finish blade usually has more teeth and a tooth shape intended to slice surface fibers cleanly. More teeth generally mean each tooth removes less material, which can reduce tear-out. The trade-off is slower chip clearance, so an excessively fine blade can run hot or cut poorly if you force it through a long rip cut.
For general plywood work, a sharp carbide-tipped finish blade is a practical starting point. Alternate top bevel (ATB) teeth alternate their bevel direction from one tooth to the next, helping slice surface fibers. High-ATB (Hi-ATB) blades use a steeper bevel and are commonly used for cleaner cuts in veneered plywood, laminate, and melamine-faced panels. Their fine tooth points are less tolerant of impact and embedded fasteners, so they are not demolition blades.
A framing blade generally has fewer, larger teeth and larger gullets. It is useful for fast cuts in sheathing when edge appearance is not important, but it is usually the wrong choice for visible cabinet parts, shelves, or furniture panels.
Choose the blade by saw type
Before comparing tooth counts, confirm compatibility. The blade must match the saw’s required diameter and arbor, rotate in the correct direction, and have a maximum RPM rating at least as high as the saw’s no-load speed. Follow the saw and blade manufacturers’ instructions. Never force a blade onto an arbor or use an adapter unless the manufacturers specifically permit it.
Circular saw blades
For a common 7-1/4-inch circular saw, a 40-tooth finish blade is a practical middle ground for many plywood cuts. It usually leaves a cleaner edge than a 24-tooth framing blade without becoming as specialized as an ultra-fine panel blade.
On most conventional handheld circular saws, the teeth enter the plywood from the underside and exit through the top face. Tear-out is therefore often more noticeable on top. When the setup allows it, place the show face down and make a test cut on scrap when appearance is critical.
If the saw cuts slowly, burns the edge, vibrates, or needs noticeably more feed pressure, inspect the blade before assuming you need more teeth. See when to replace a circular saw blade for common warning signs.

Table saw blades
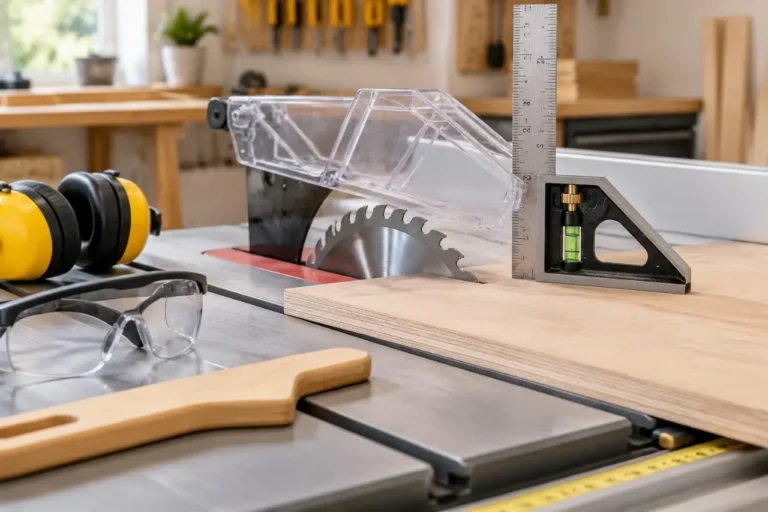
A quality combination blade can handle ordinary plywood, but a 60- to 80-tooth crosscut or plywood blade can leave a cleaner edge on visible veneer and coated panels. On a table saw, the teeth rise through the workpiece and exit the top face, so keep the show face up when surface chipping is the main concern.
Use the rip fence for rip cuts and an appropriate miter gauge or crosscut sled for crosscuts. Do not create a setup that traps the workpiece between the fence and a crosscut guide. Keep the guard and riving knife installed and operating as intended, and follow the manufacturer when setting blade exposure. For more detail, see how high a table saw blade should be.
Large sheets can be awkward on a table saw. If you cannot keep the panel flat and controlled through the full cut, break it down with a properly supported circular saw or another safer method instead of wrestling the sheet through the saw.

Jigsaw blades
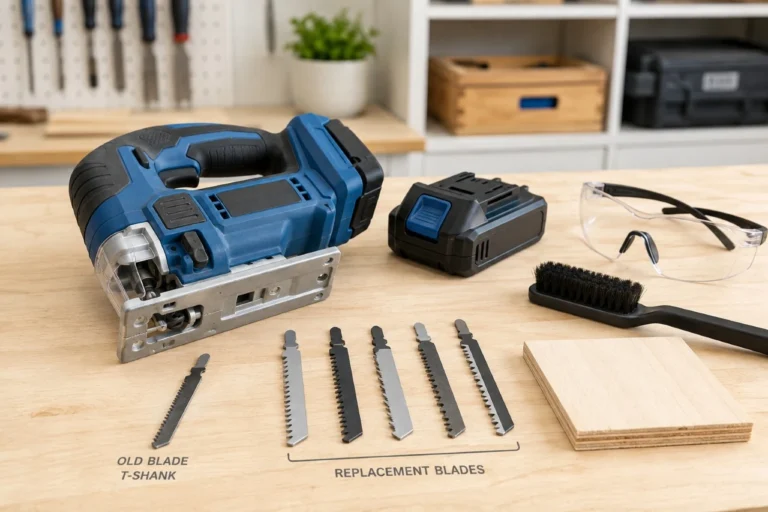
A jigsaw is useful for curves and interior cutouts. Choose a clean-cut wood, plywood, or laminate blade that matches your jigsaw’s blade holder and the panel thickness.
Most standard jigsaw blades have upward-pointing teeth and tend to leave the cleaner surface on the underside, so place the better face down when practical. A reverse-tooth blade can reduce chipping on the top face, but it changes the cutting forces and may require tool-specific settings. Follow the jigsaw and blade manufacturer’s instructions. If you are unsure about shank type or installation, review how to change a jigsaw blade safely.

Quick blade selection chart
| Plywood task | Practical blade choice | What to expect |
|---|---|---|
| Rough cuts in wall or roof sheathing | General-purpose or framing blade | Fast cut, more splintering |
| Shelves, painted furniture, utility cabinets | Carbide finish or combination blade | Clean enough for many visible edges |
| Hardwood veneer panels and exposed cabinet parts | Fine-tooth plywood or crosscut blade | Slower cut, cleaner veneer |
| Melamine-faced or laminated panels | Fine-tooth laminate or Hi-ATB blade | Better chip control with careful support |
| Curves and interior openings | Fine-tooth jigsaw blade matched to the material | Good control; edge cleanup may still be needed |
Tooth count is useful, but it is not the whole decision. A sharp 40-tooth blade can outperform a dull 60-tooth blade. Geometry, sharpness, feed rate, saw alignment, and panel support all affect the final edge.
Set up the cut to prevent tear-out
Even the right blade can chip plywood if the panel vibrates, the offcut drops, or the veneer fibers are poorly supported.
- Mark the cut and waste side. Account for the blade kerf. On a critical visible edge, a light score with a sharp marking or utility knife may help sever surface fibers, but keep the scoring tool controlled and do not cut deeply into the panel.
- Support the sheet so the kerf stays open. For circular-saw cuts, a full sheet of rigid sacrificial foam on a stable, flat surface is one common method. Sacrificial boards can also work when they support the panel without entering the blade path. Neither the main panel nor the offcut should sag or pinch the blade.
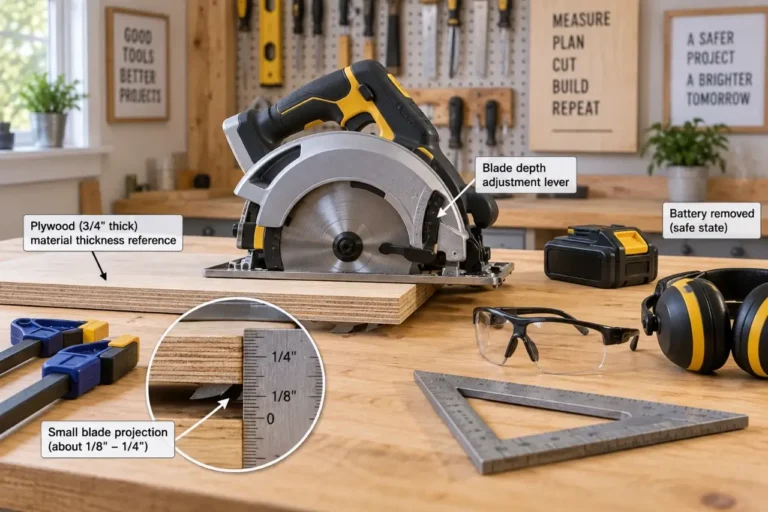
- Set circular-saw blade depth correctly. With the power disconnected, set the blade depth so the teeth project only slightly below the plywood—roughly 1/8 to 1/4 inch is a common starting range for standard through-cuts. The saw manual takes priority.
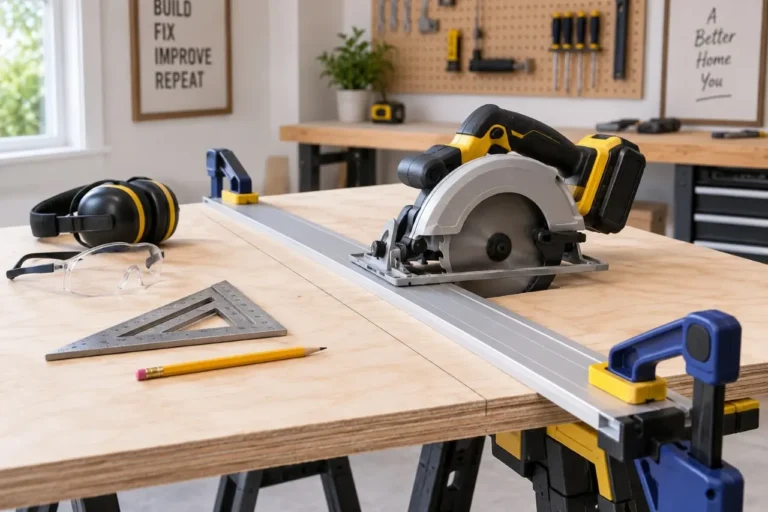
- Use a guide for long straight cuts. A clamped straightedge, track system, or compatible guide can improve repeatability. Measure the shoe-to-blade offset and verify it on scrap before a critical cut. See how to cut straight with a circular saw for the full setup.
- Start with the blade clear of the workpiece. Let the saw reach full speed, then advance steadily without twisting or forcing it. If the blade binds, release the trigger and keep the saw controlled until the blade stops before repositioning the work.
Painter’s tape can sometimes reduce minor surface chipping, but it is not a substitute for a sharp blade, correct face orientation, and stable support.
Common plywood cutting problems
The veneer is chipped
Check which face was upward and how the blade teeth move through the material. For most conventional circular-saw cuts, the better face usually belongs down; for table-saw cuts, it usually belongs up. Then inspect the blade for rounded tips, heavy resin buildup, missing teeth, cracks, overheating, or wobble.
A manufacturer-approved zero-clearance insert can help support fibers beside a table-saw blade. Use only an insert compatible with your saw and cutting setup. Do not improvise one that interferes with the guard, riving knife, or other safety devices.
The cut burns or feels hard to push
Burning can result from a dull or dirty blade, excessive side pressure, poor alignment, a pinched kerf, or an unsuitable feed rate. If you smell burning or see smoke, stop the cut and let the blade come to a complete stop. Do not compensate by pushing harder.
Check blade installation, panel support, and whether a guide is forcing a circular saw sideways. If a table saw repeatedly burns cuts, pulls material sideways, vibrates unusually, or will not hold alignment, stop using it and follow the manufacturer’s service guidance.
The blade binds or the kerf closes
The plywood may be unsupported, warped, or shifting as internal stress is released. Arrange support so neither side of the cut can sag into the blade. Do not hold a large offcut by hand near the cutting path or try to catch a falling piece while the saw is moving.
Safe habits for cutting plywood
Plywood sheets are bulky, so plan how you will support and move a full sheet before turning on the saw. Keep the blade path clear of benches, clamps, cords, fasteners, and the floor.
Wear safety glasses and appropriate hearing protection. Woodworking saws can generate substantial airborne dust, so use effective source collection and ventilation when available. If those controls do not adequately control fine dust, use a properly fitted particulate respirator appropriate to the exposure and follow the respirator manufacturer’s instructions.
Keep hands out of the blade path and let guards operate normally. Never wedge, tie back, remove, or defeat a circular-saw lower guard. On a table saw, use the blade guard, riving knife or splitter, and push devices as directed by the manufacturer.
Remove a blade from service if it has missing teeth, cracks, a bent plate, severe wobble, or other physical damage. A new blade is not a cure for a saw with a damaged arbor, persistent vibration, or adjustments that will not stay locked.
The cleanest plywood edge usually comes from a simple combination: a sharp blade suited to the panel, the show face oriented for the saw and blade direction, and support that keeps the sheet stable from the beginning of the cut to the end.
Ulverion is reader-supported. Your support allows us to research tools, create practical guides, and share reliable DIY advice for homeowners, makers, and workshop enthusiasts.